I’m updating this post in light of my recent Instagram Reel highlighting how to juice ahead of time for the week! Check out the video to learn more!
Below, I’m recapping my favorite juicer and recipes for fresh juices made right in your kitchen for a fraction of the cost of what you’d pay at a juice shop or buying them pre-made.

One of my favorite afternoon (or morning) pick-me-ups is a fresh juice! It's the perfect way to beat the heat, feel refreshed, and get in your daily dose of veggies and vitamins. I went through several different juicers before I found one that I absolutely love. This Breville juicer is my absolute favorite. I actually asked for it for my birthday a few years ago and it's honestly one of the best gifts I've ever received!
The Breville is my go to juicer! And keep scrolling down below for this juice recipe and some of my other favorites, as well as some of my juicing tips!
Post contains affiliate links for products which I personally recommend. By clicking the links and purchasing the products, I may earn a commission


TIP: Use the veggie and fruit bags from the grocery store to catch the pulp. It makes clean up so much easier!

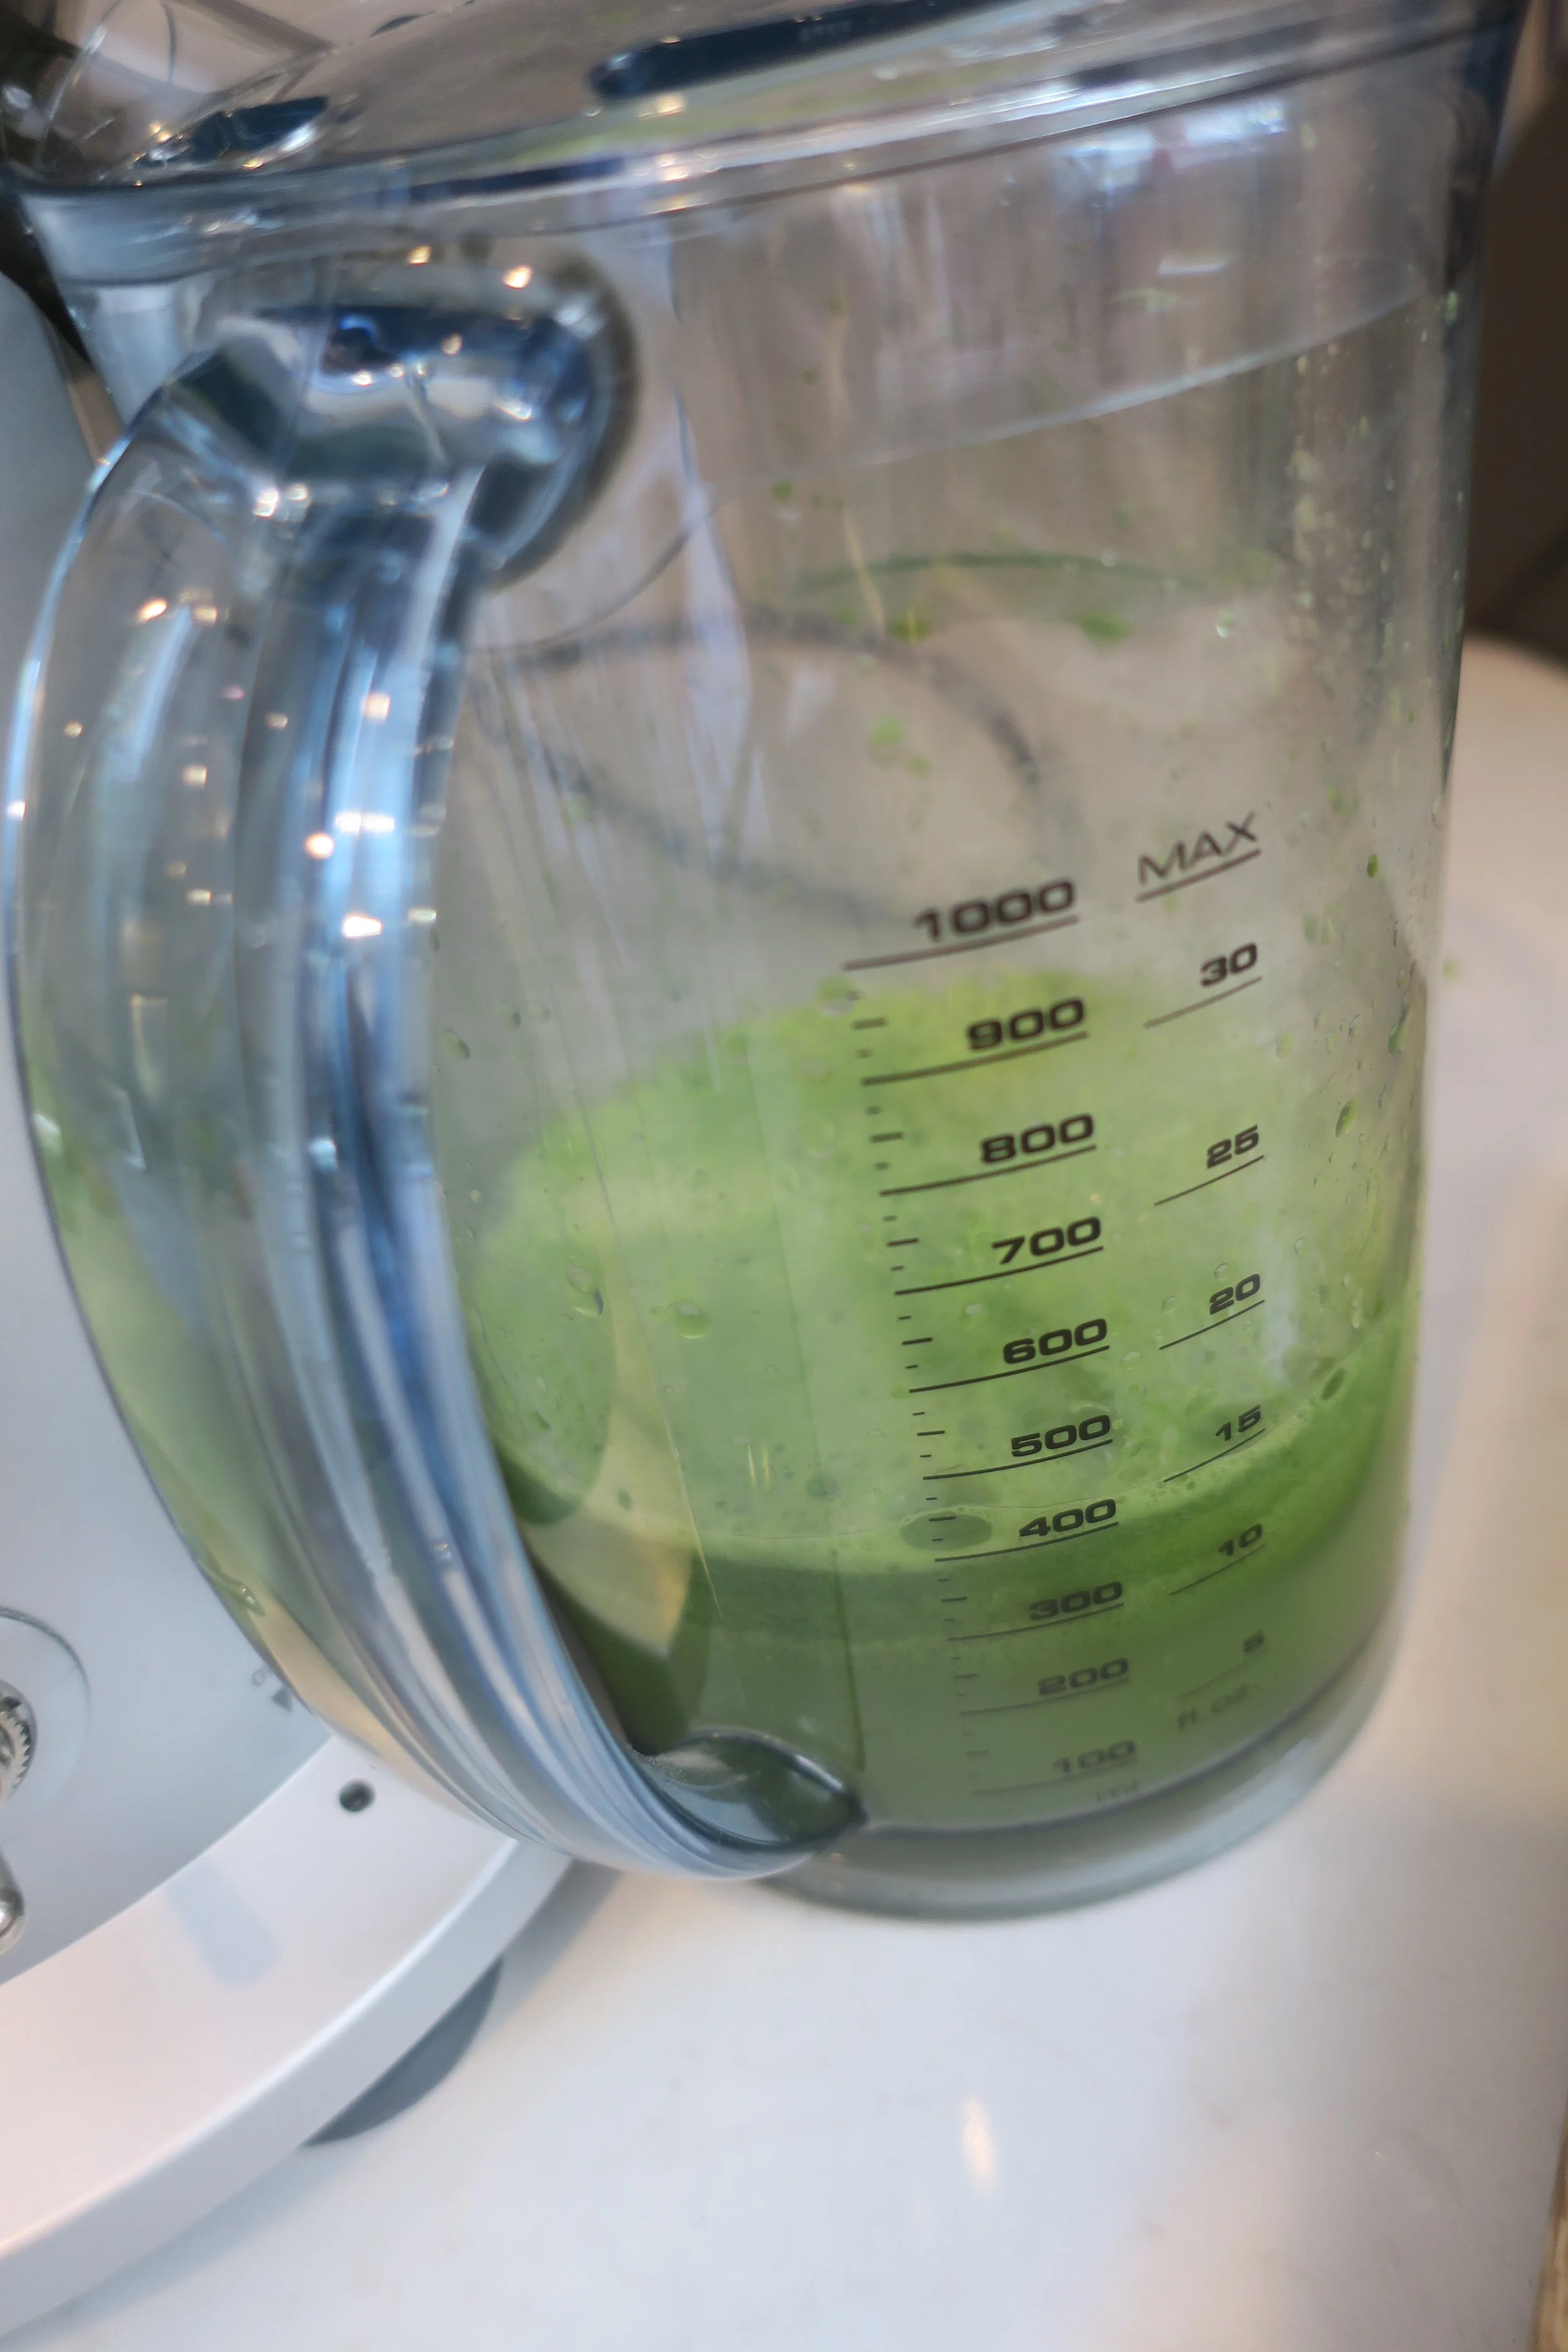
12-15 ounces is a good size for a full glass of juice. If you want a smaller sized juice, opt for around 8 ounces.
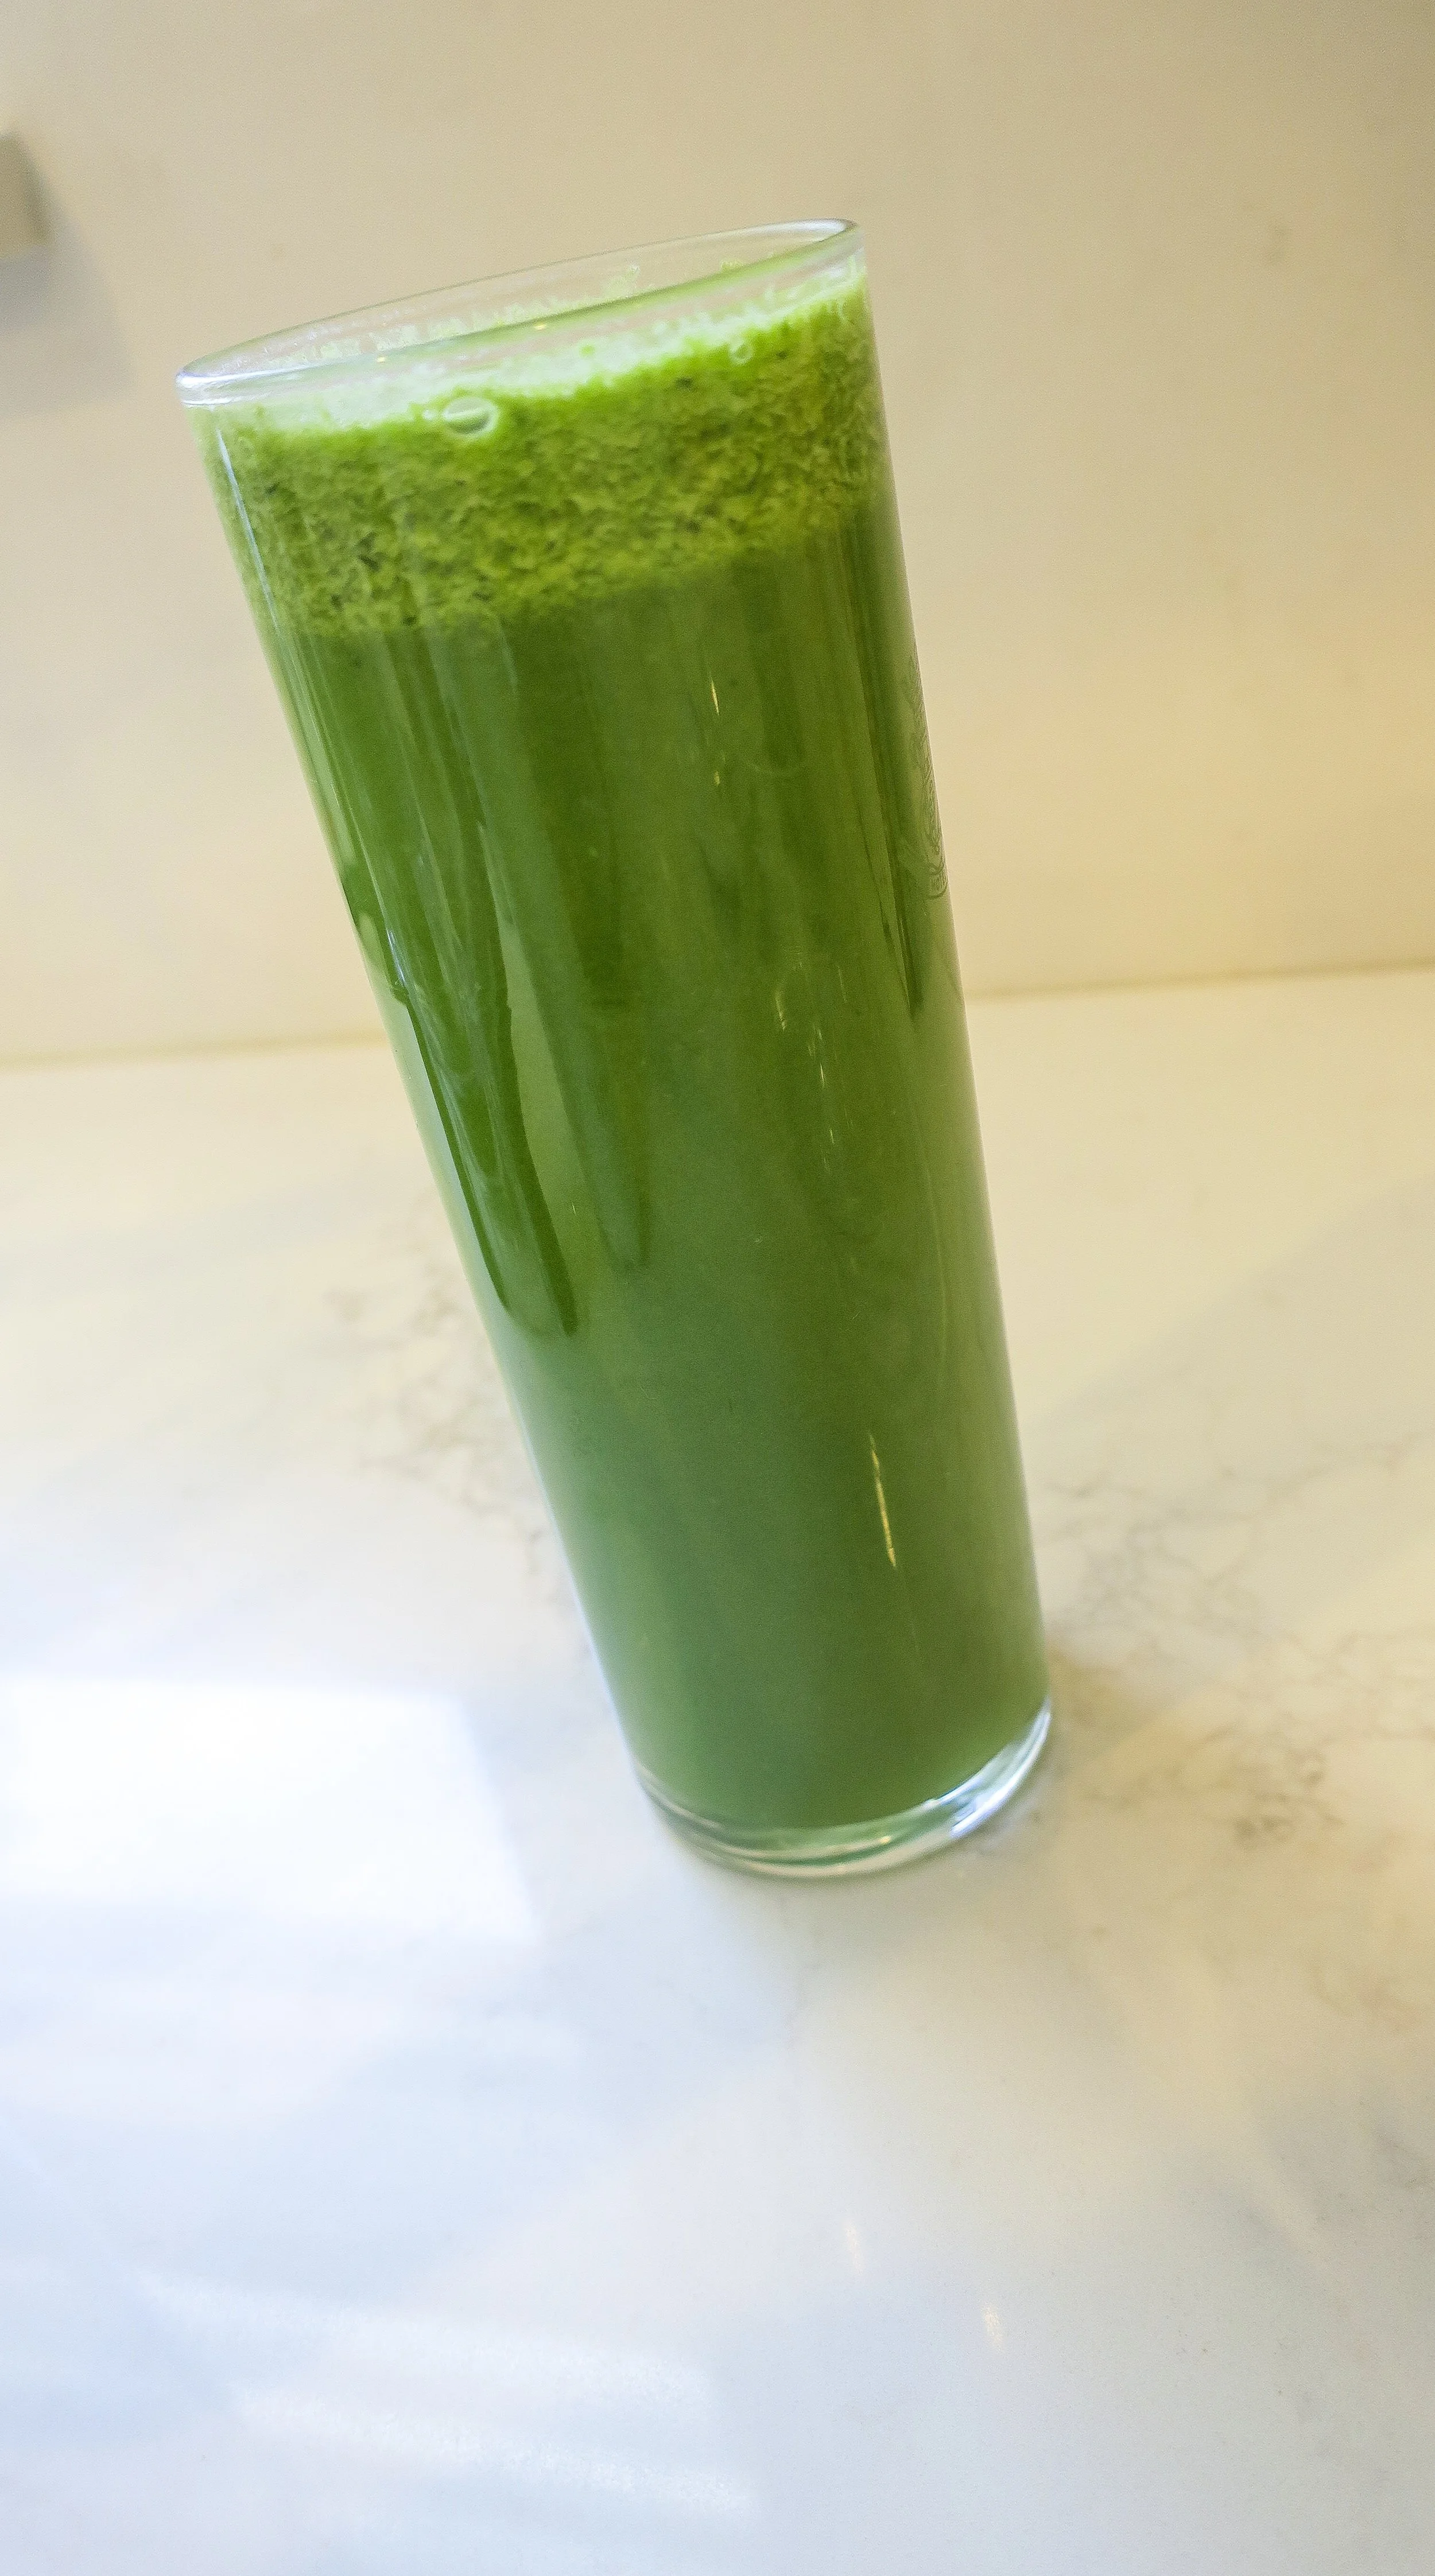
Looks SOO good! Don’t be scared of greens!
Juicing Tips:
Always, always use organic vegetables and fruits...you're juicing everything out of the veggie or fruit so you don't want a glass full of pesticides!
Scrub/wash all veggies and fruits before juicing
Apples - Remove seeds! They contain cyanide...enough said.
Always quarter larger fruits or veggies, if you don't, they might get stuck and you'll be losing out on precious juice!
Put in leafy greens with a heartier fruit or veggie, like an apple. I find that you get more juice from the greens this way.
Pulp - save your pulp for everything from compost to a soup base
Drink right away! For the optimum nutrients from your juice, its best to drink it right away. Also, because these are FRESH and not pasteurized, I do not recommend refrigerating them for any long period of time (over a few hours).
Green Grapefruit Juice Recipe (featured)
1/2 Organic Grapefruit, peeled (just get the skin off)
Large handful of organic baby spinach
One bunch organic celery (washed/scrubbed)
1 Organic Granny Smith apple (or any apple)
4-5 Fresh Mint leaves
*Juice on the "soft" setting if using the Breville juicer
Carrot, Apple, Ginger, Beet
5-6 organic carrots, washed/peeled if you prefer
1-2 inches of fresh ginger
1 organic red delicious apple
1 organic red beet, peeled and cubed
*Use the "hard" setting since these are heartier fruits/veggies.
Jamie's Morning Power Boost
1 organic red delicious apple
1/2 organic lime, peeled
1 handful organic baby spinach
2 inches of fresh ginger
1 organic cucumber (washed & peeled if preferred)
1 bunch of organic celery
1 small handful of pineapple (peeled and cut)
Juicing is such a great way to improve your overall daily health and a REALLY easy way to get in some fast nutrients, especially if you forgot to eat your veggies for the day!
If you have any questions, feel free to comment below or send me a message.
Happy Juicing!
XoXo - Jamie