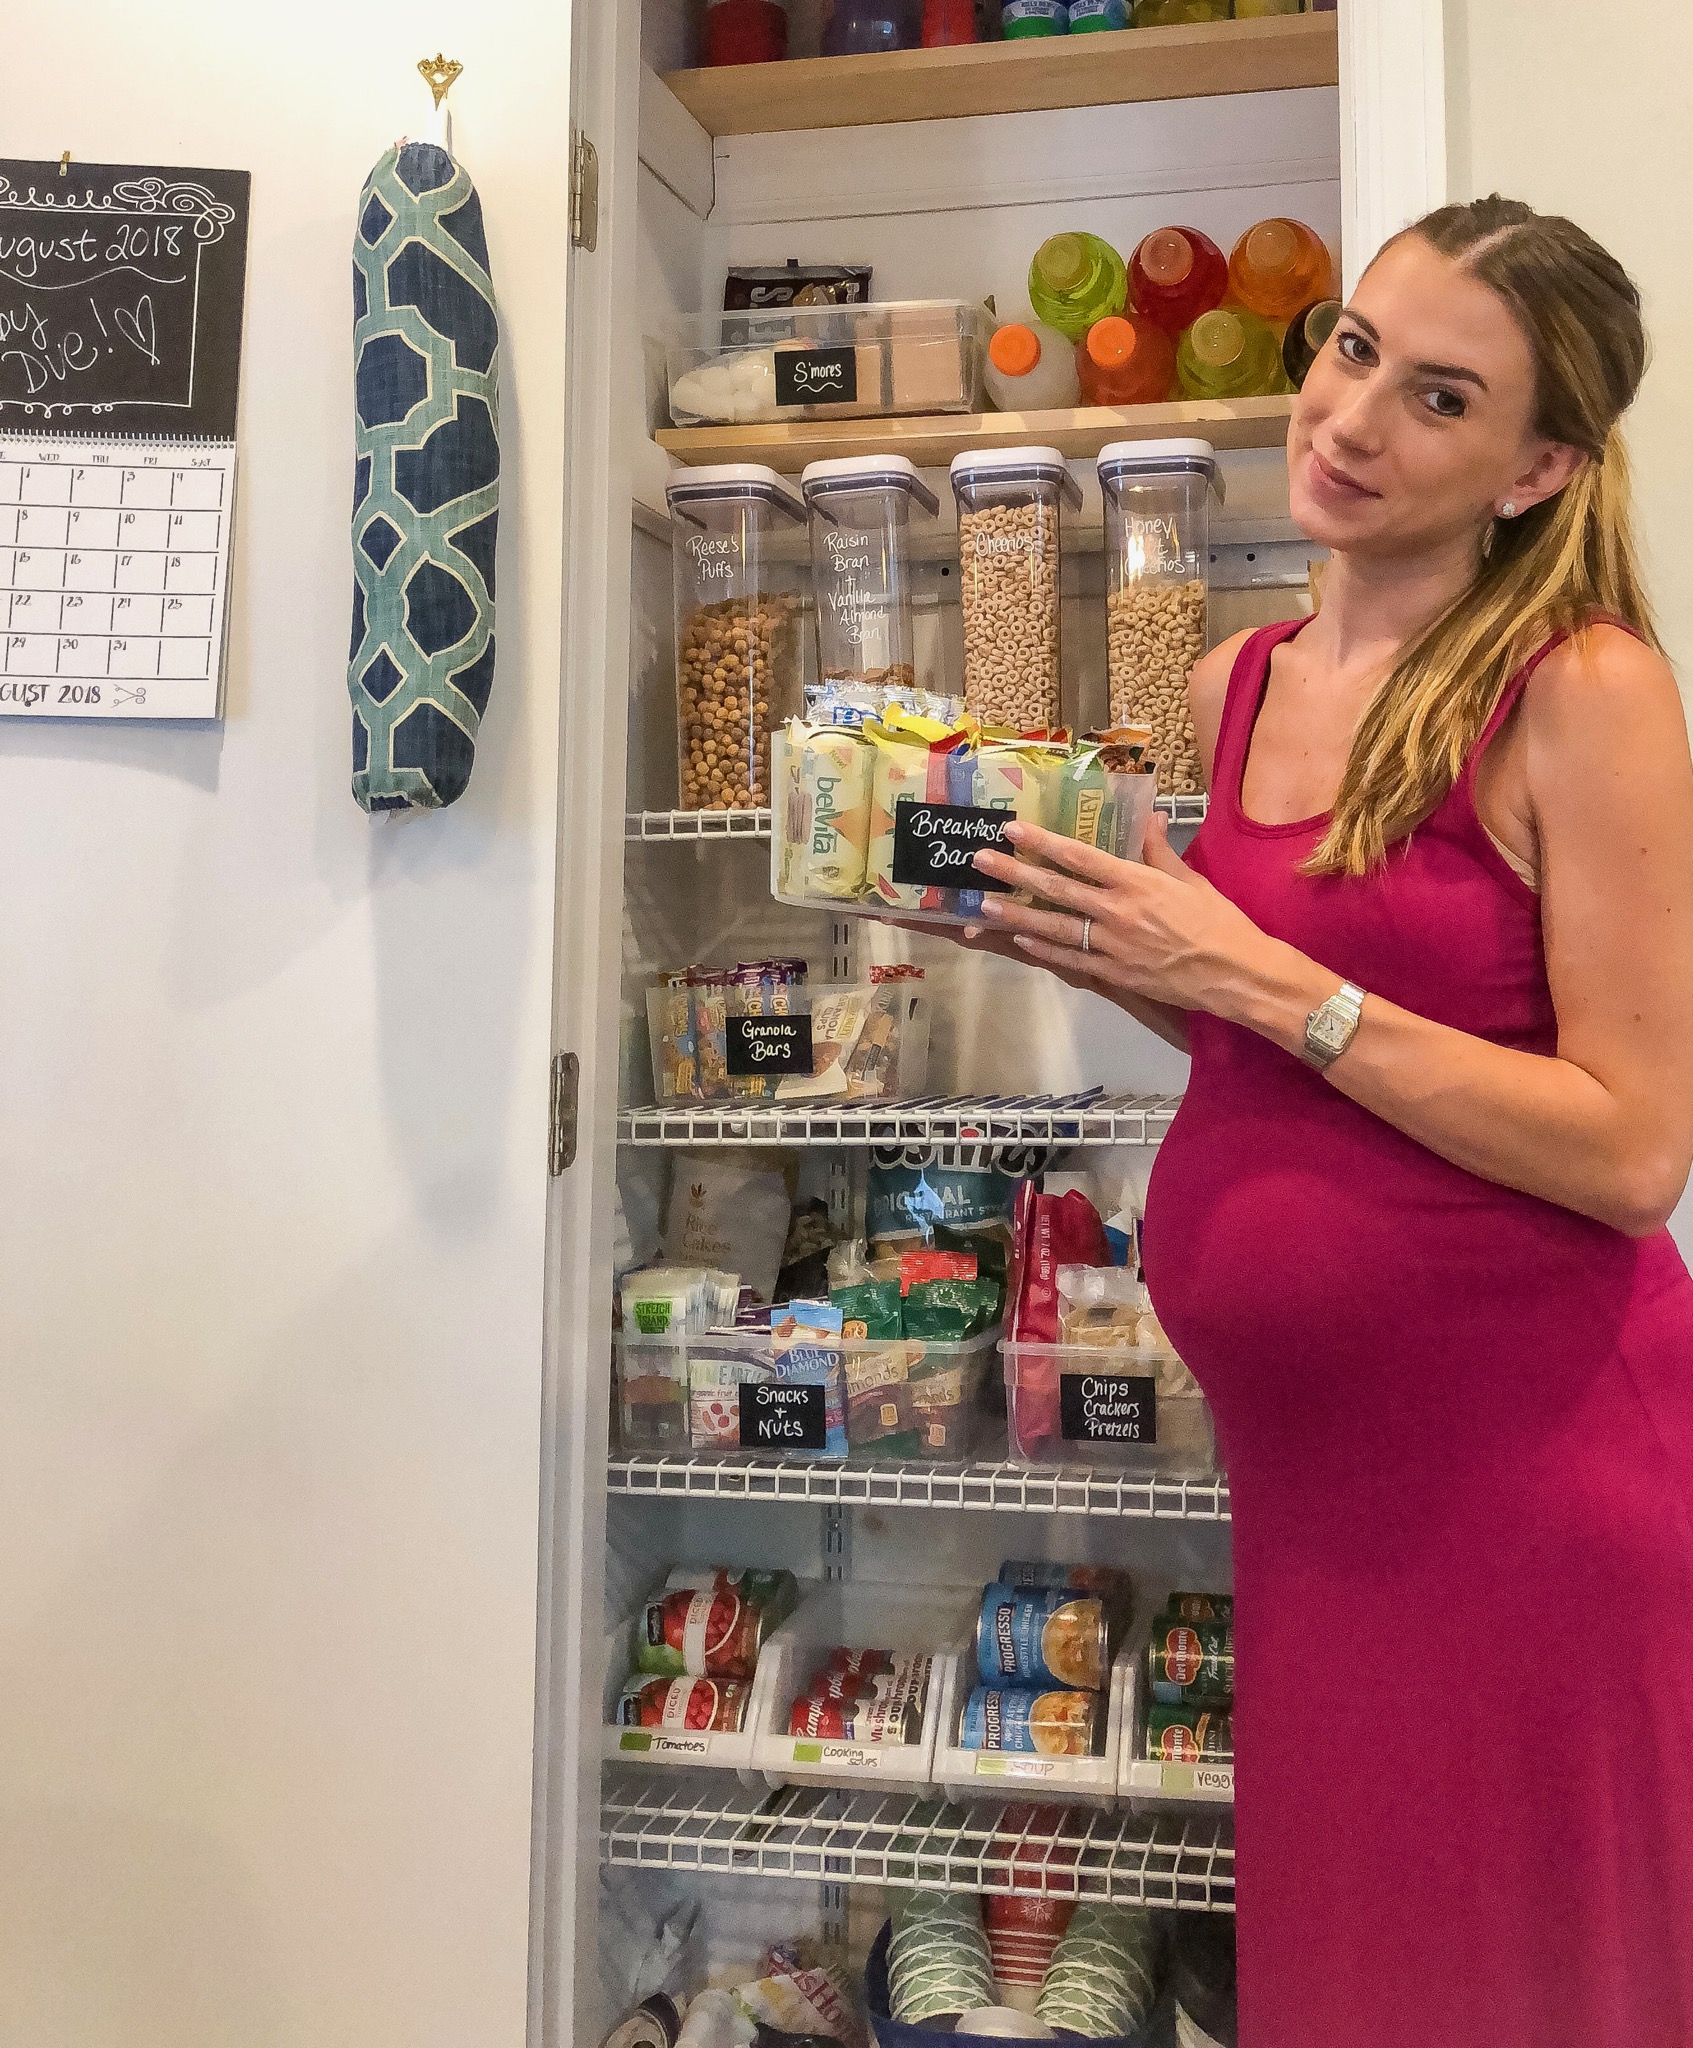
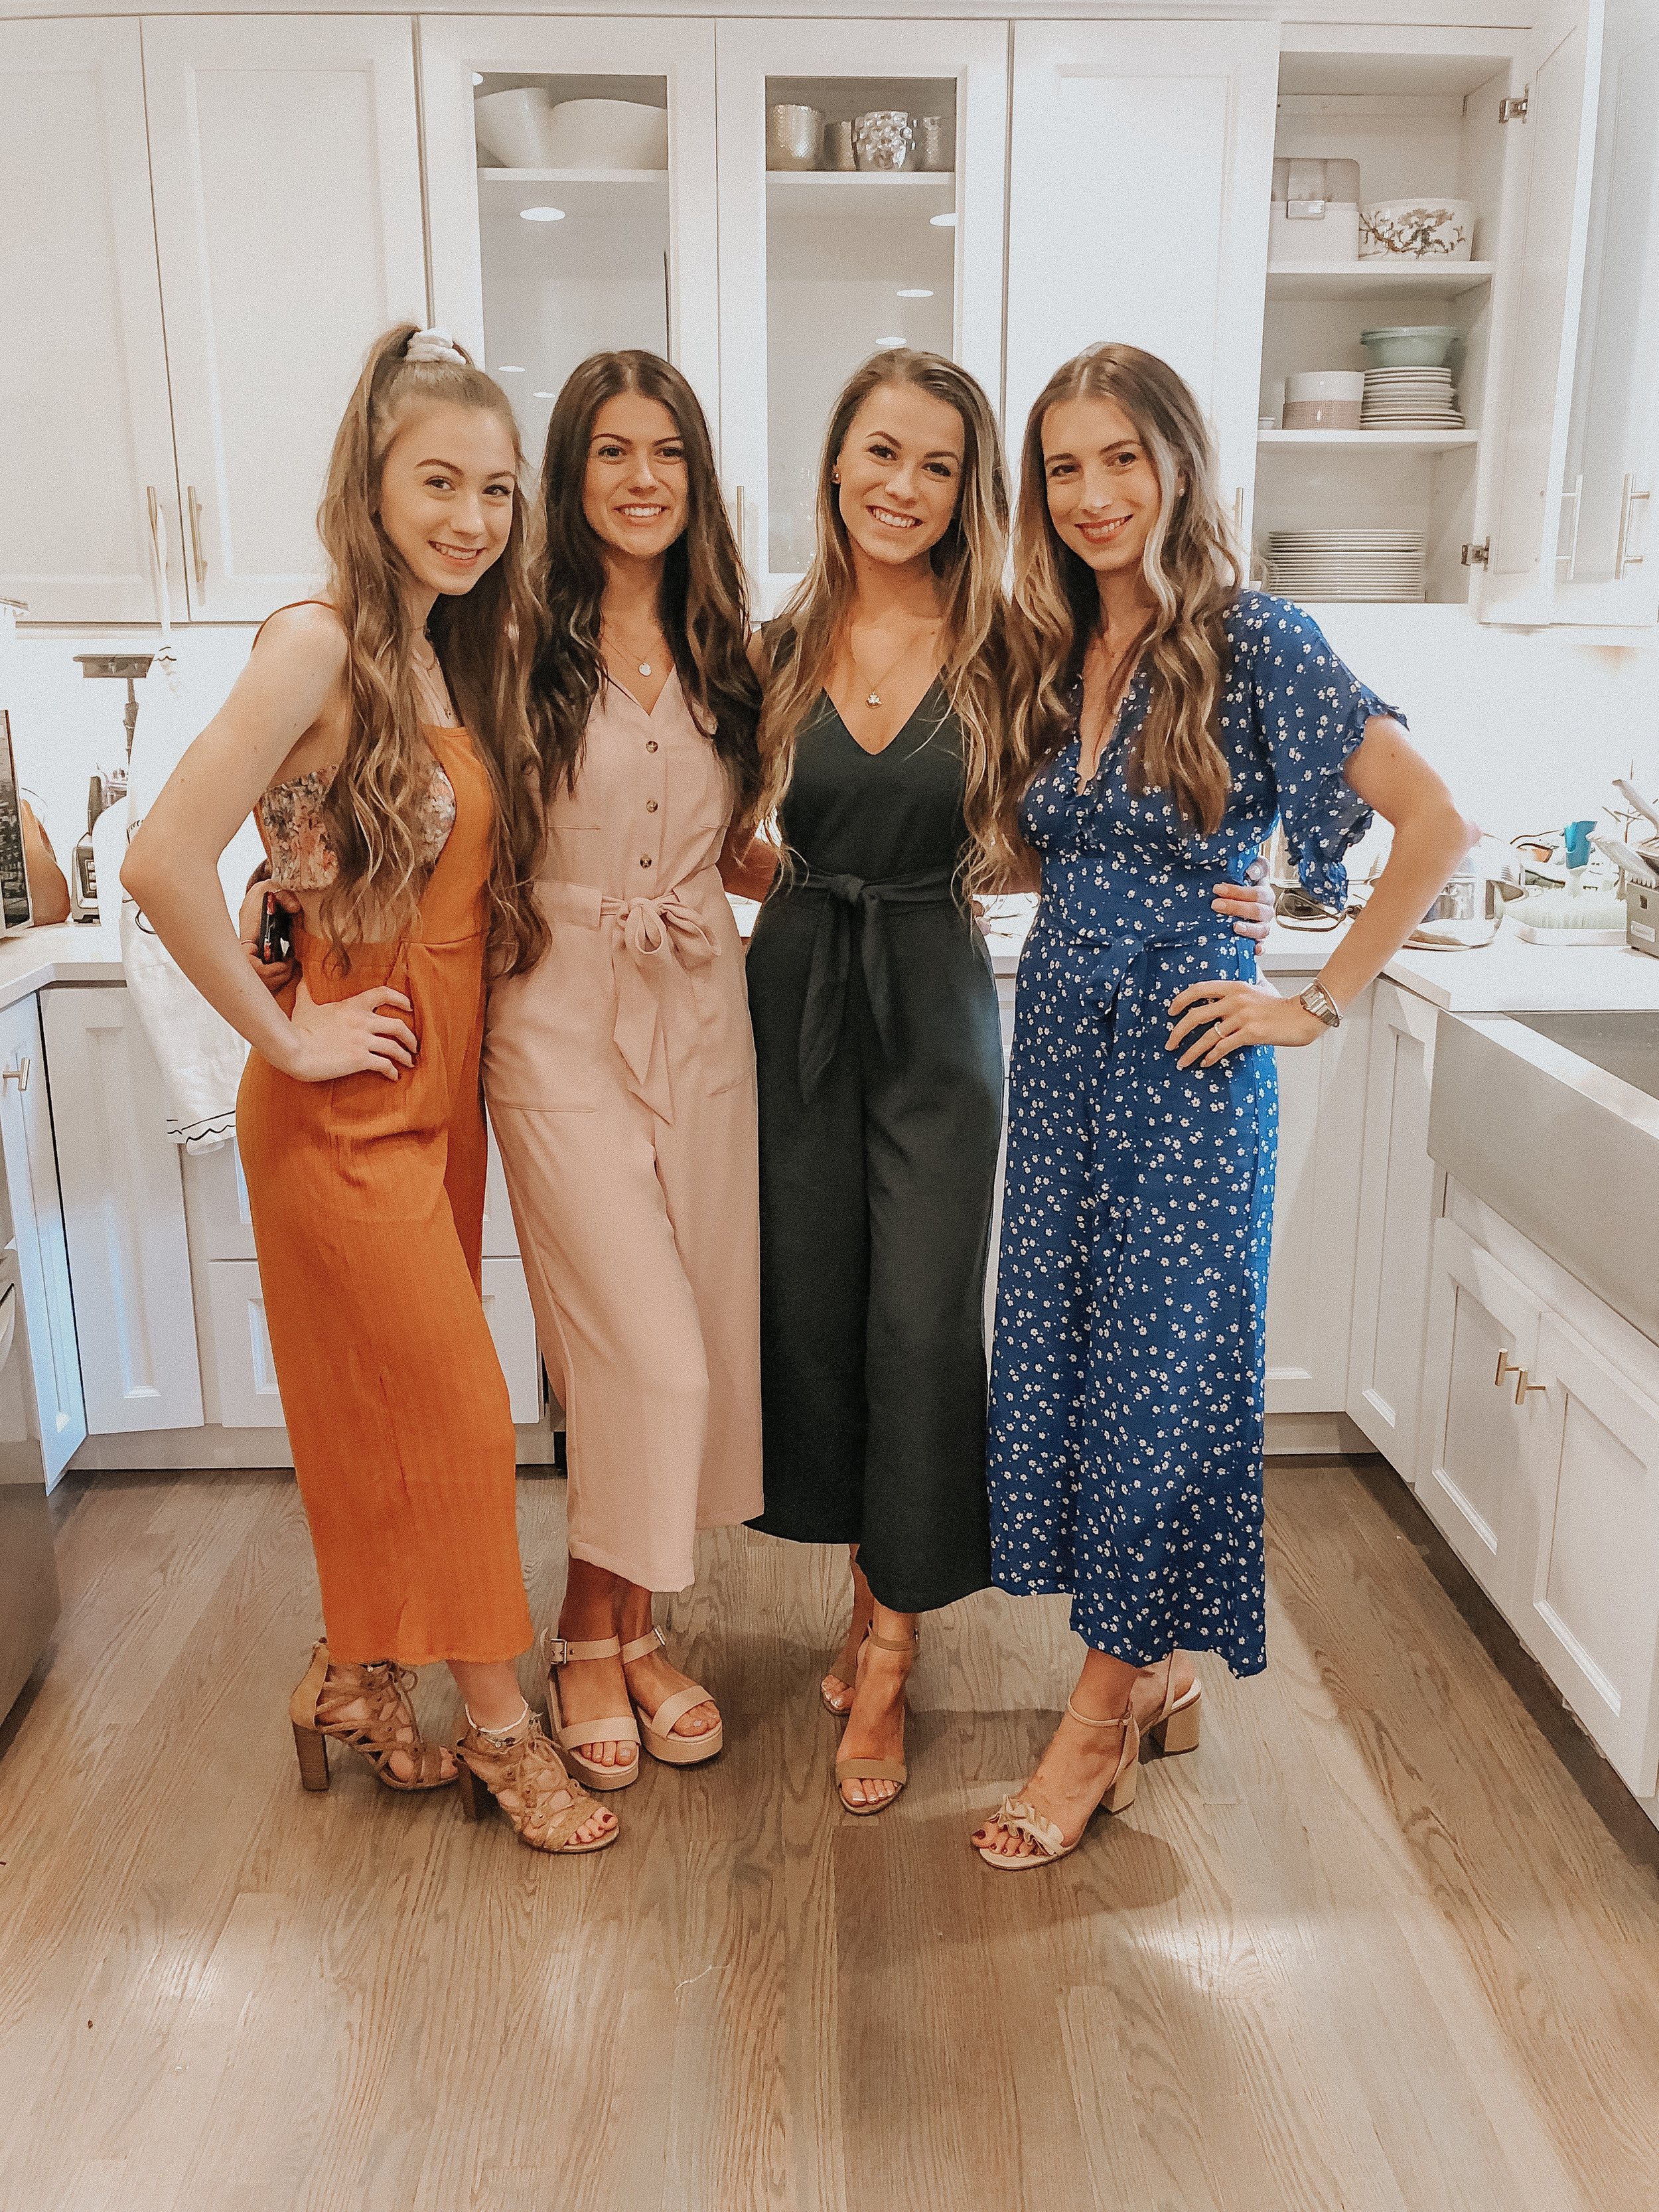
Hope you are all recovering from a weekend full of holidays! This weekend we hosted a party to celebrate Easter and Passover with 25 of our family and friends. The party was a success but the planning is always a process, so I wanted to share with you my TOP TEN TIPS for hosting any party. These tips will help you to plan for a gathering of 5 to 50 people!
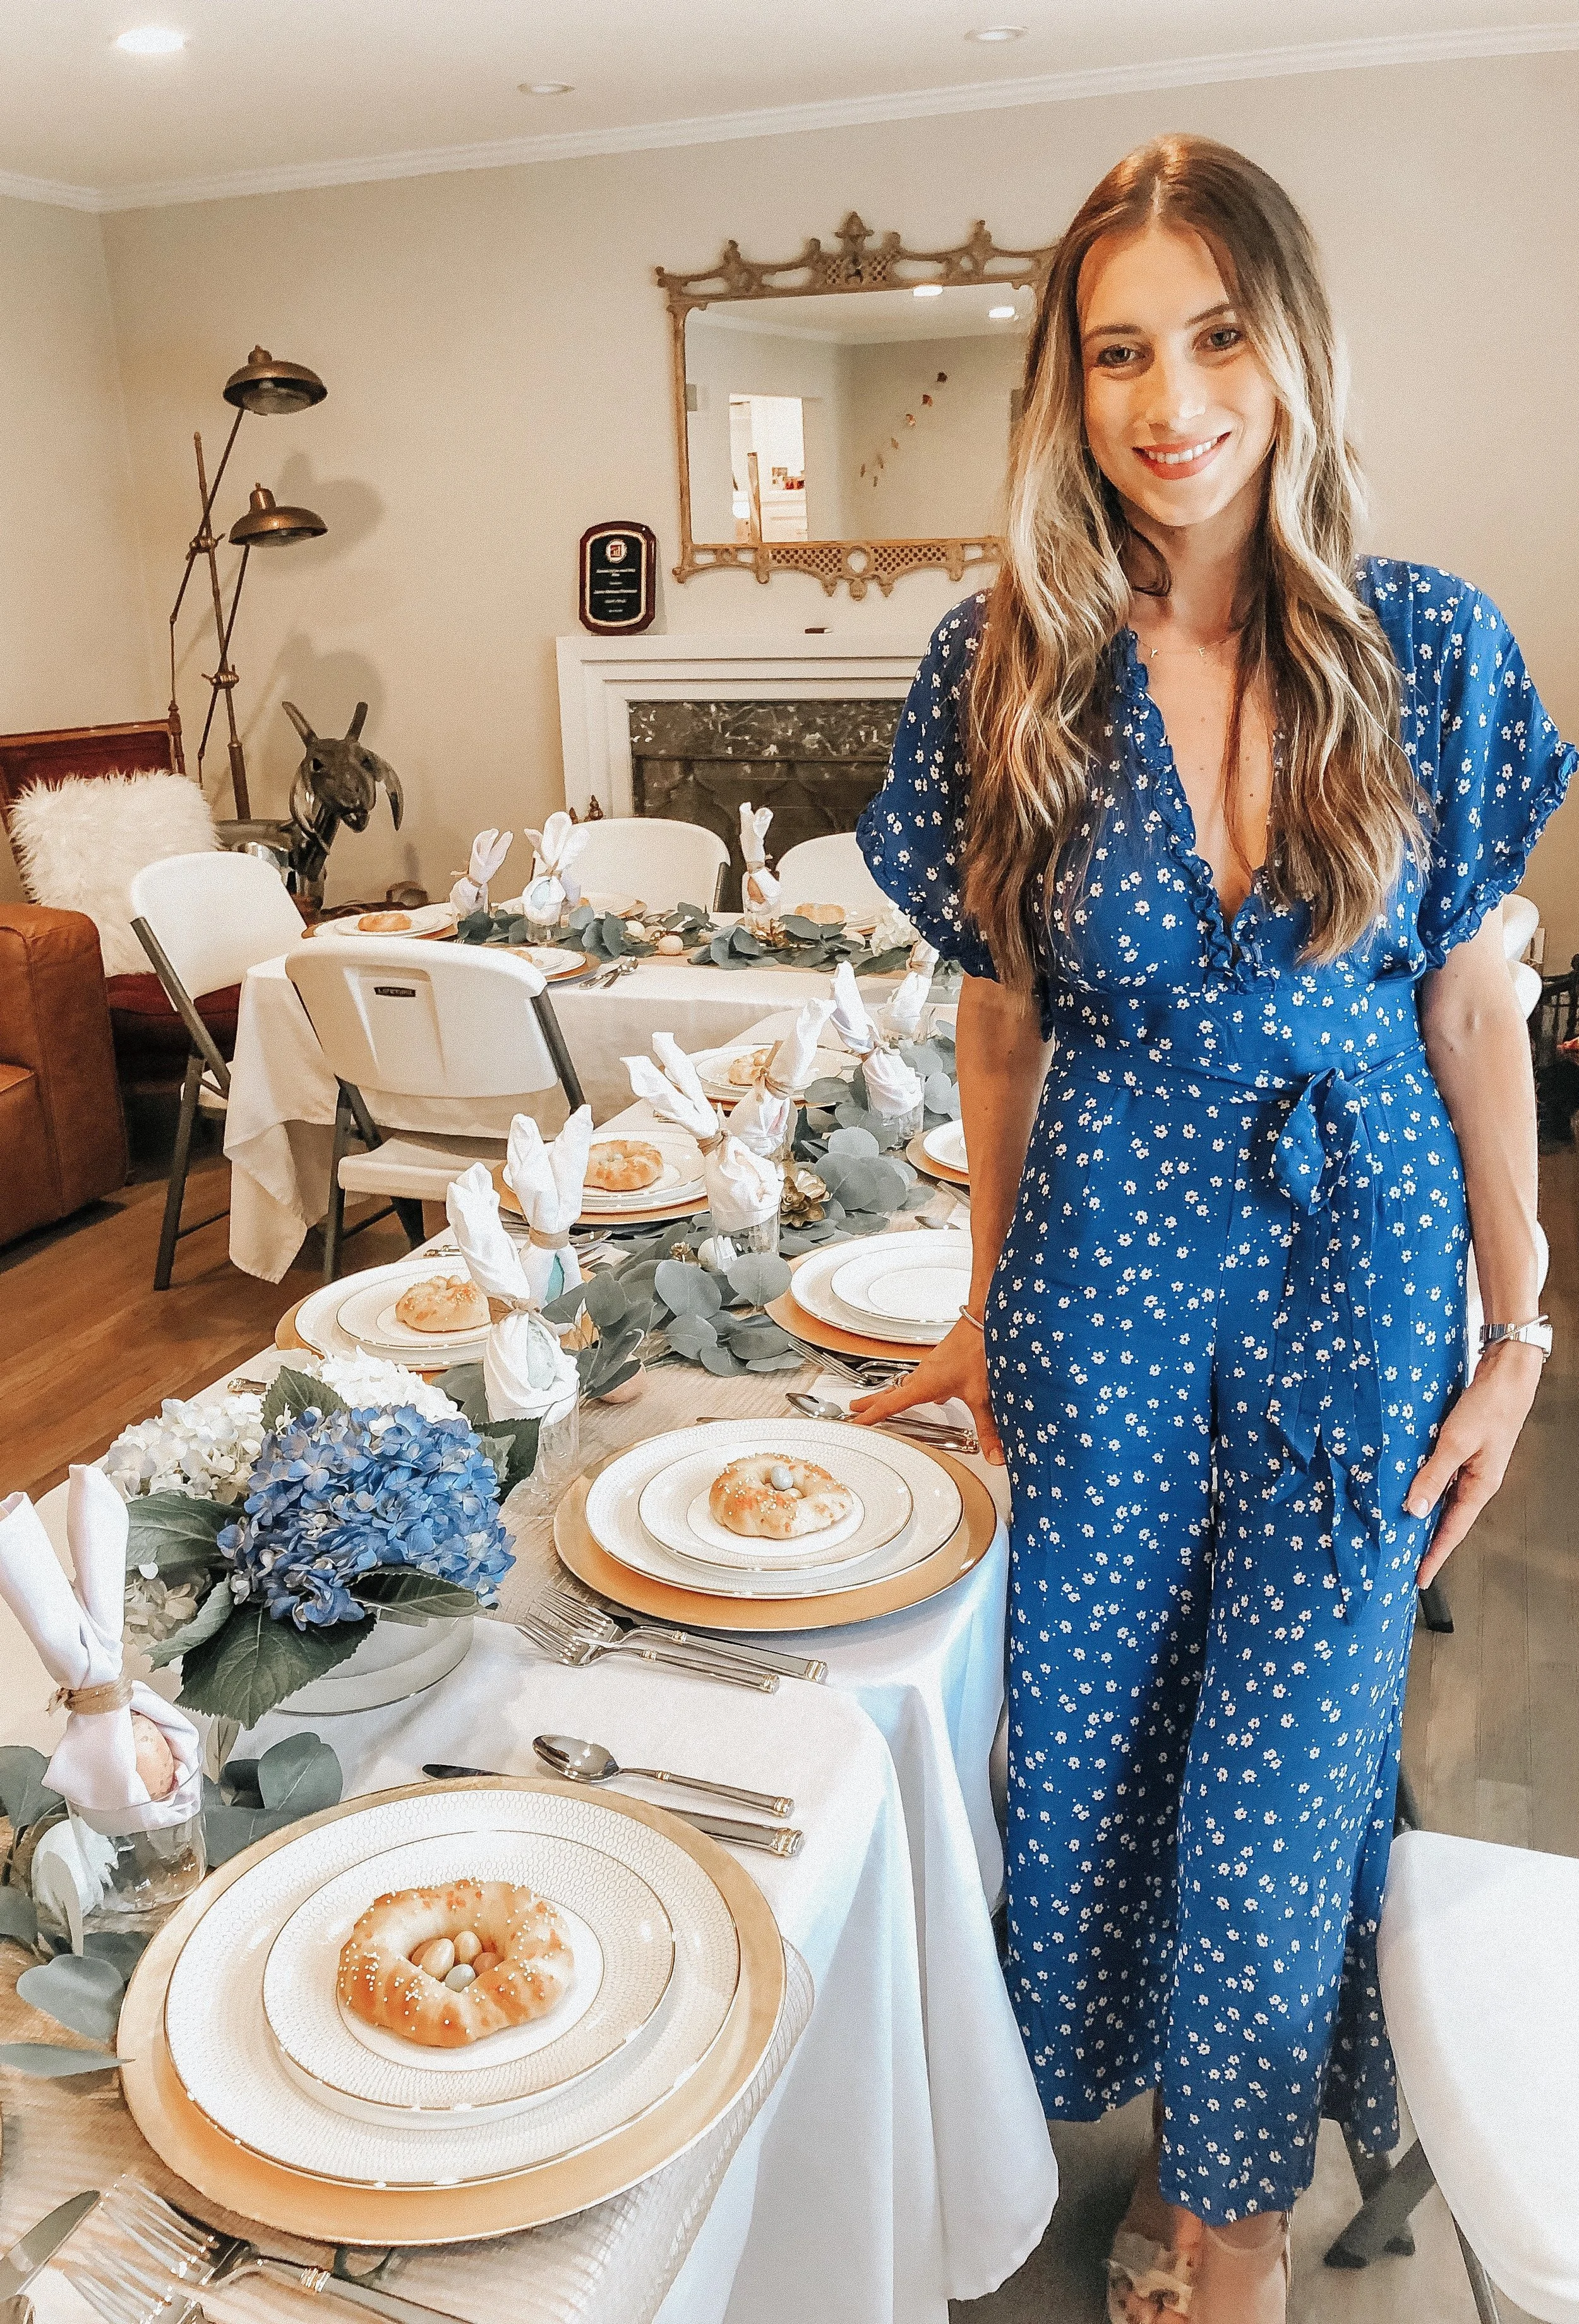
P.S. Also find a fund outfit like this jumpsuit - I’m wearing an XS for reference
TIP #1 - Make a Guest List and Send Invites
This first tip may sound obvious, but it is important! Making a numbered list of guests, and separating adults from kids, will help you get an idea of how many people you need to plan for with food, drinks, etc., and it will also help you set budget (see TIP #2). Once you have your list figured out, take the time to send out formal invitations. I typically opt for e-invites using platforms like Paperless Post because you can send it directly to an email address, see if your guests have received and opened the invite, track RSVPs and send reminders if anyone forgets to RSVP. E-invites are also nice because if you remember a guest you forgot to invite later on, you can send an invitation without worrying about whether or not it will get there in the mail. Paper invites are fine too and for really formal occasions I use them, but with busy lives, e-invites are typically my go-to!
TIP #2 - Set a Budget
Once you have an idea of how many guests you’d like to invite, try to set a budget and stick to it! With party planning it is really easy to get carried away and keep adding expenses here and there (I am my own worst enemy with this) but if you have a set amount you’d like to spend, it will help to keep stress to a minimum. When setting the budget, think about the type of party you want to have - are you looking to do a formal, sit-down dinner? Or a backyard barbecue? Do you want cocktails and crudités? Or a multi-course meal? You can set the budget per person for food or allocate a general amount for food and decor. See TIP # 4 for more on this!
TIP #3 - Choose a “Theme”
Theme may not be the right word but choosing a aesthetic for your party and deciding how you want everything to look is another important tip for making it appear that you have everything together (even if you don’t) and your guests will appreciate cohesiveness. Trust me, you don’t need to be creative to do this! If you want a rustic or boho theme, opt for things like burlap, white, and muted greens. Looking for formal? Stick to colors like gold, silver, black, royal or navy blues, and classic white. For summer parties or barbecues I like to use brighter, tropical colors like pinks, yellows, greens, and decorate with inexpensive pieces like palm leaves. If you are trying to decide on a theme, feel free to shoot me an email or comment below, I would love to help!
TIP #4 - Go Shopping (and How to Plan for Food)
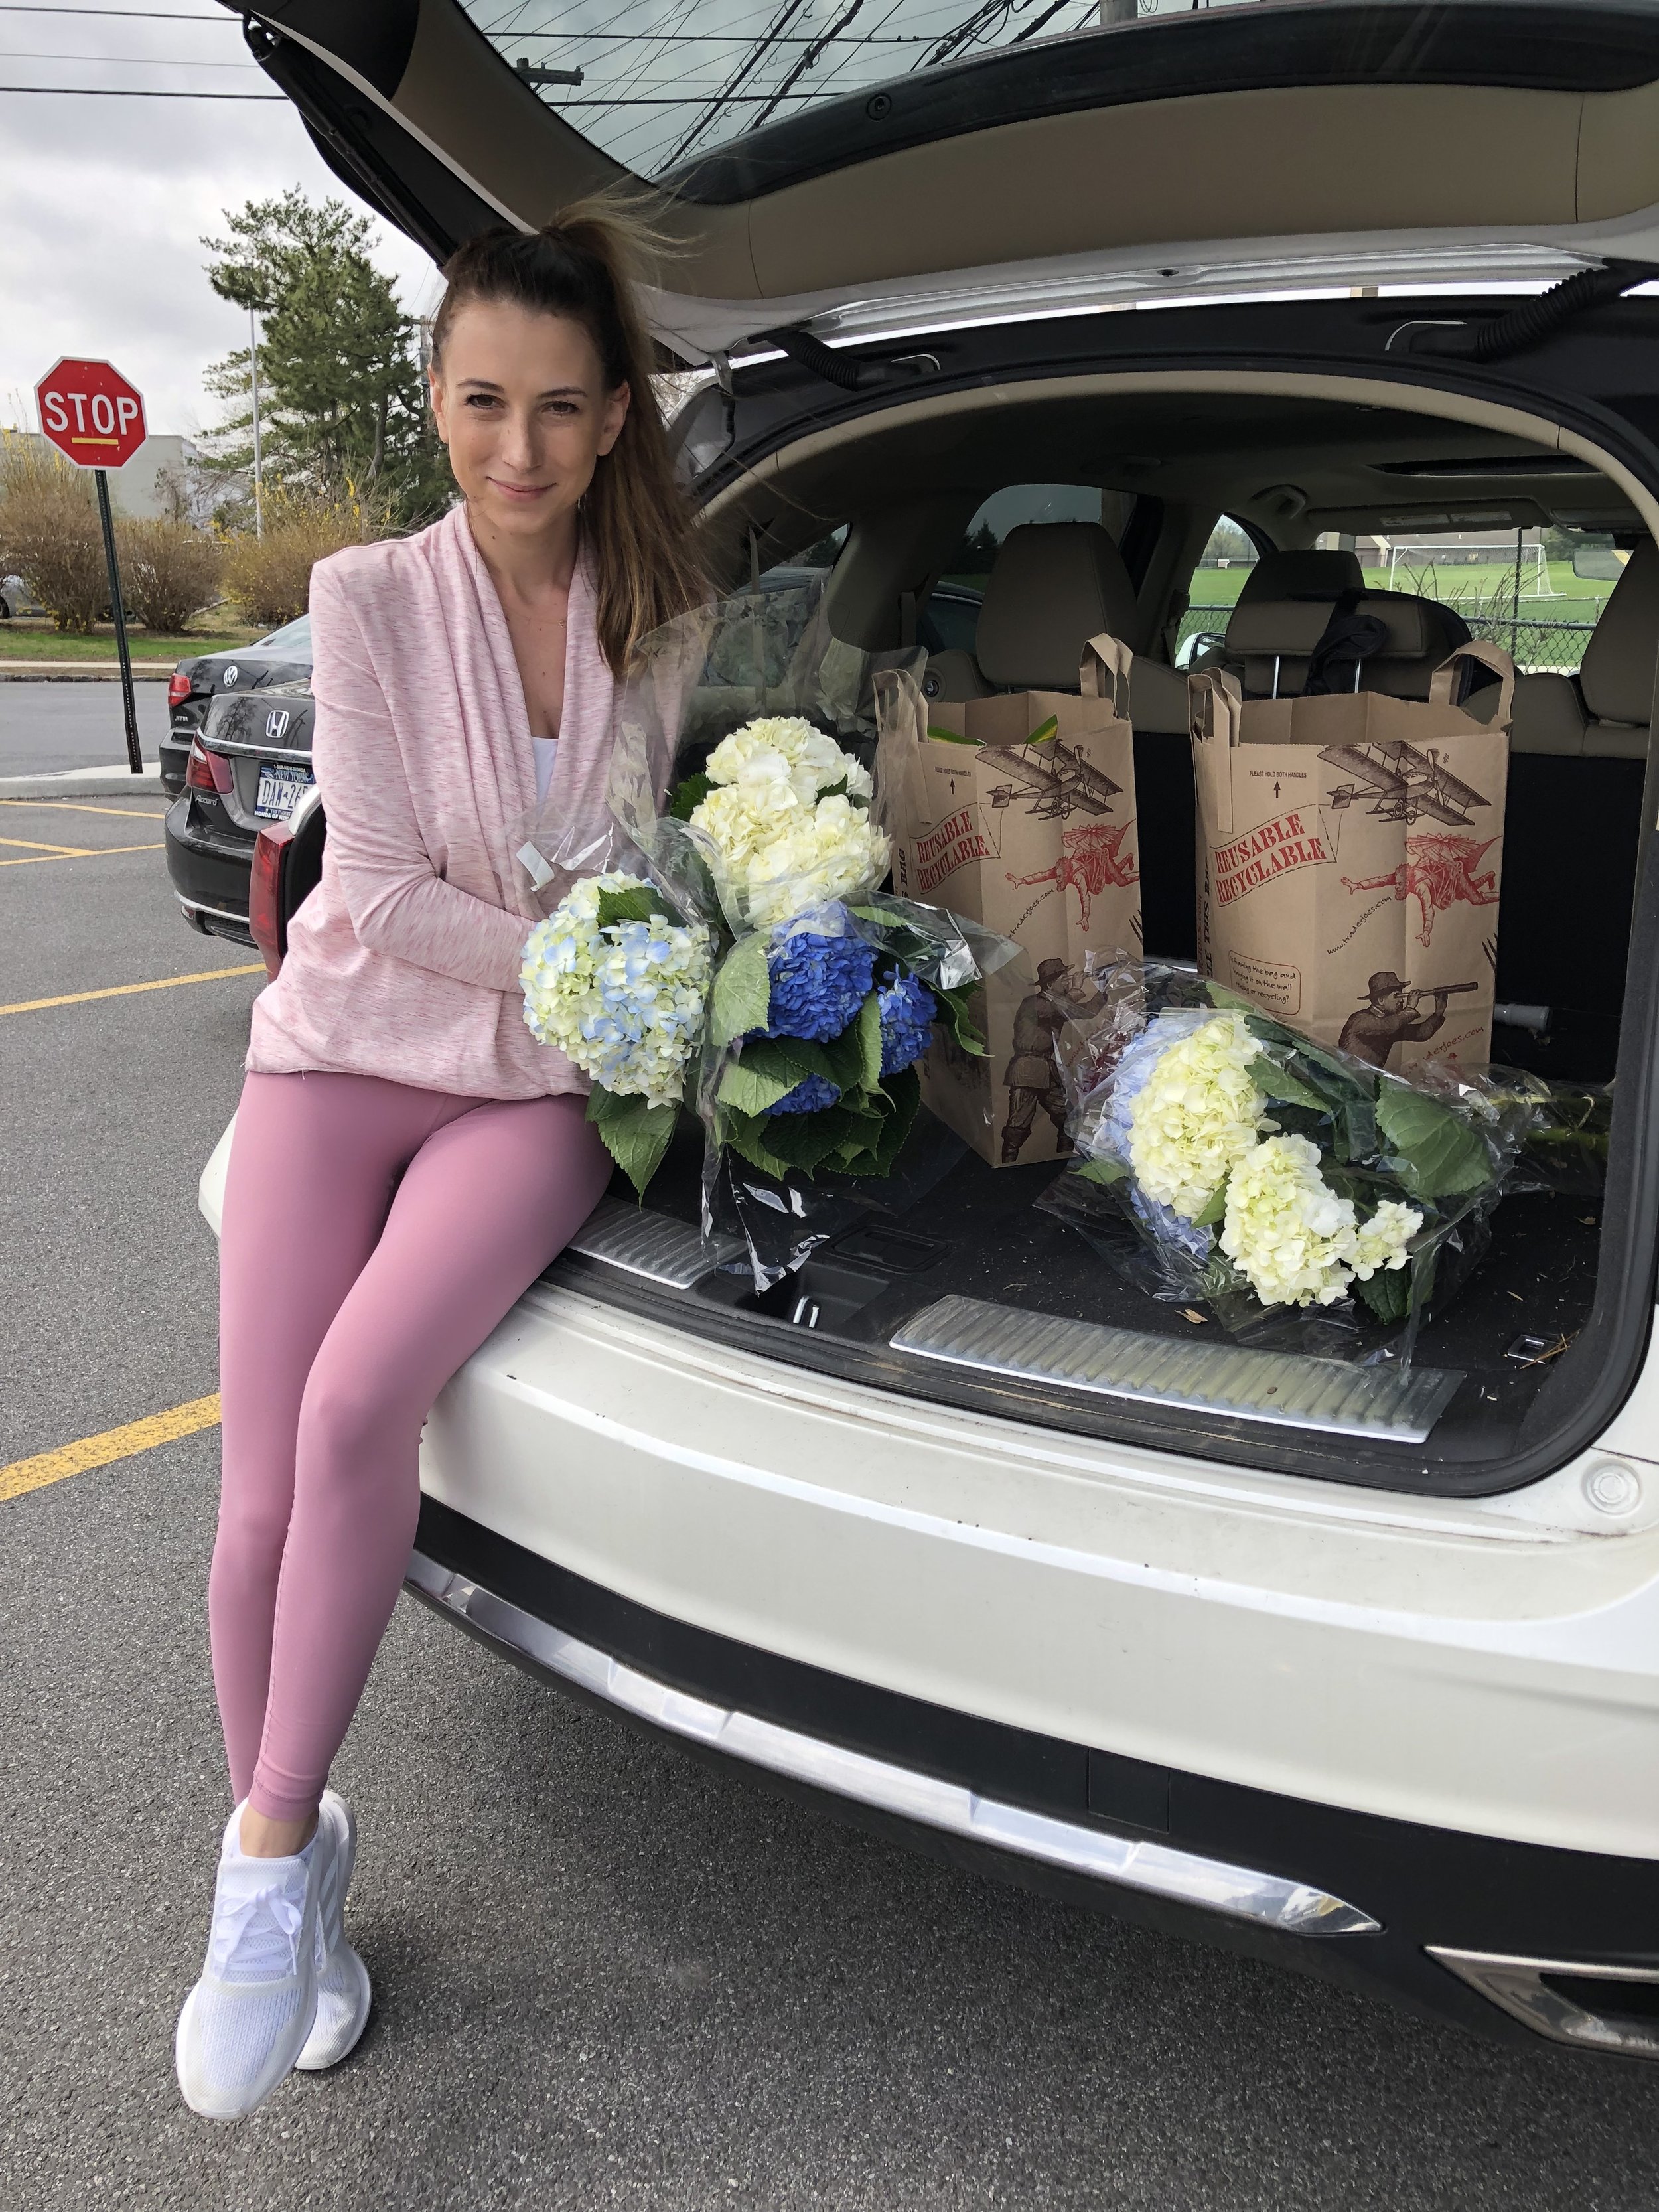
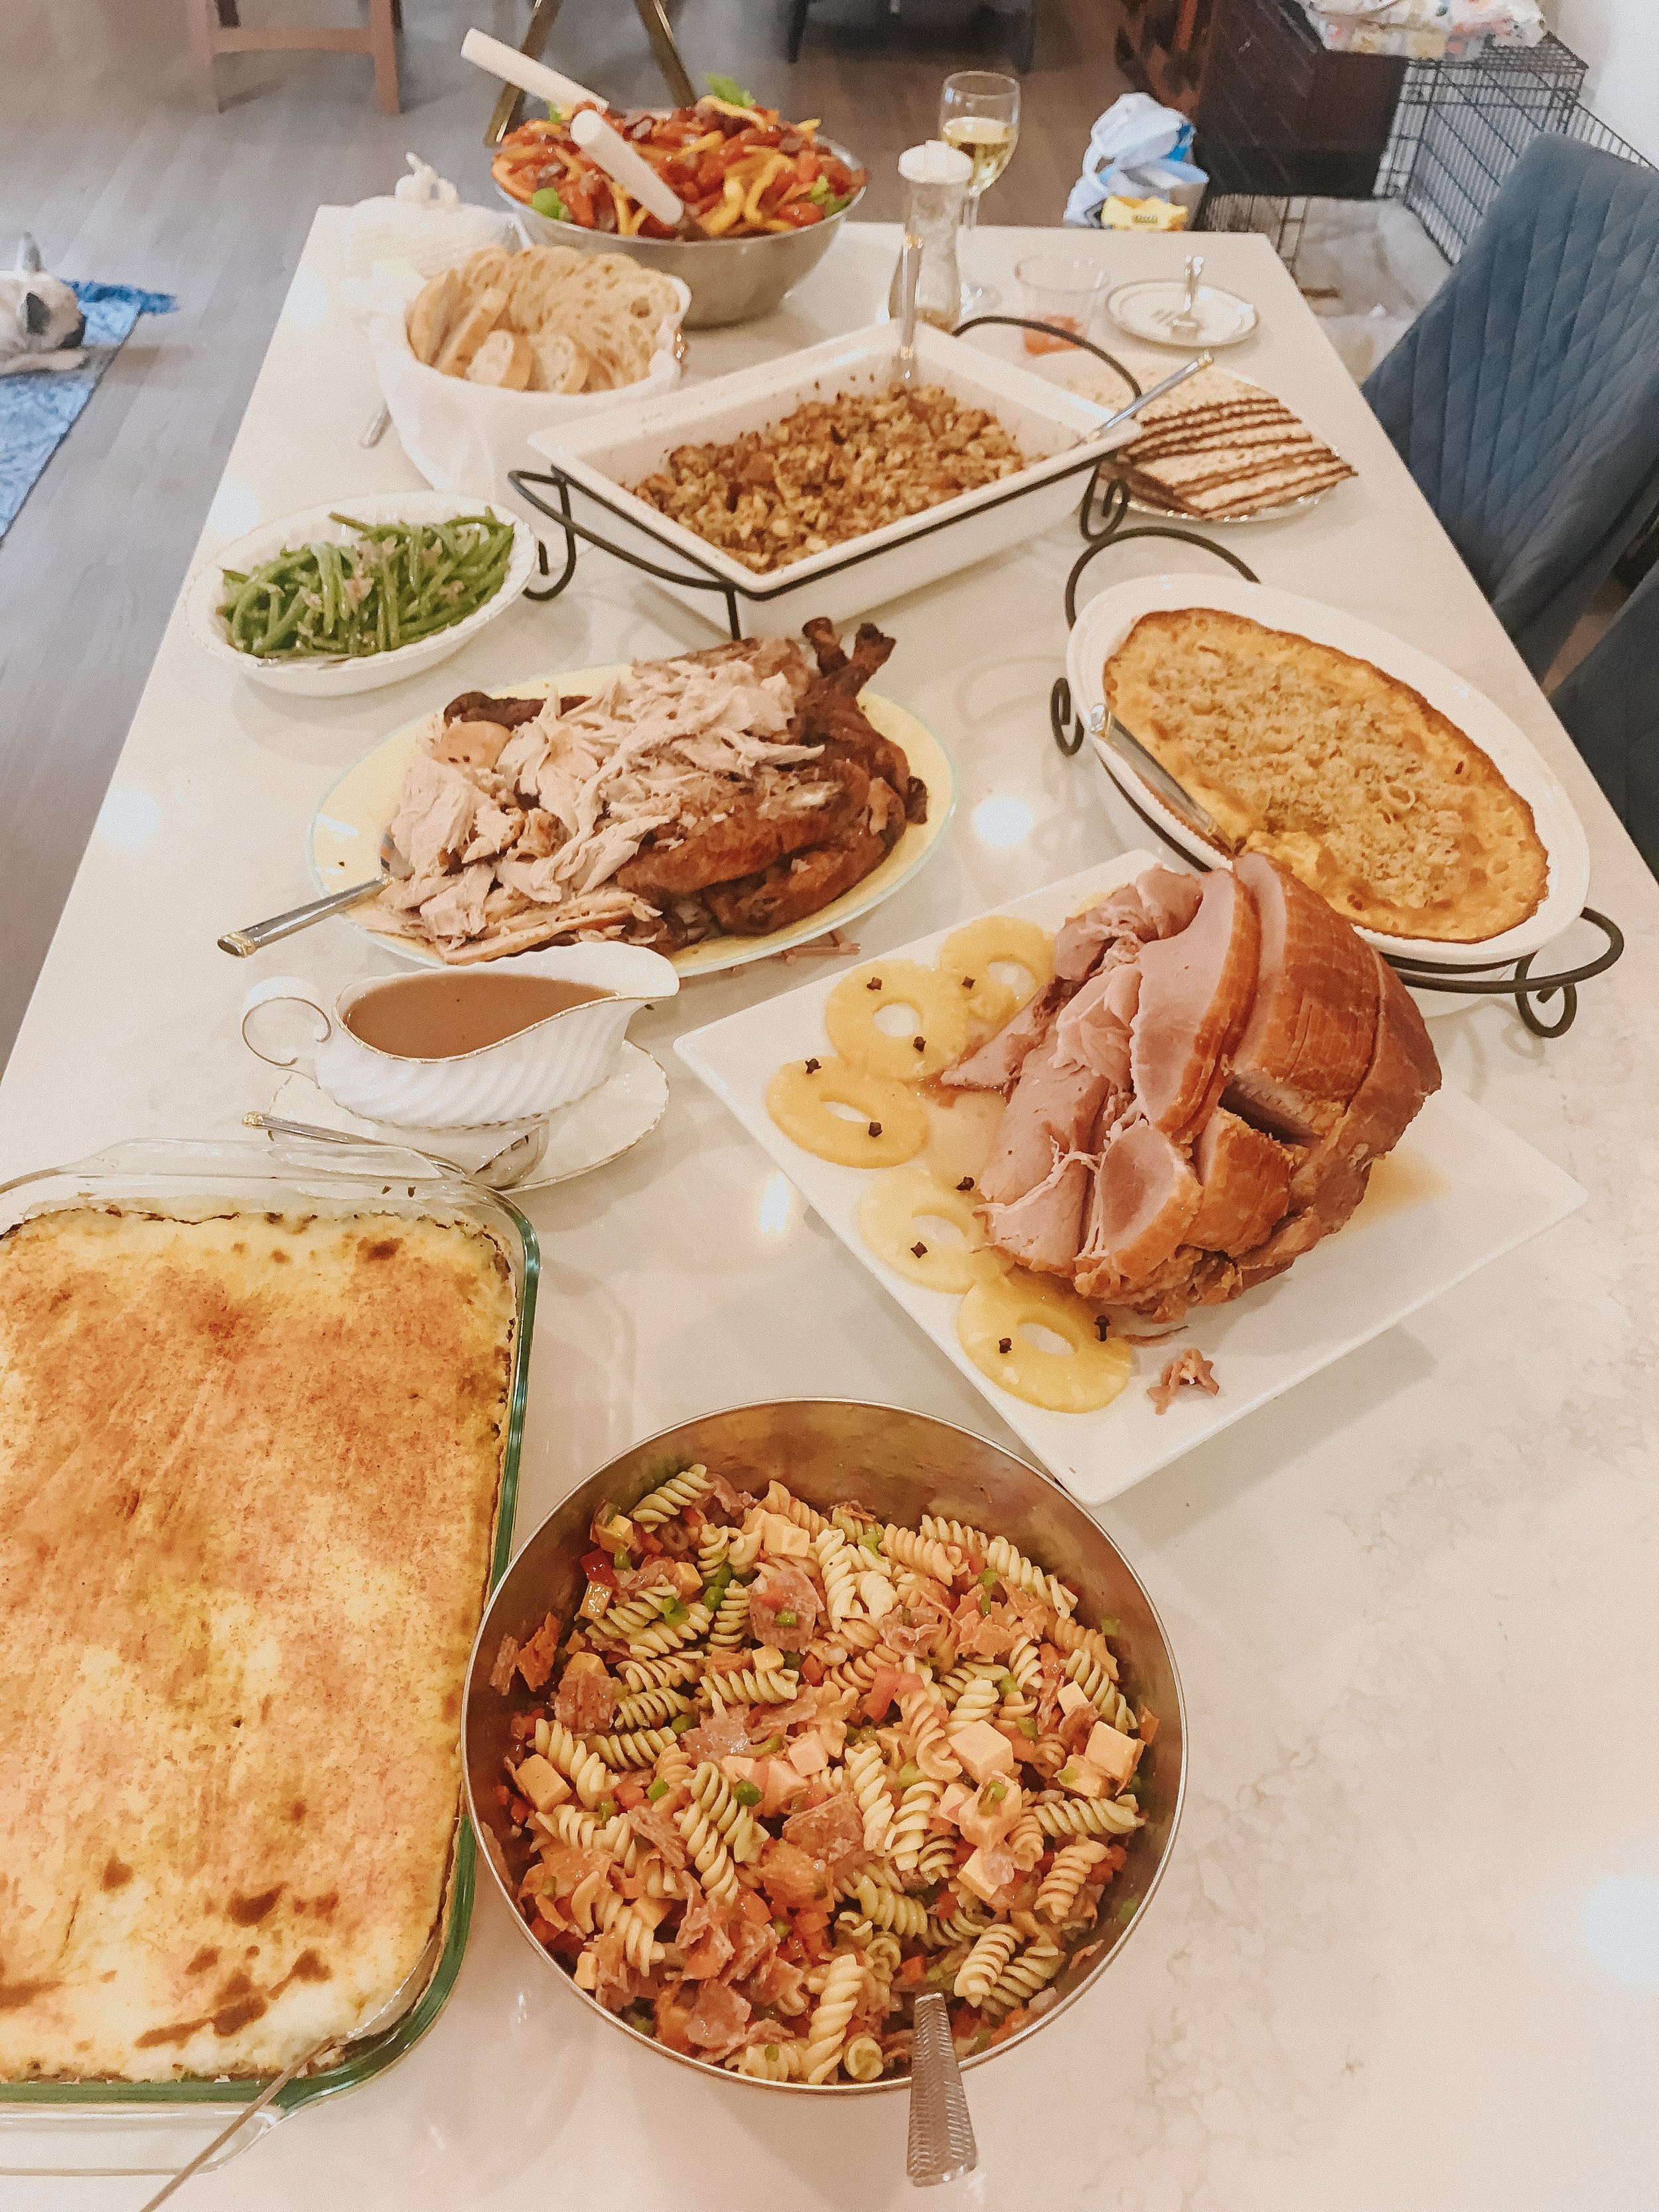
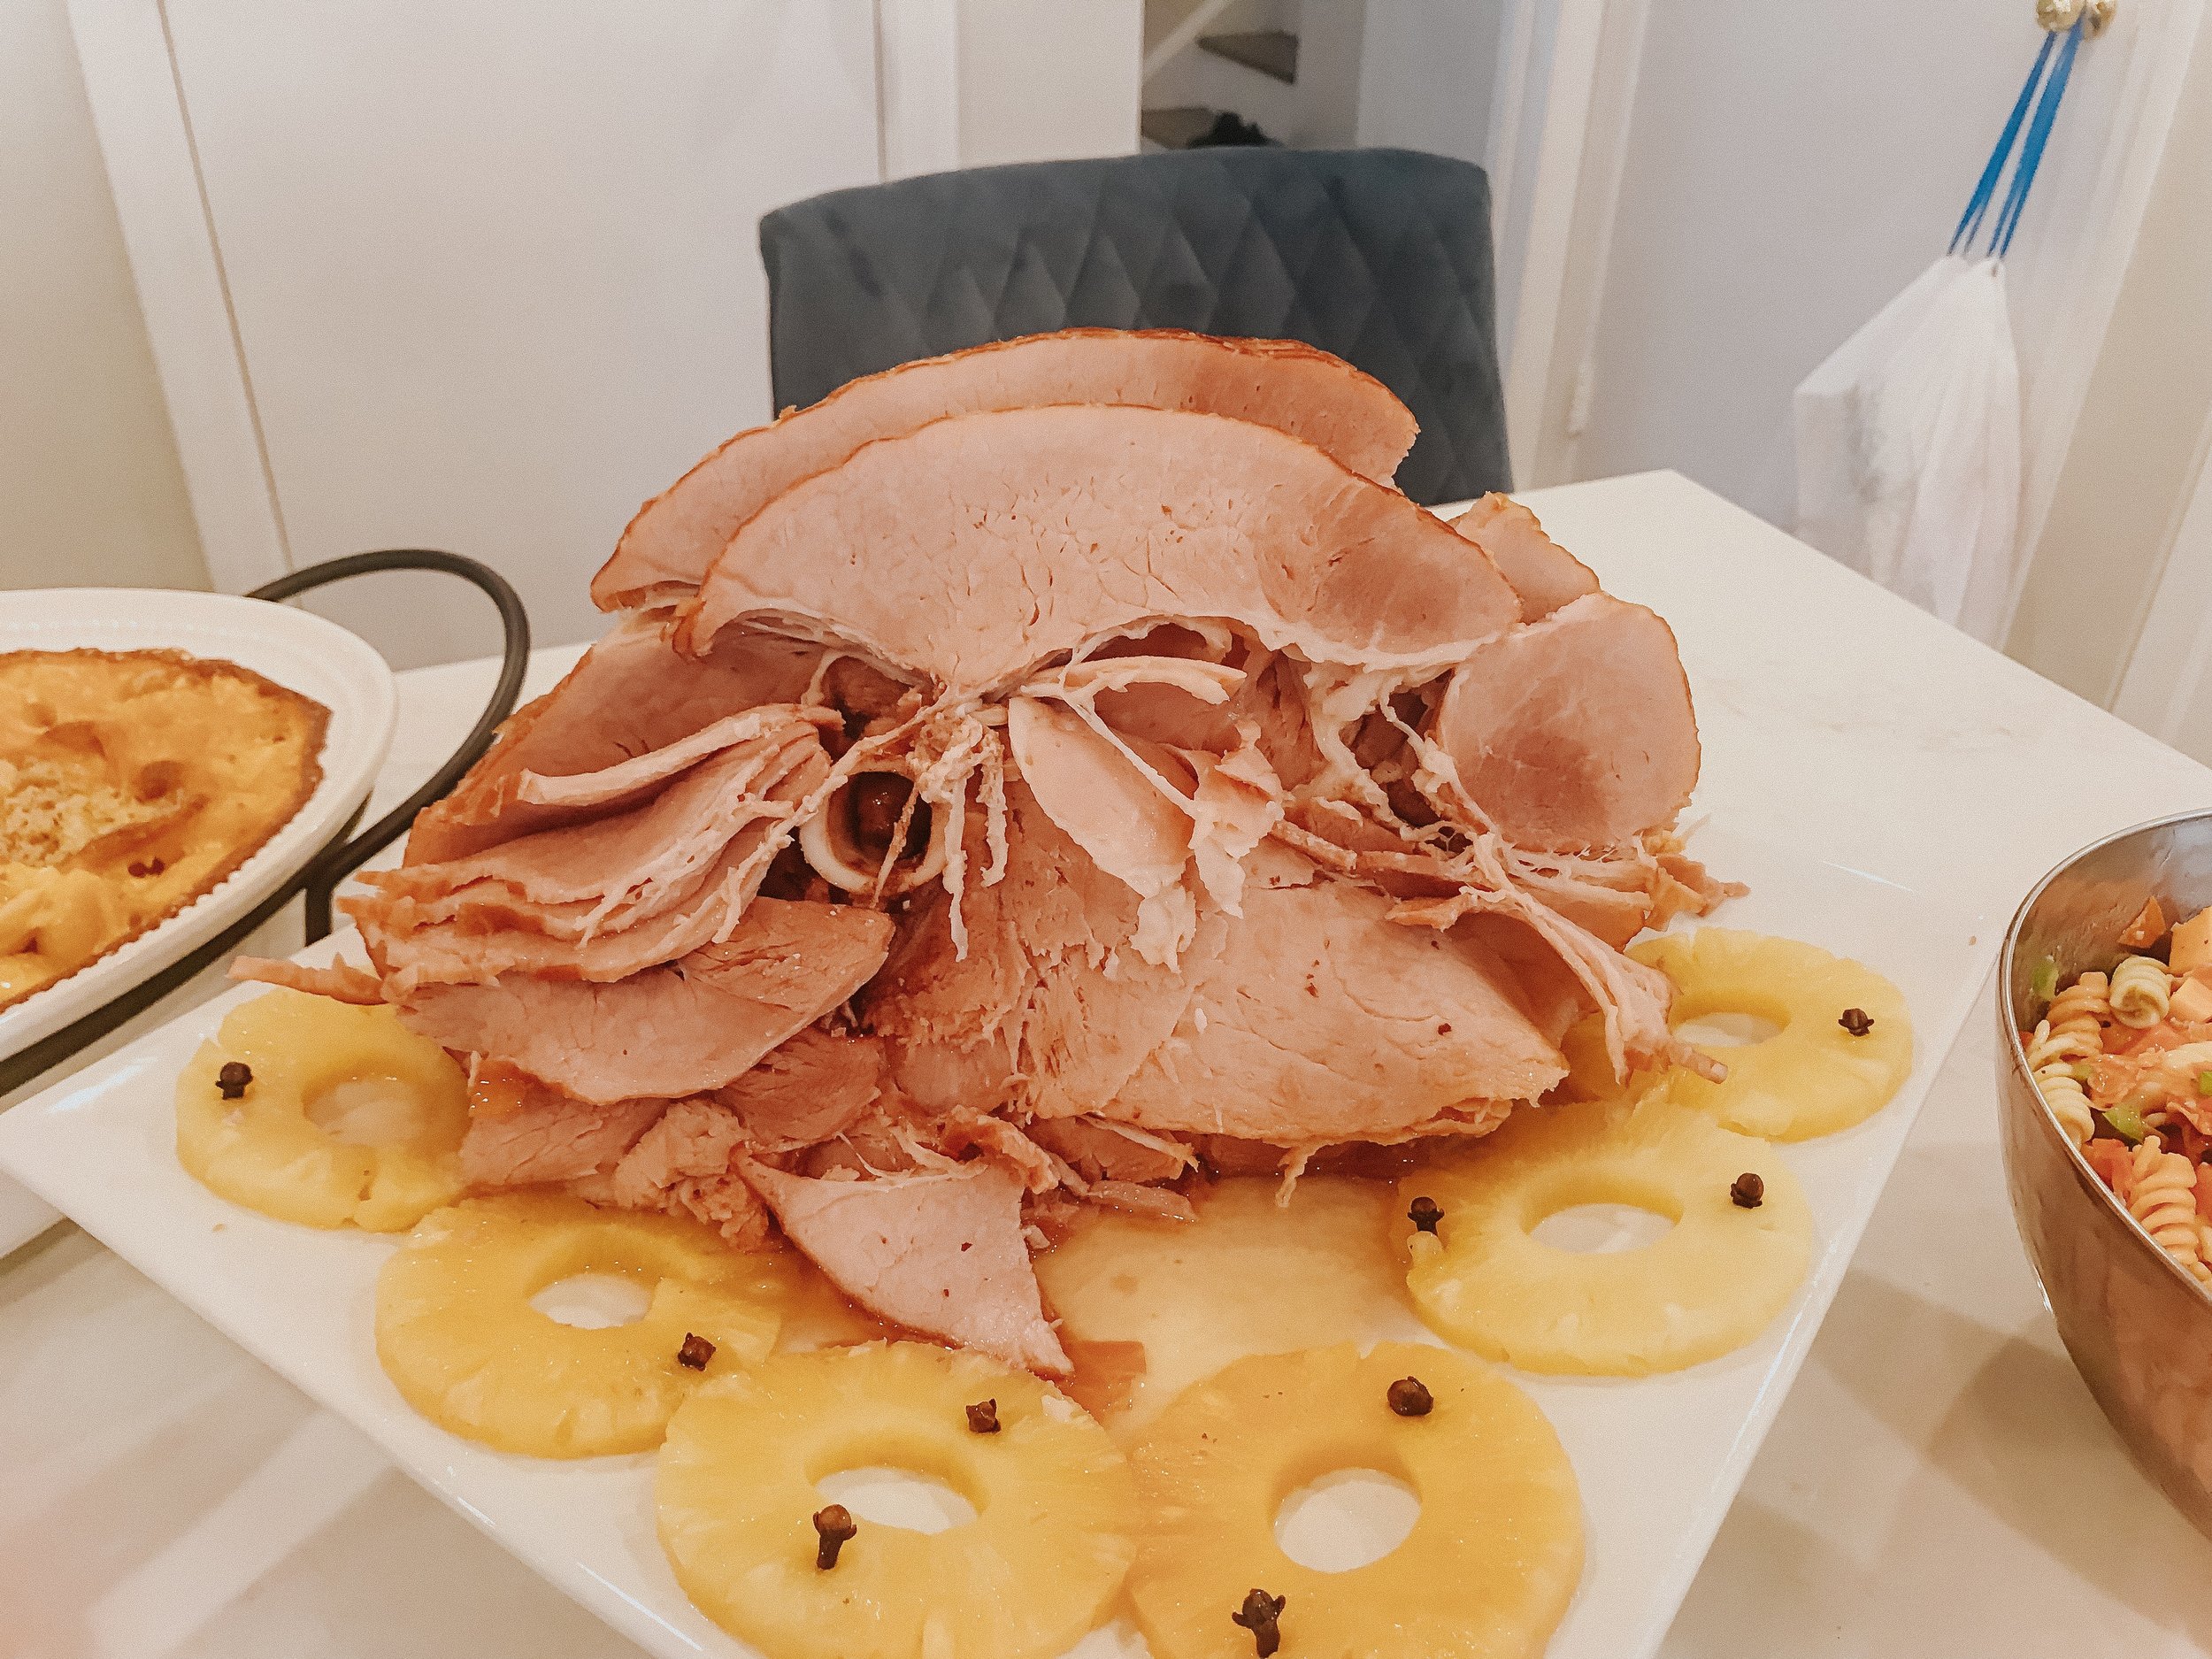
My rule for shopping is two-fold. First, purchase decor two weeks ahead of time (especially if ordering online) because it gives you time to add pieces later if needed and also exchange products if they aren’t what you expected. Second, purchase food the weekend before, if possible, or the week of, but not later than 2 days before. Buying the food can be a challenge because things don’t last forever. I like to buy things like proteins ahead of time and freeze them if needed. For our party we had a ham and turkey that were frozen and we thawed them out a starting on Tuesday for a Saturday party. For things like vegetables, fruit, cheeses, and any cooking ingredients, most can be purchased 5 days before and will keep. Use your best judgment here and pay attention to how the food looks before you buy it. If the strawberries look super ripe, maybe hold off for a few days. When figuring out how much food to buy, I like to follow the rules of one protein for every ten people or 1/2-1 lb of meat per person. Obviously this can vary greatly but we come from families who LOVE leftovers so having extras is never really an issue. I also like to have variety so I want to give people the option of two different meats. And for things like a barbecue this can mean chicken and burgers, you don’t need a fancy carving protein! For sides I like to have two sides for every 10 people and 1 vegetable. You can be creative here depending on dietary restrictions, etc., but I think the more variety, the better. For desserts, always have at least 2 options, no matter how many people! If you are doing more of an appetizer type party, I like to have 5 different items for 25 people and estimate 3-4 of each per person. Oh and speaking of appetizers, I always like to have something for people to nosh on even if there is a dinner to follow so stick with inexpensive things like deviled eggs, a veggie tray, or frozen items like spanakopita that you can throw in the oven quickly! Obviously, you can always cater too, but my family and I love to cook!

TIP #5 - Allocate Tasks and Accept Help
If you are having a larger party, this is important! Do NOT try to do everything on your own if you have people offering to help. If you are worried about things not looking how you want them to, allocate tasks that can’t really be messed up. Have someone help count seating and set the table, run to the store, etc. And if you have anyone really creative helping you, use them to your advantage! I wouldn’t be able to plan such great parties without the help of my sisters! Also, if you are making food on your own and someone offers to bring something, don’t be afraid to take them up on the offer! Things like fruit, veggie trays, even a salad, are all great options.
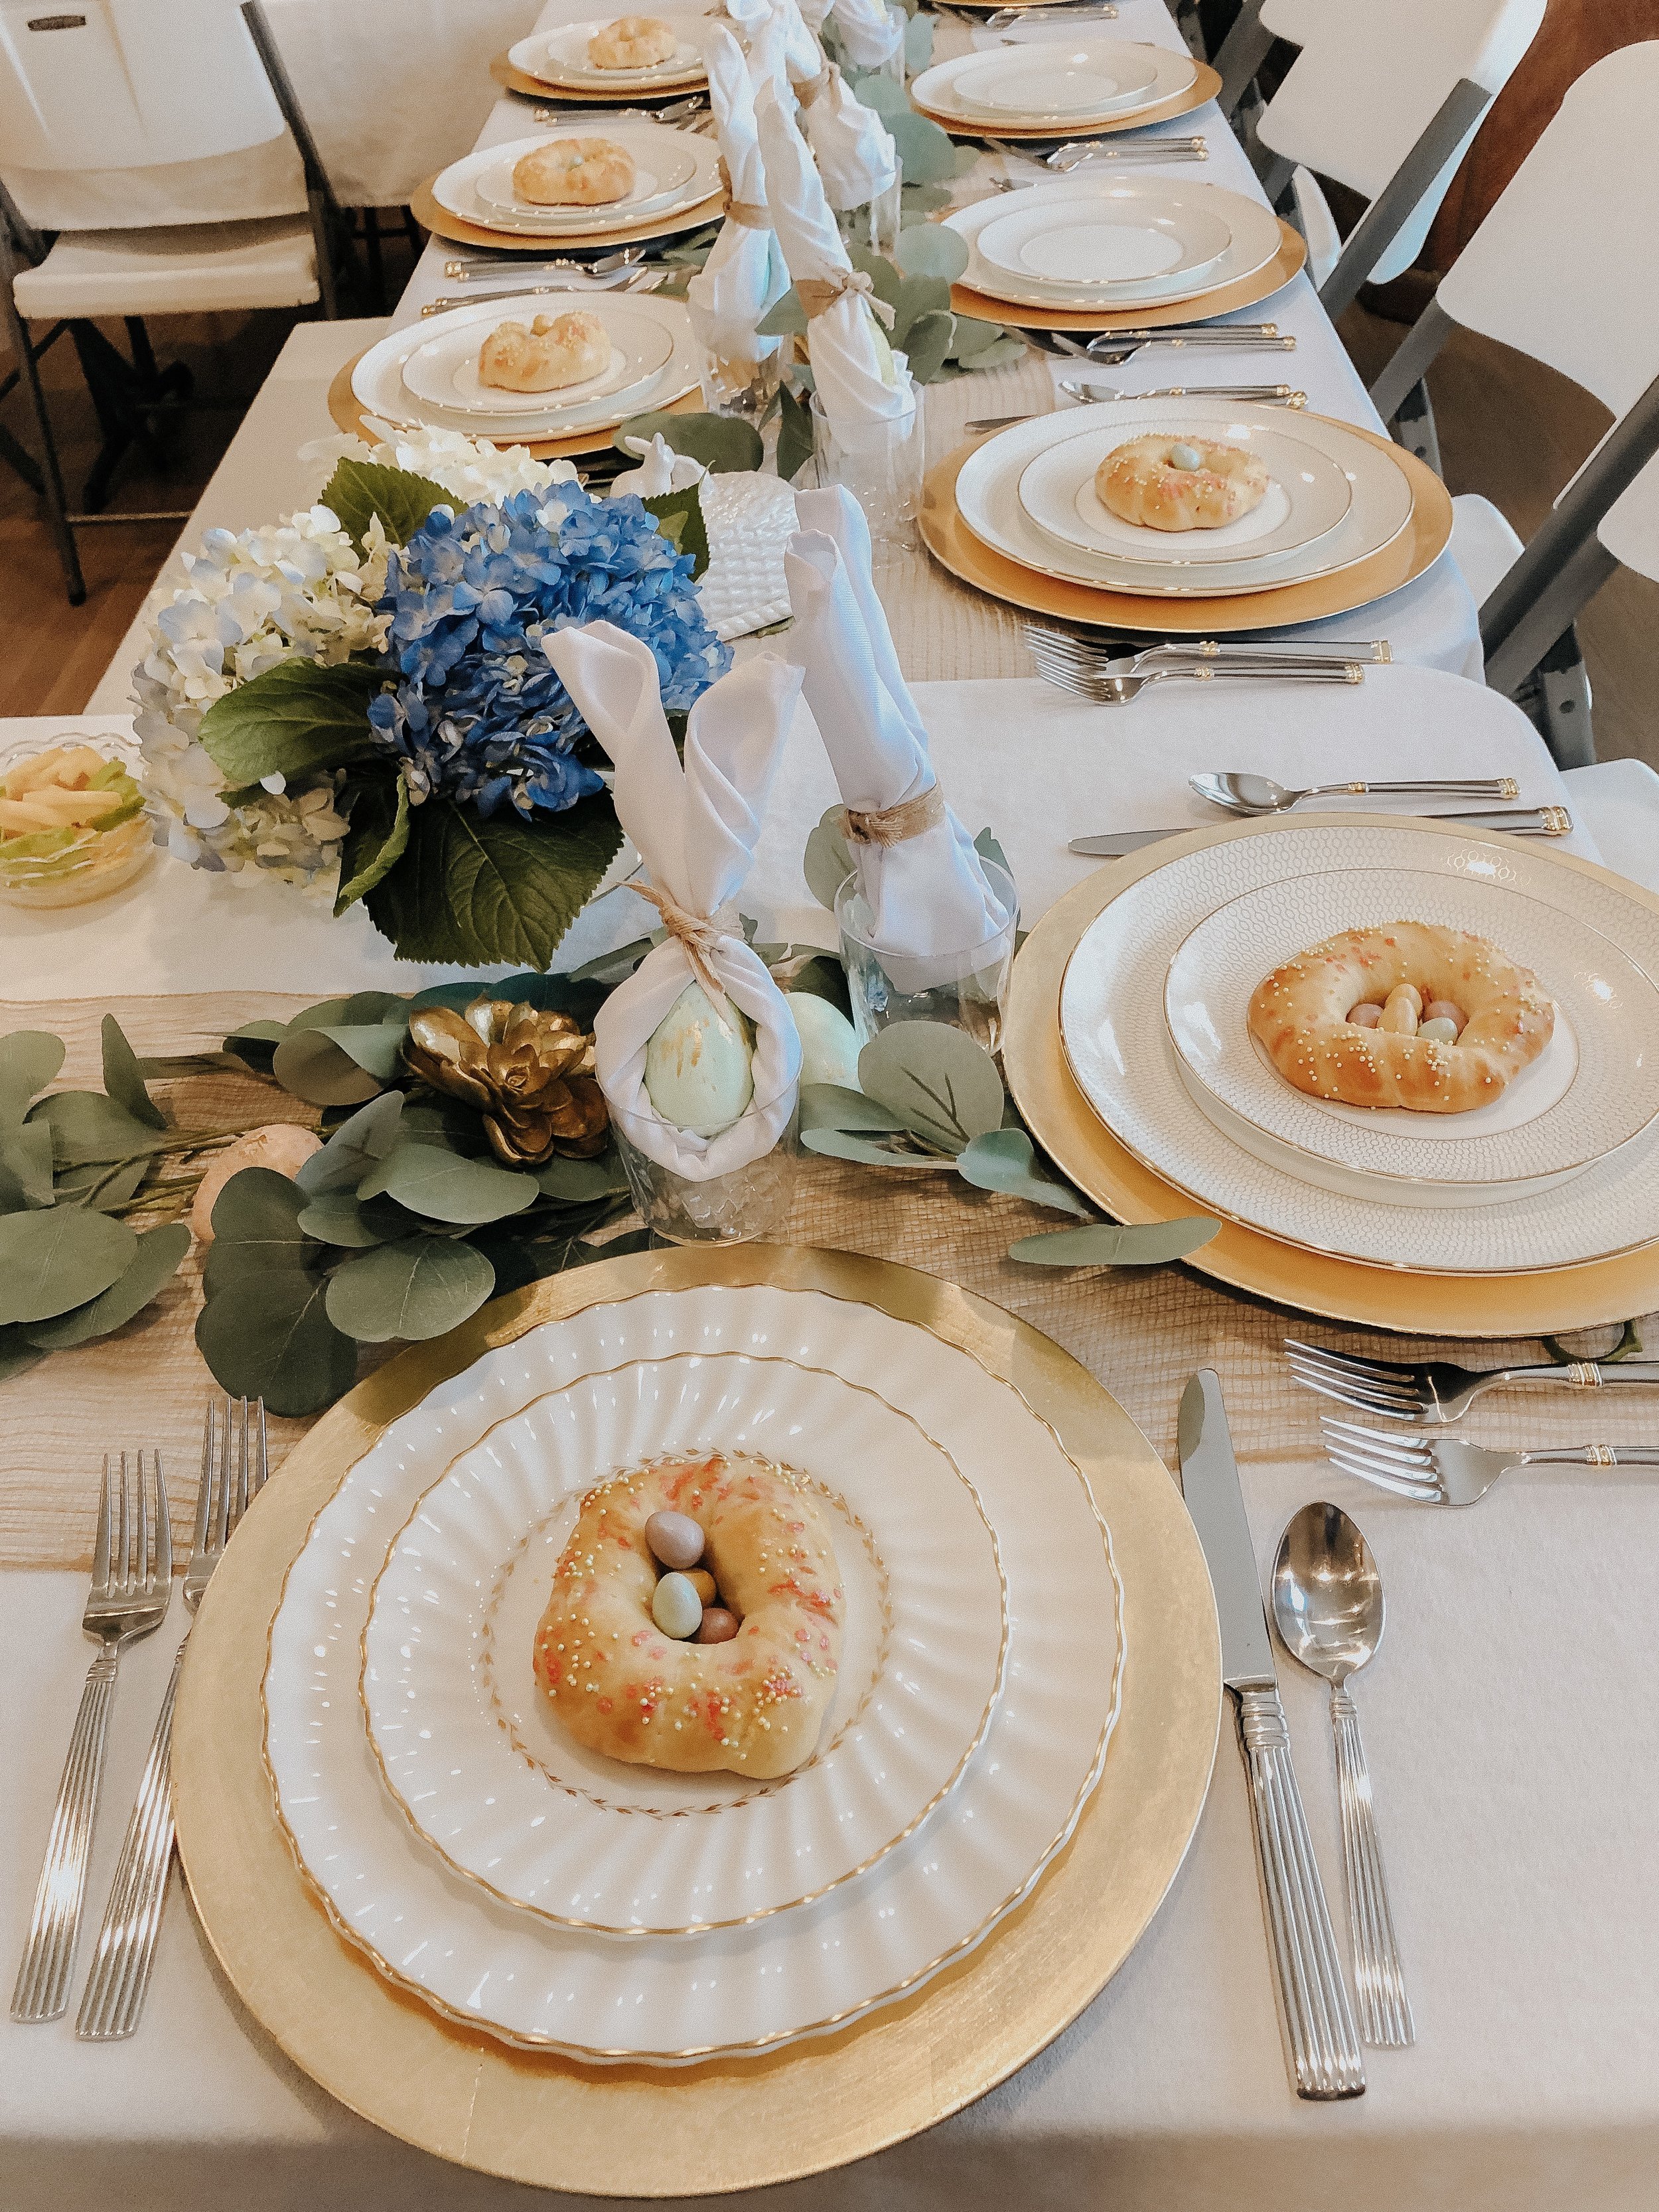
TIP #6 - Tablescapes
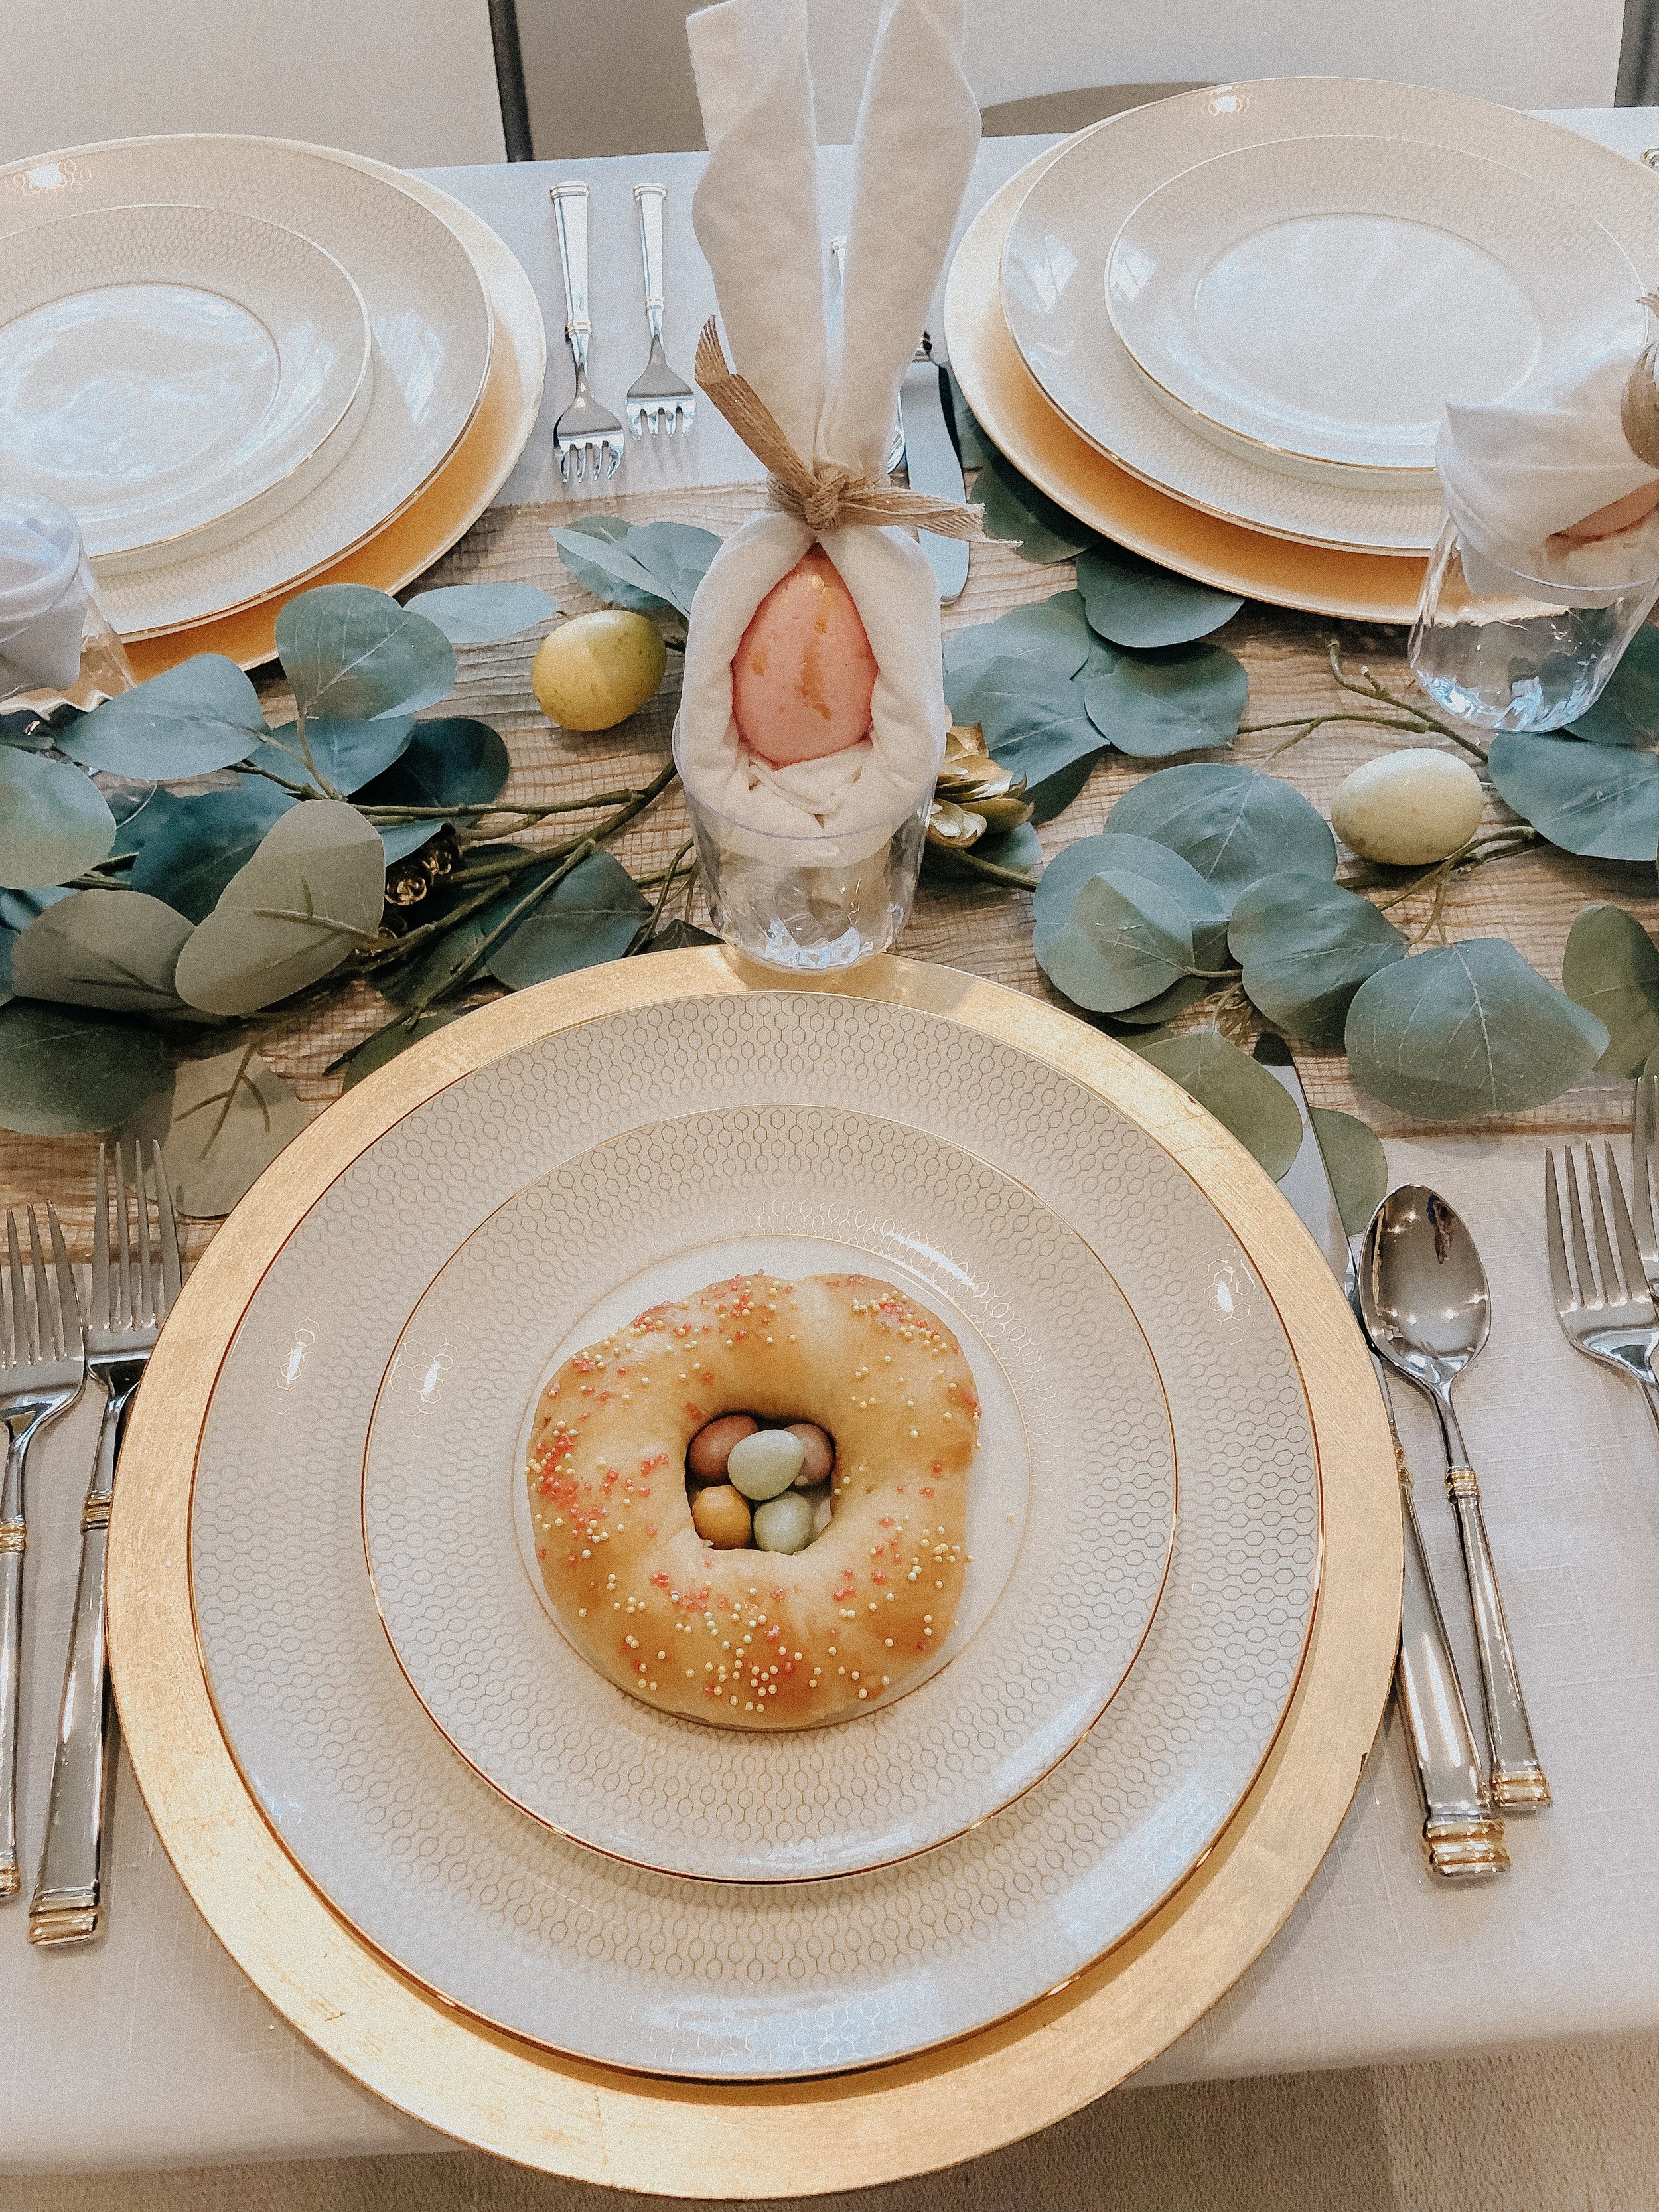
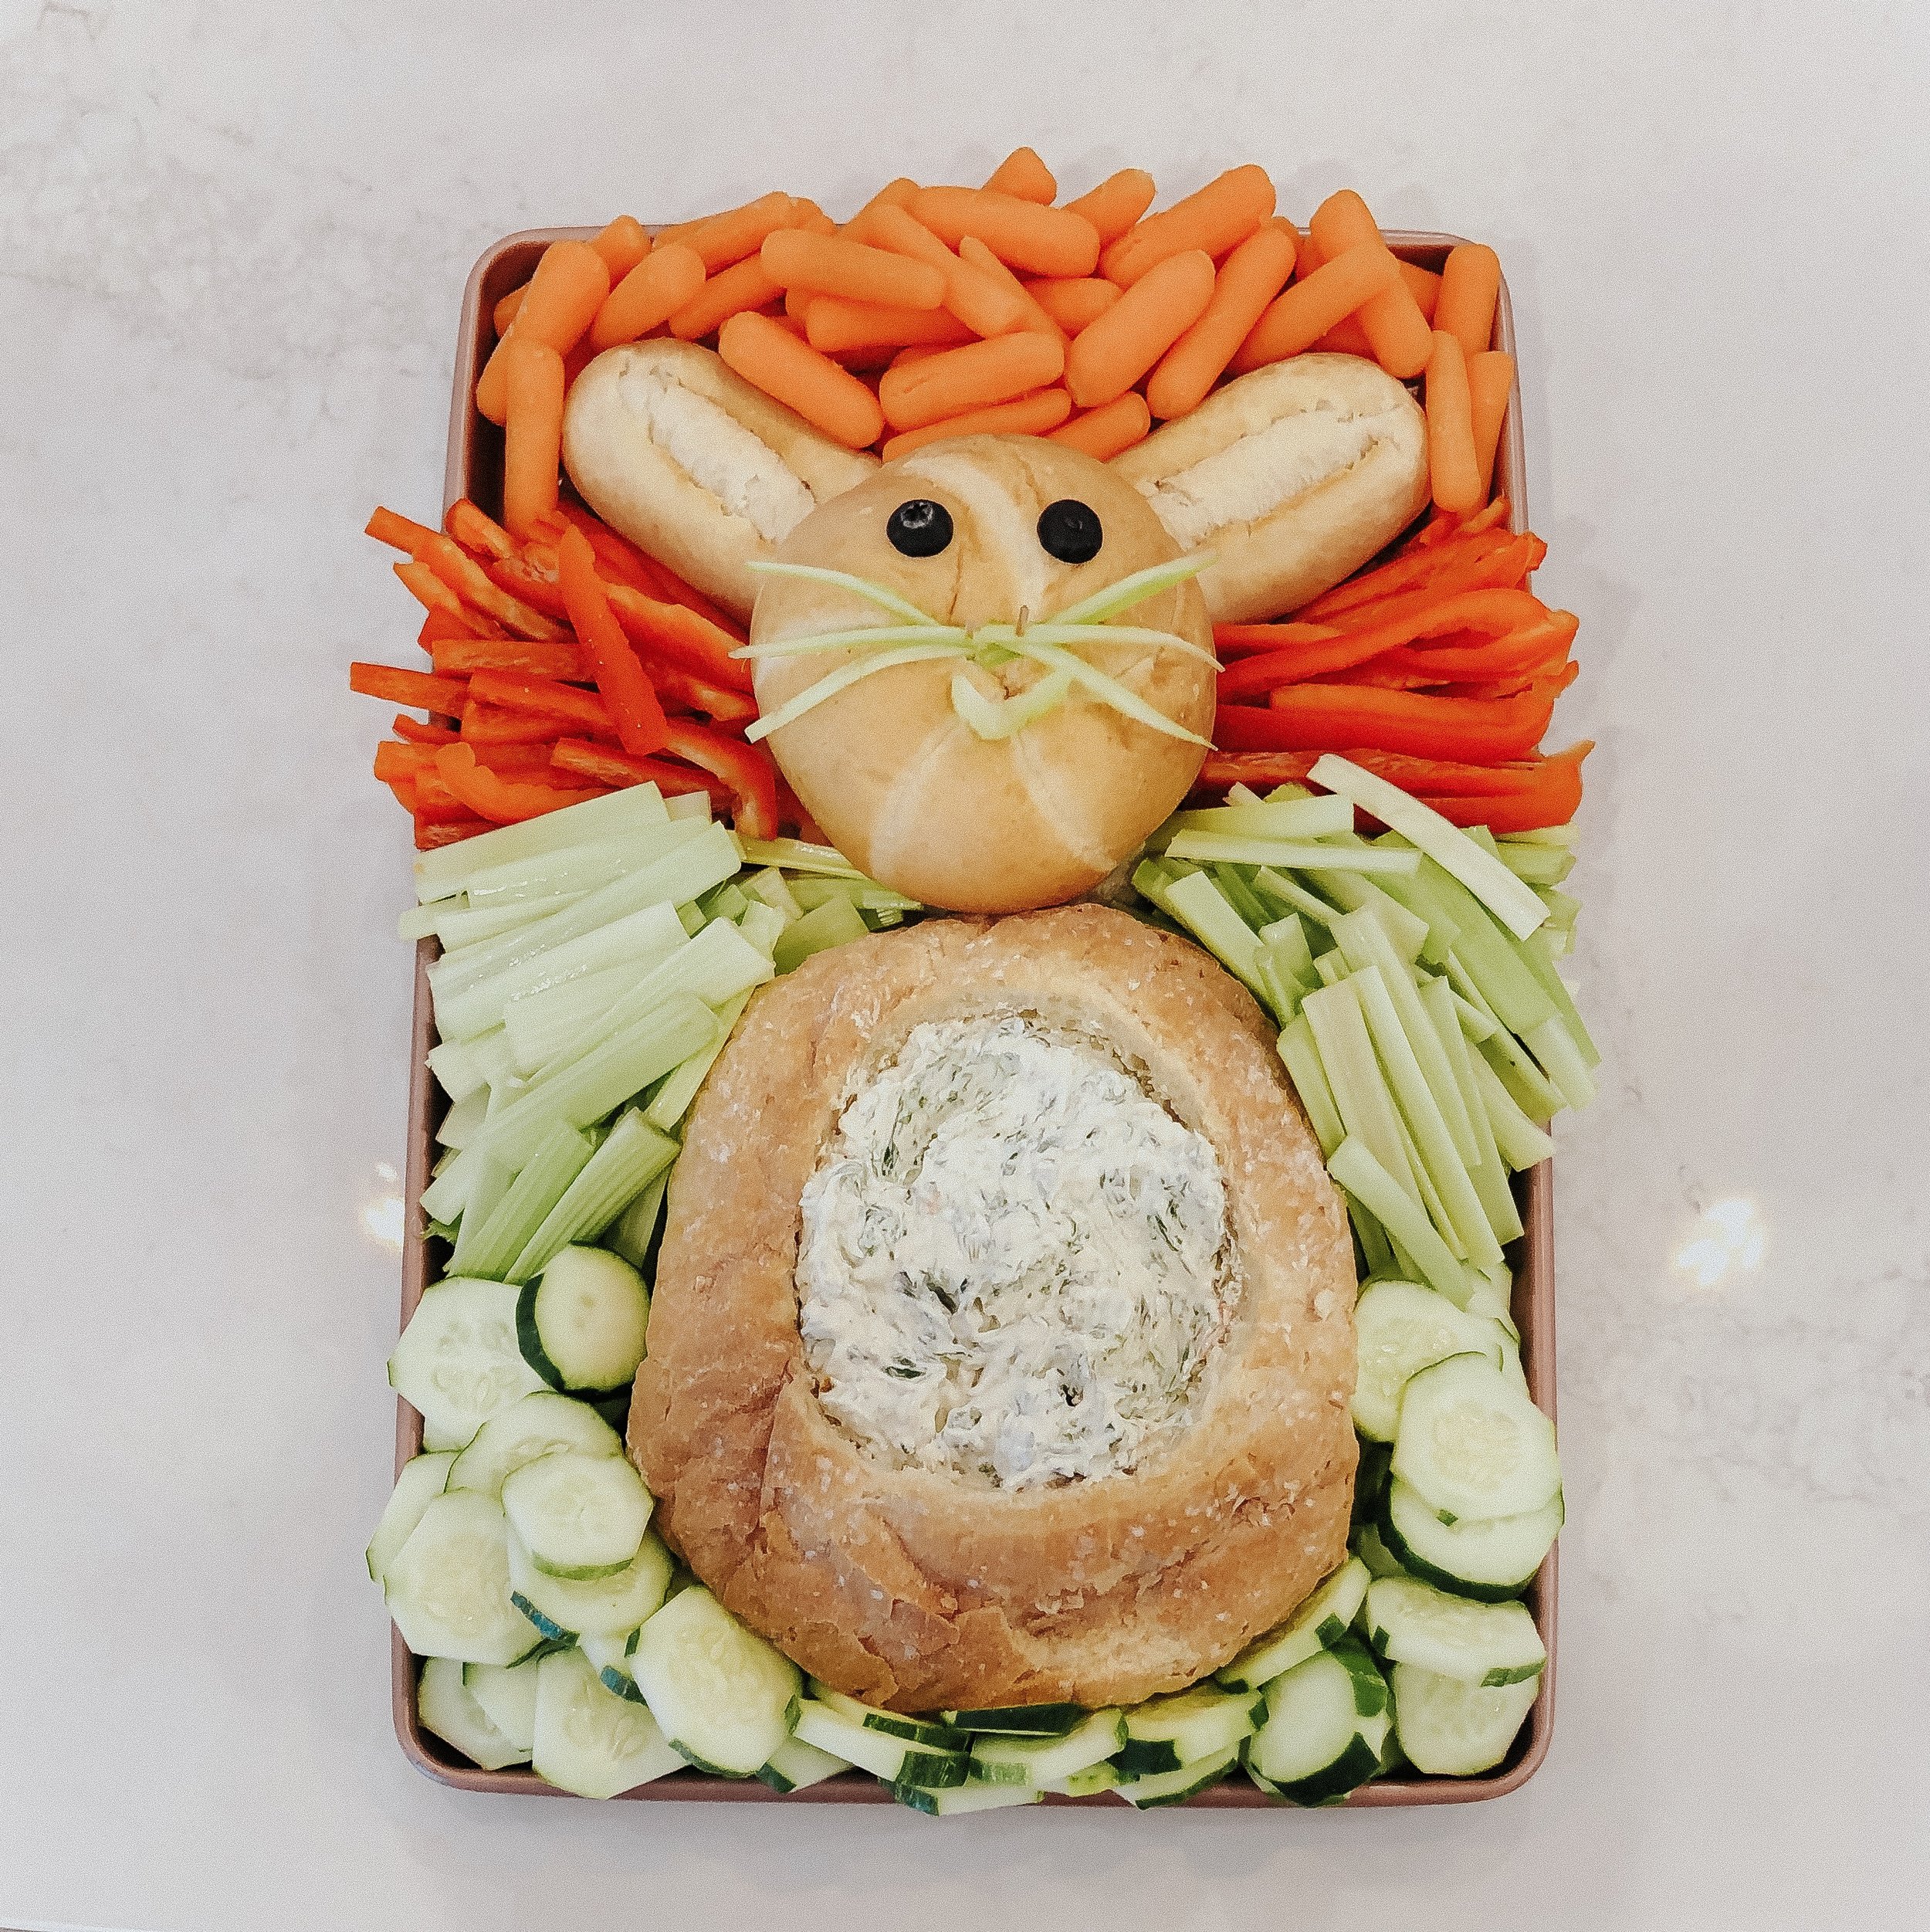
This tip can apply whether or not you are having a formal sit down party or not. Tablescapes are super easy to throw together and they give your party that extra touch of wow! Once you’ve chosen your theme, measure your tables and create something that flows with the rest of your decor. It doesn’t have to be expensive or complicated. For our Easter/Passover party we opted for white table cloths, some fake garland, wide burlap ribbon and gold speckled eggs - all of which were found at the local craft store. If you want to add an extra touch, you can always opt for chargers underneath your plates and fun napkin folds - we made really easy bunnies for our table. Fresh flowers also go a LONG way on any table. If you do nothing else, run and grab some fresh florals and place them on your tables! I like to get bigger blooms like hydrangeas that take up a lot of space so you don’t need to spend as much! Trader Joes or a local farm market are the best places for fresh flowers in my opinion. You should aim to set your tables and tablescapes 1-2 days before your actual party.
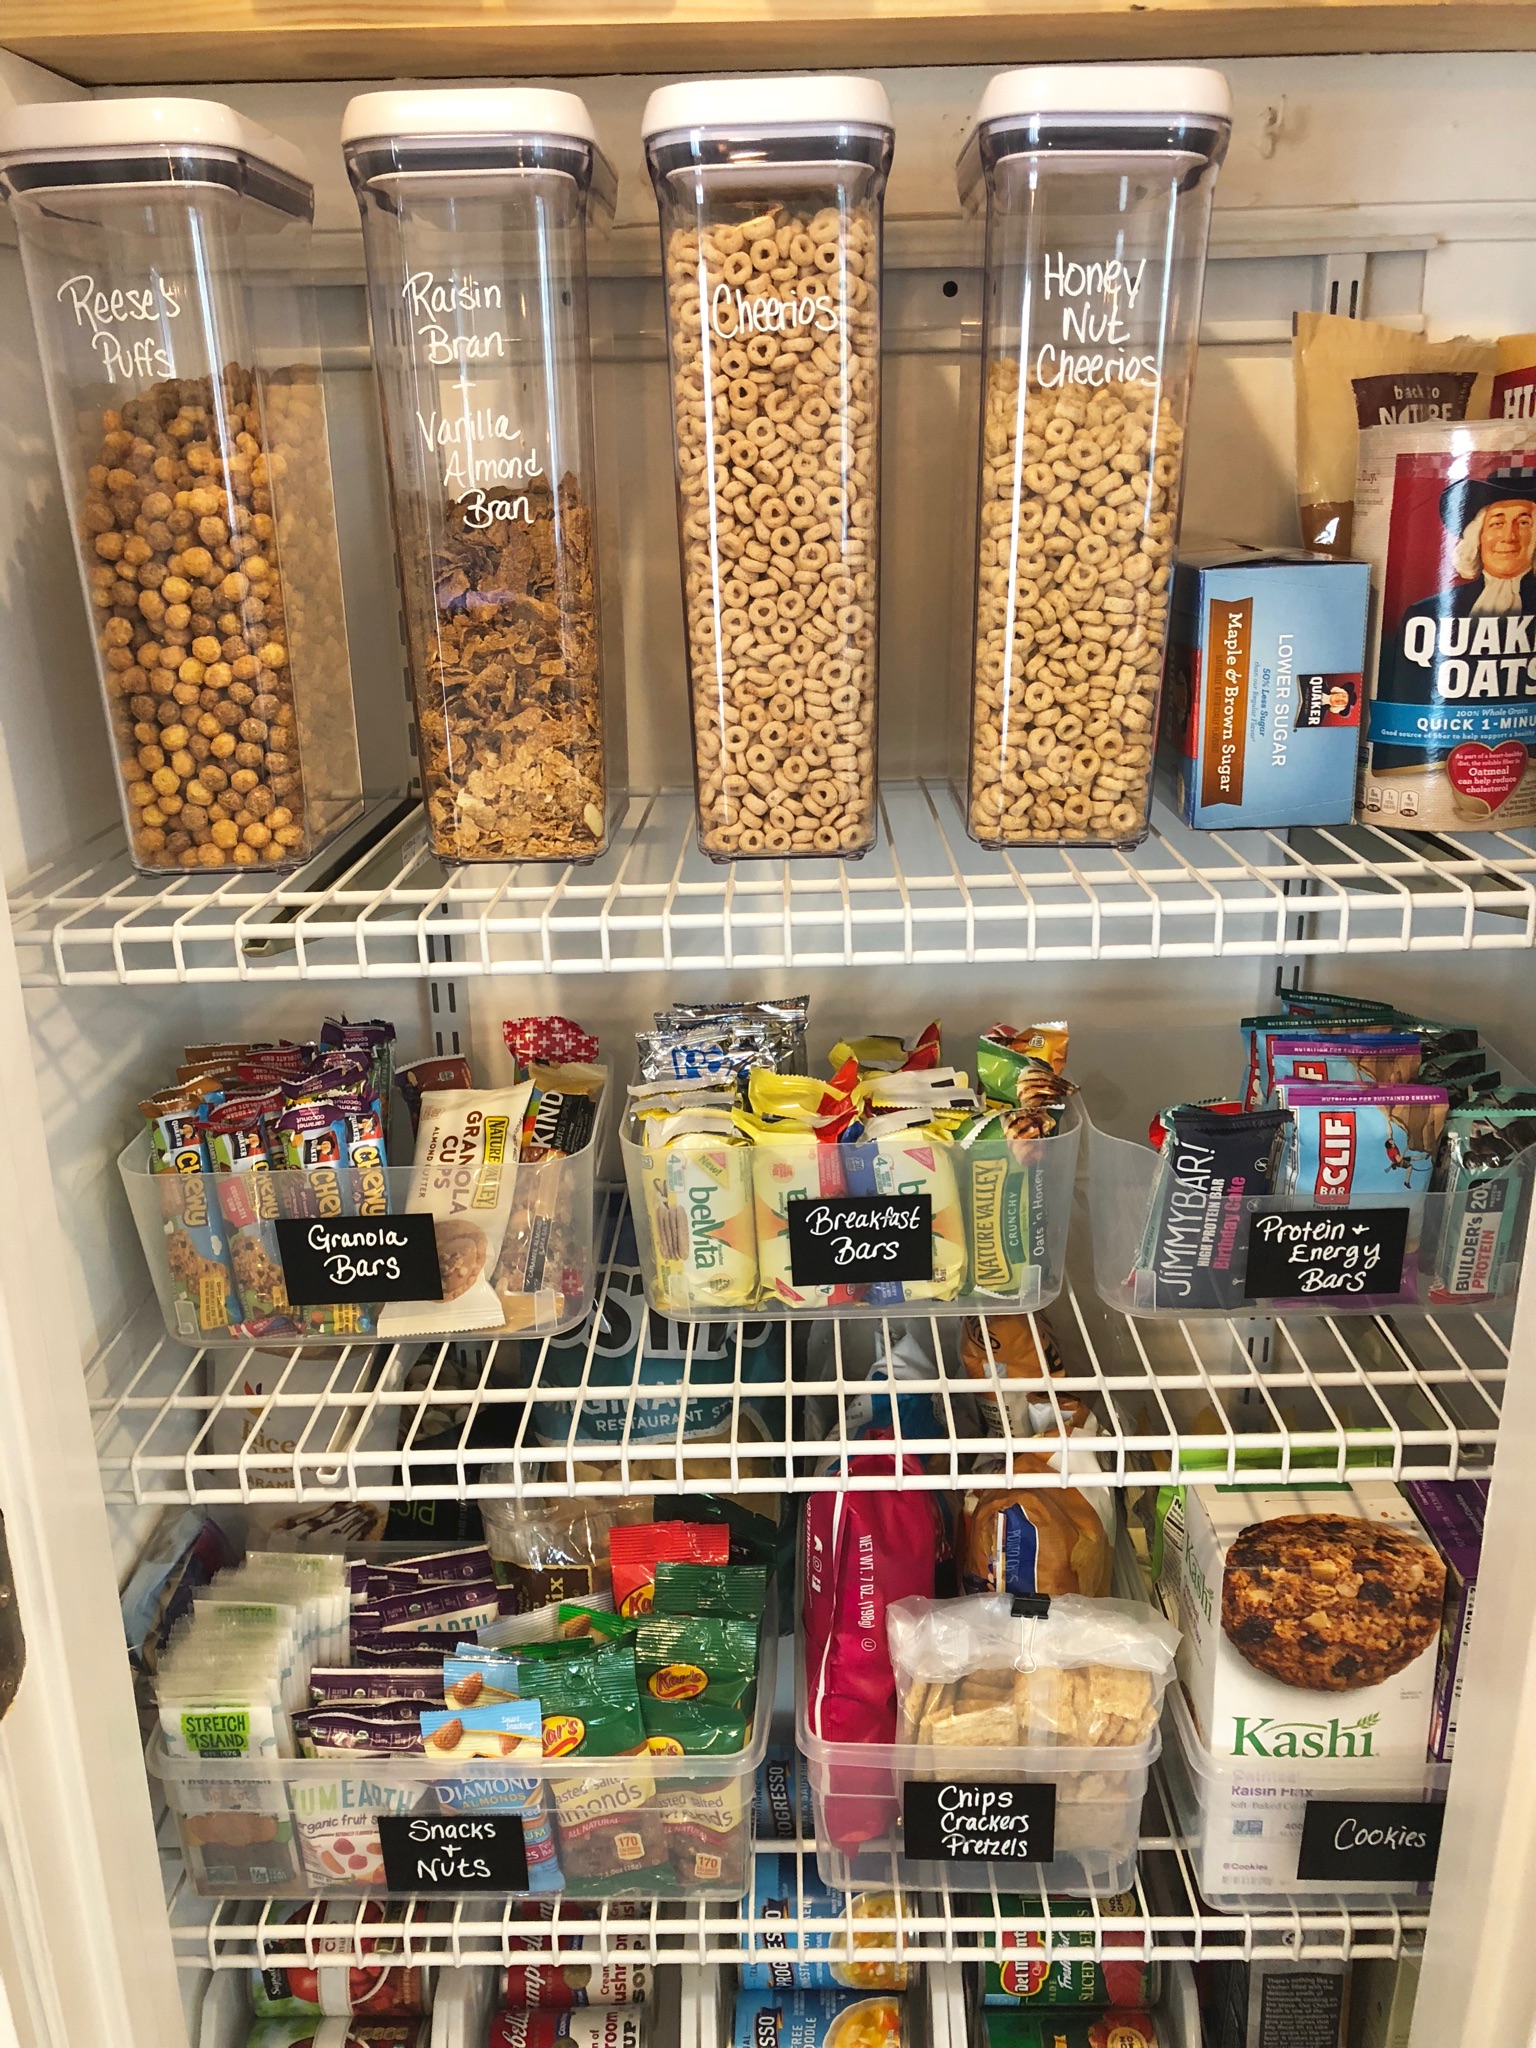
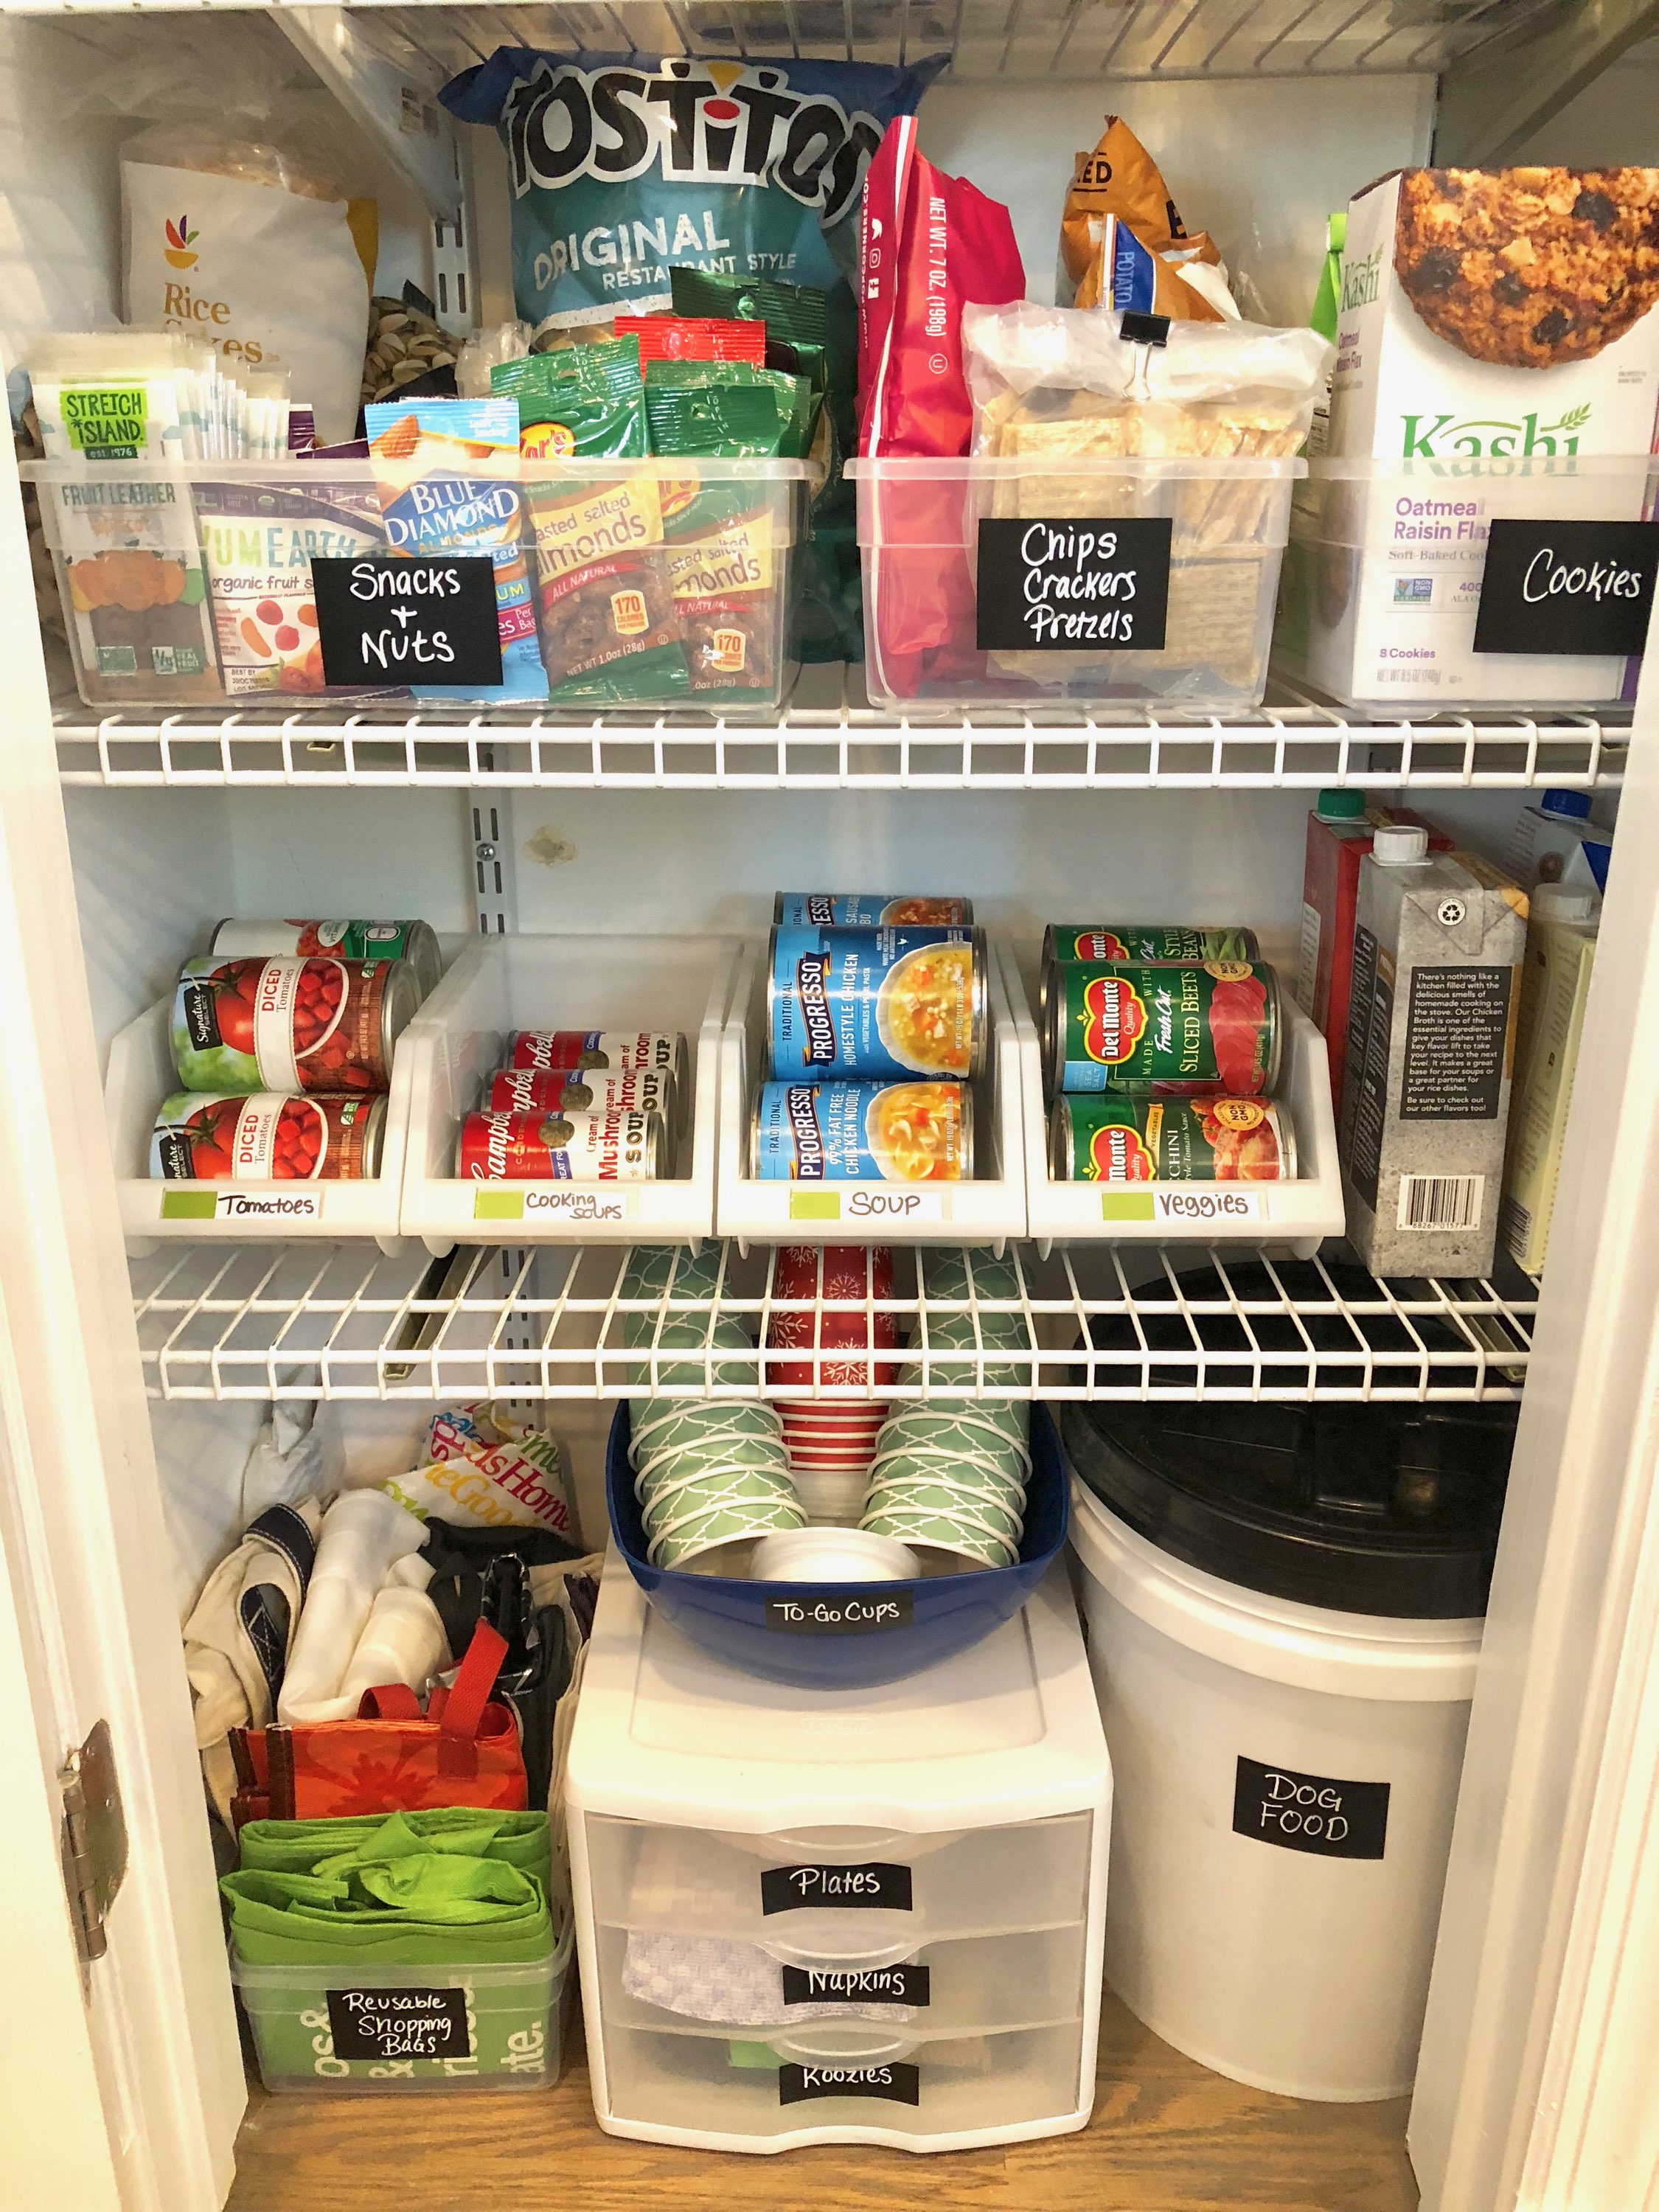
TIP #7 - Label Your Serving Dishes Ahead
It’s never fun scrambling last minute to make sure you have enough platters and that they are all of the right sizes, so my sister taught me a great tip - label everything ahead of time! If you know you want your salad in a pretty glass bowl, label it, and if you know you need 5 different plates for appetizers, write down what they are on a sticky note and stick it on the dish. This not only will help you keep your sanity the day of, but it also will allow others to help plate things without asking a bunch of questions because you have already told them where it’s going!
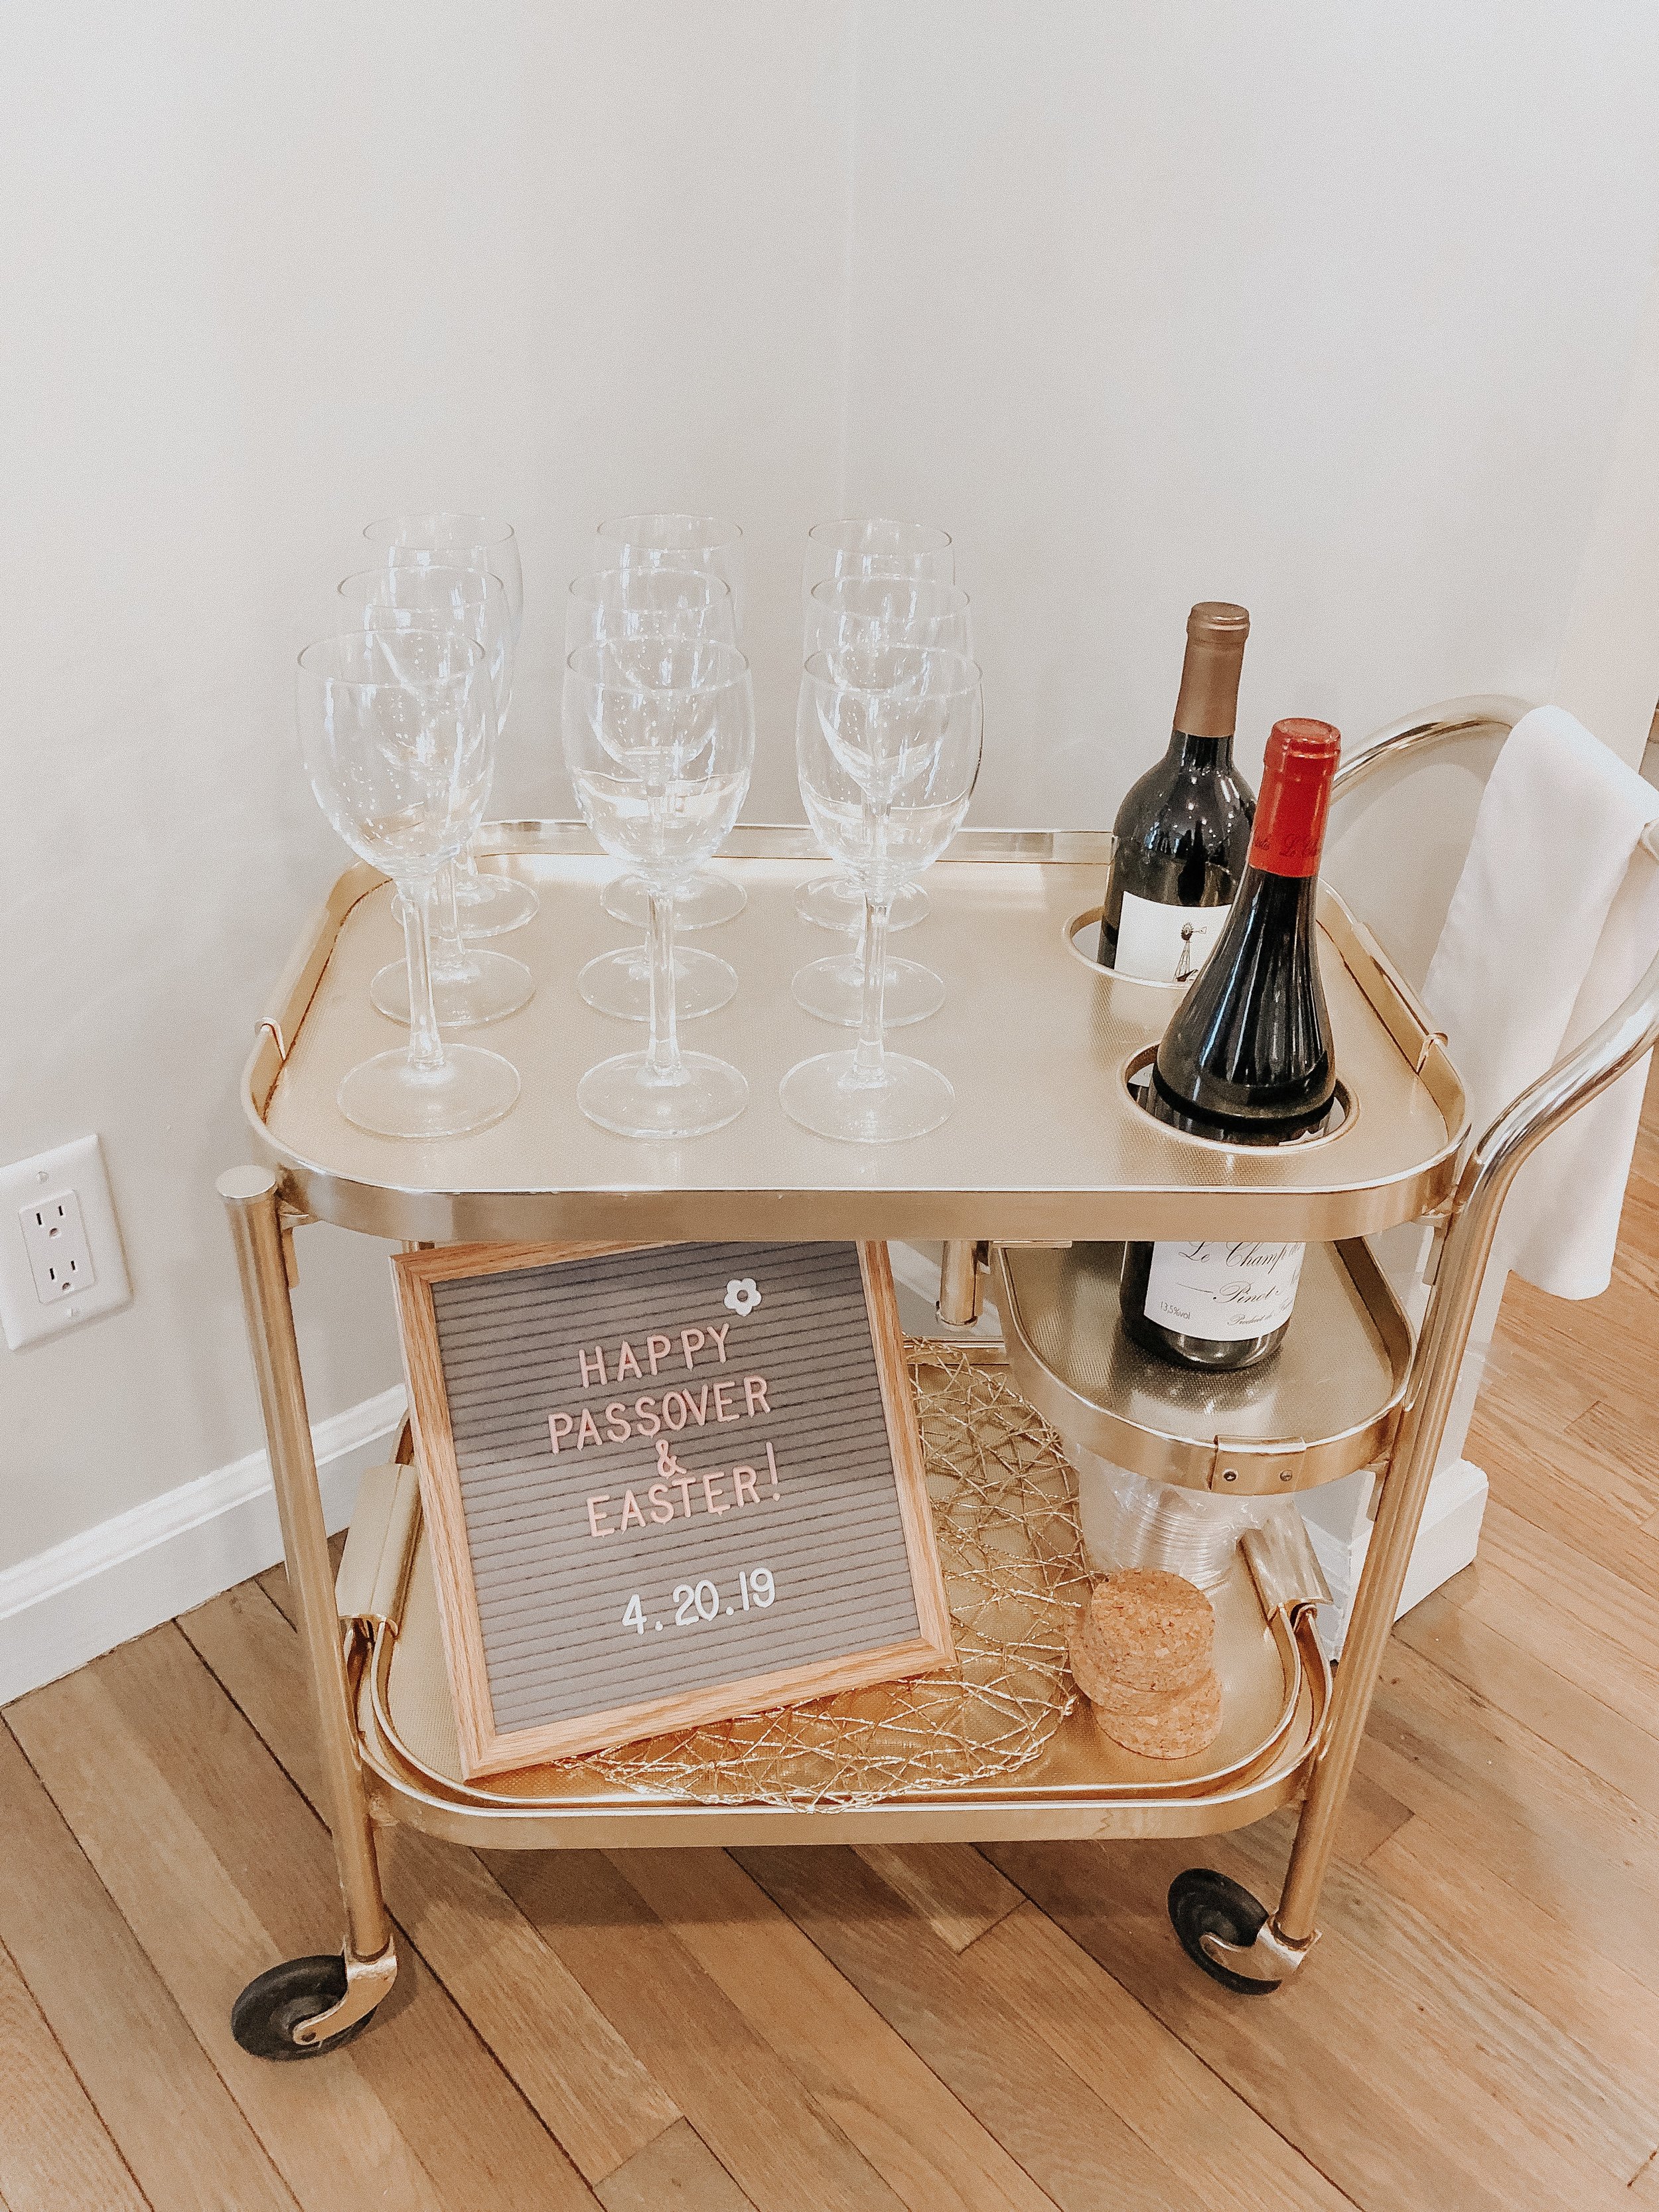
TIP #8 - Create a Signature Cocktail and/or Drink Station
Another great thing you can do to add a nice touch is create a signature cocktail or drink station for your party. This will allow people to have a choice in what they drink and they can even make a mocktail if no alcohol is added ahead of time for a signature cocktail. It’s a nice way to get your party started as well and has an air of sophistication about it. Lemonade always makes for a great base because it can be mixed well with all types of alcohol. Adding fresh fruit and herbs too allows for a truly custom crafted cocktail. I love this letter board too which could be customized for the cocktail or for the party occasion.
TIP #9 - Don’t be Afraid to Guide People
Parties need a host for a reason, if there isn’t one, everyone would sit around and not really know what to do when. So, don’t be afraid to guide people to different things. If you are serving appetizers, announce it. When it’s time for dinner, ask everyone to find their seats. Don’t be afraid to ask more than once - the more people, the harder it is to corral everyone, so make sure you let everyone know when it’s time to transition to the next thing!
TIP #10 - Work the Room and Say Thank You
As a host, you also need to remember to work the room and thank all of your guests for coming. You don’t have to get into a 1/2 hour conversation with everyone, especially if there are a ton of people, but a personal “thank you” goes a long way. You can do this while offering drinks, taking coats, showing them around, etc. Nobody is going to be mad at you for walking around to greet your guests and if they are then either put them another cocktail or don’t invite them the next time ;-)
BONUS TIP - Create Something for the Kids
Okay I know I said this would be 10 tips, but here’s a BONUS. If you plan to have kids at your parties, make sure you have something for them to do and give them their own table if possible. You can do simple things like a coloring station, or a few little prizes - we did an egg hunt! Giving the kiddos something to do will help to keep them occupied and their parents will thank you for allowing them to be adults for a minute! Also, if you give them their own table then it’s much easier to use things like paper plates, etc. and minimize a mess and broken dishes and it also is less likely to disrupt anyone eating at the “adult” table.
I hope you all loved reading these TOP 10 HOSTING TIPS! If you have any questions, want to bounce an idea, or just wonder where something is from, please shoot me an email, comment below, or DM me on Instagram! I would love to help you with planning your next party!