How is it December already?? I swear I was just lounging in the pool a minute ago. But, no denying it, we are in full blown holiday season and for most of you that probably means you are B.U.S.Y….I know I am! Now after Thanksgiving I am pretty over cooking, at least for a few weeks, but with Hanukkah approaching and Christmas right behind it, I like to use recipes that are both fun and easy to make.

I also hate showing up empty handed, even if it’s to family events, so for this year’s Hanukkah celebrations I made two really easy recipes that I’ve shared with you all below. These Hanukkah Cookies and Crockpot Applesauce are a perfect mix of festive and traditional, and are sure to be enjoyed and appreciated by all!
Hanukkah Iced Sugar Cookies (2-3 hours total prep/cooking/decorating time)
Cookie Ingredients (yields about 30 cookies)
3 cups unbleached flour
1/2 tsp baking powder
1/2 tsp salt
1 cup unsalted butter (room temperature)
1 1/3 cups white sugar
2 large eggs
2 tsp vanilla extract
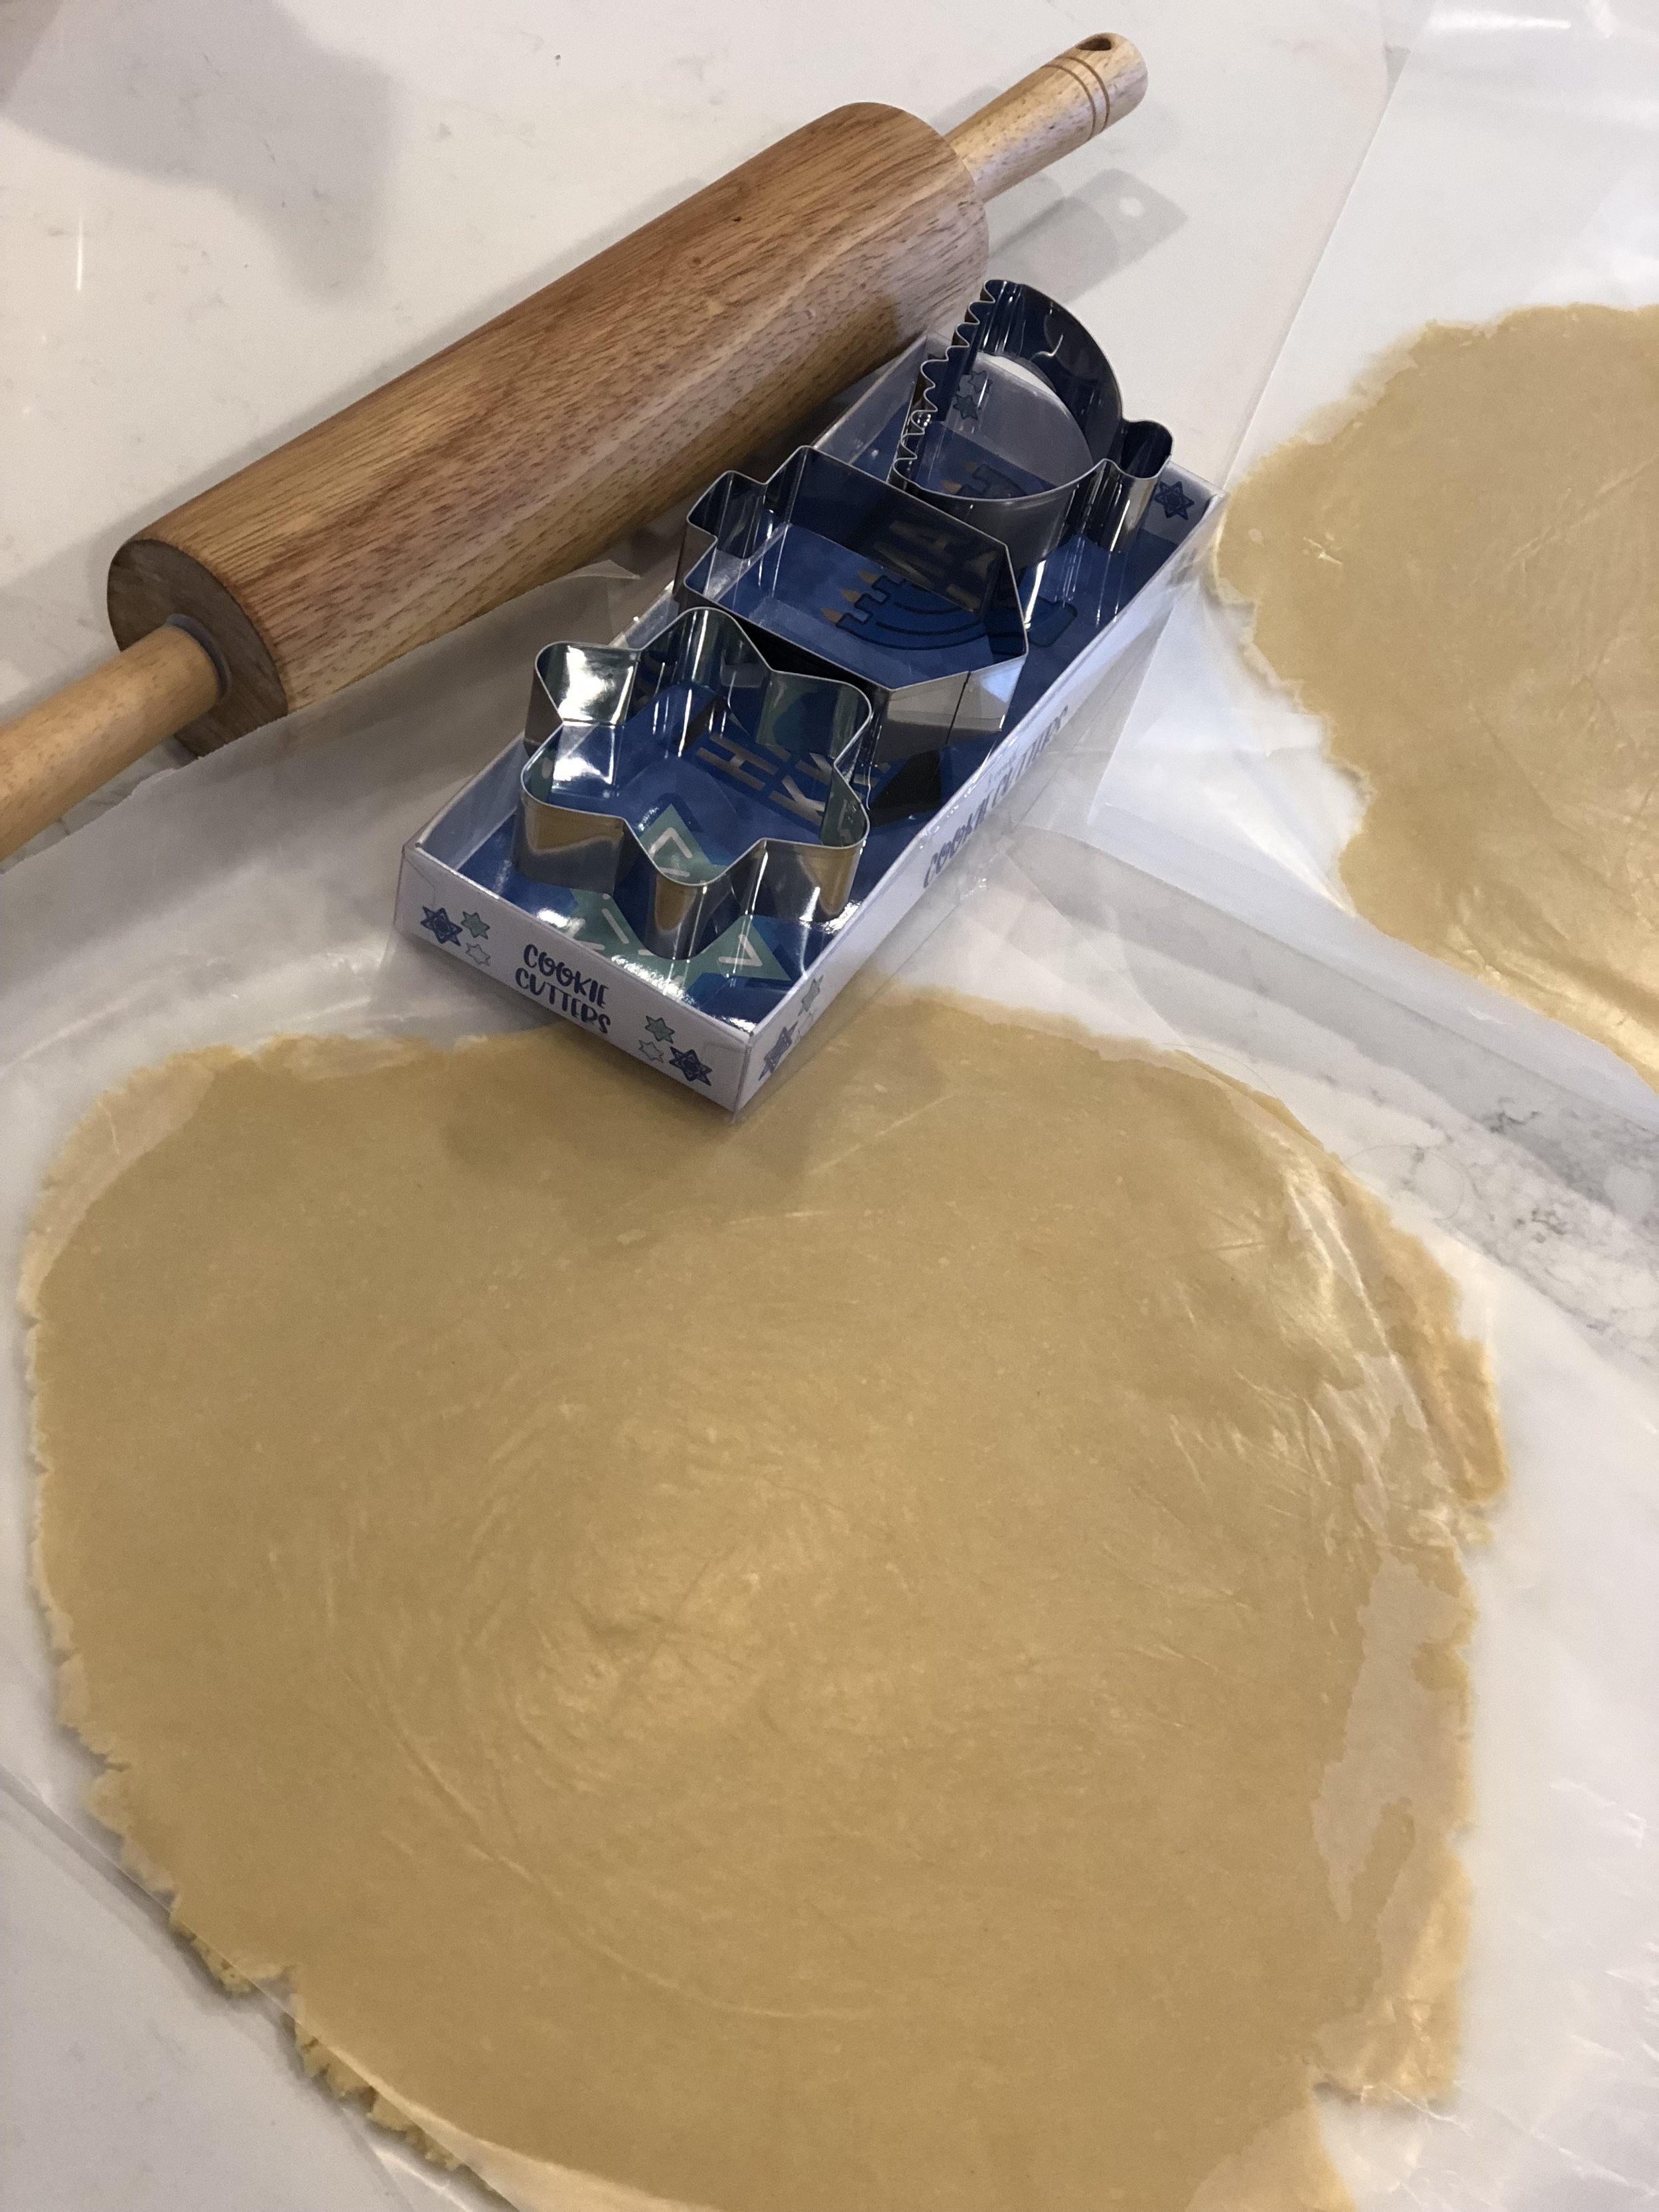
Hanukkah (or any holiday) cookie cutters
My cookie cutters were $3 from the Target dollar spot! But, if you don’t have time to get to Target, here’s some great ones from Amazon!
Frosting Ingredients
1/2 cup salted butter (room temperature)
1/2 cup vegetable shortening
5-6 cups powdered sugar (taste after 5 cups)
4 tsp vanilla extract
3 tbsp milk
Blue gel based food coloring
DIRECTIONS
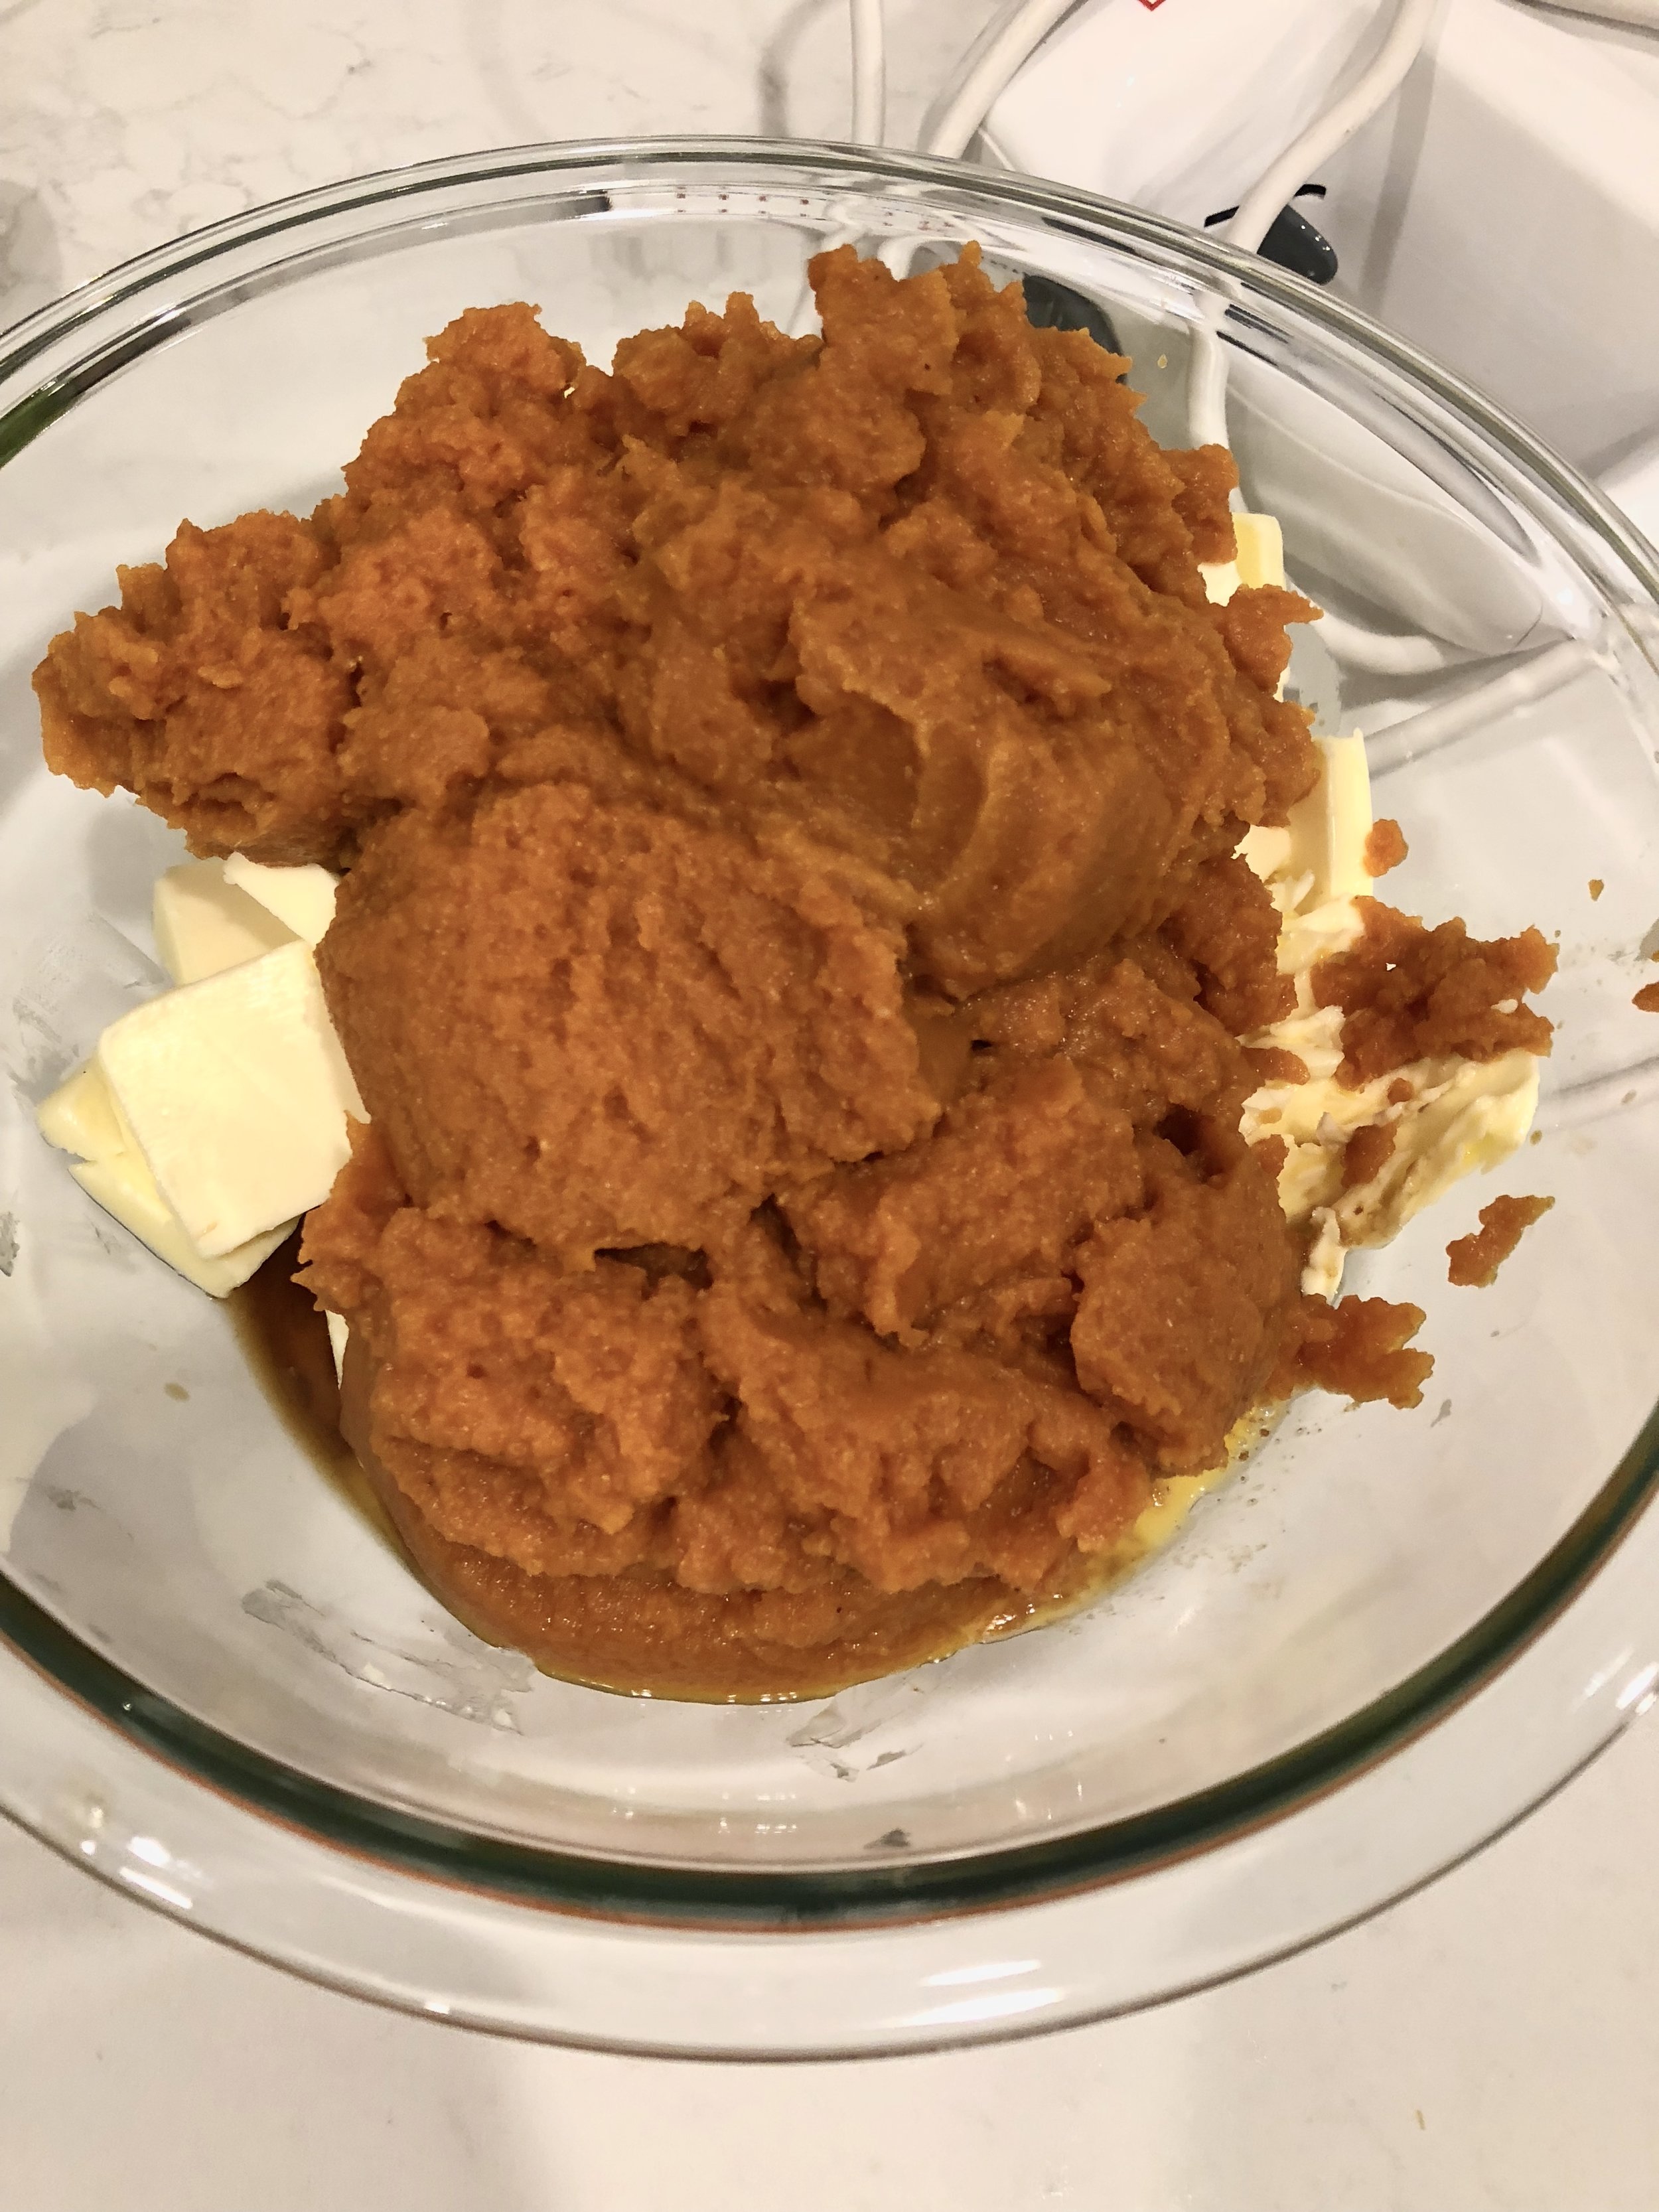
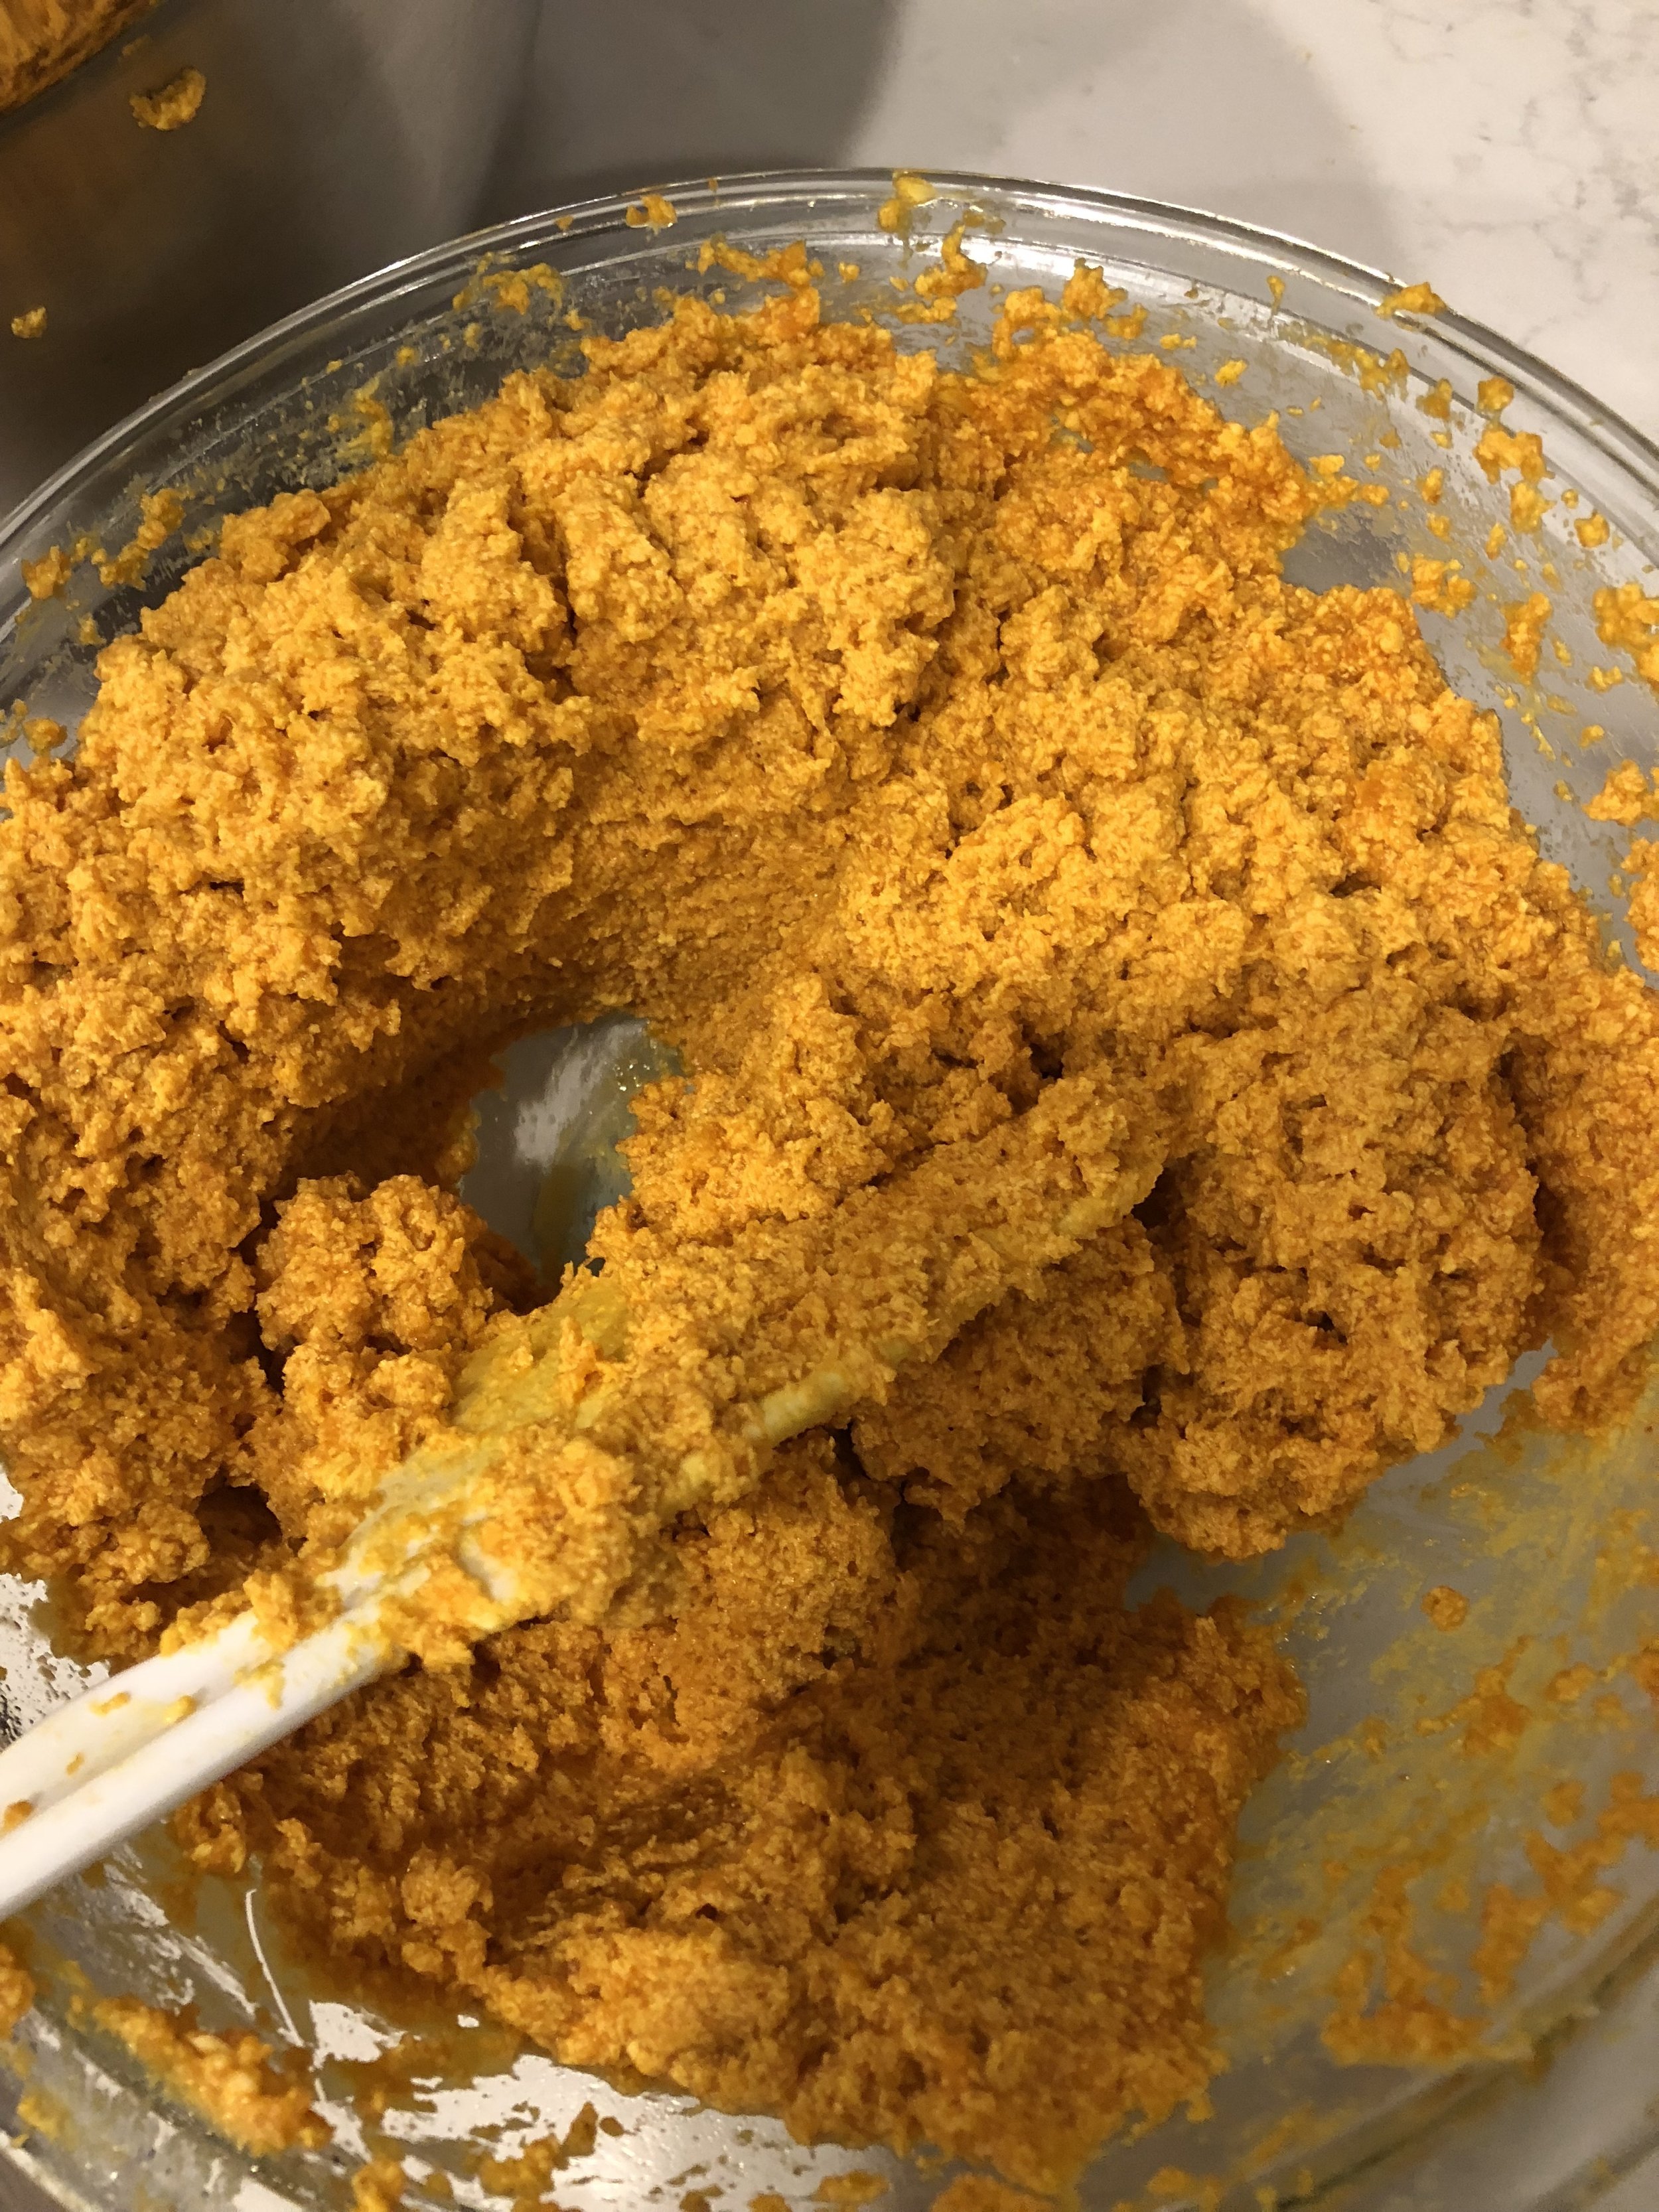
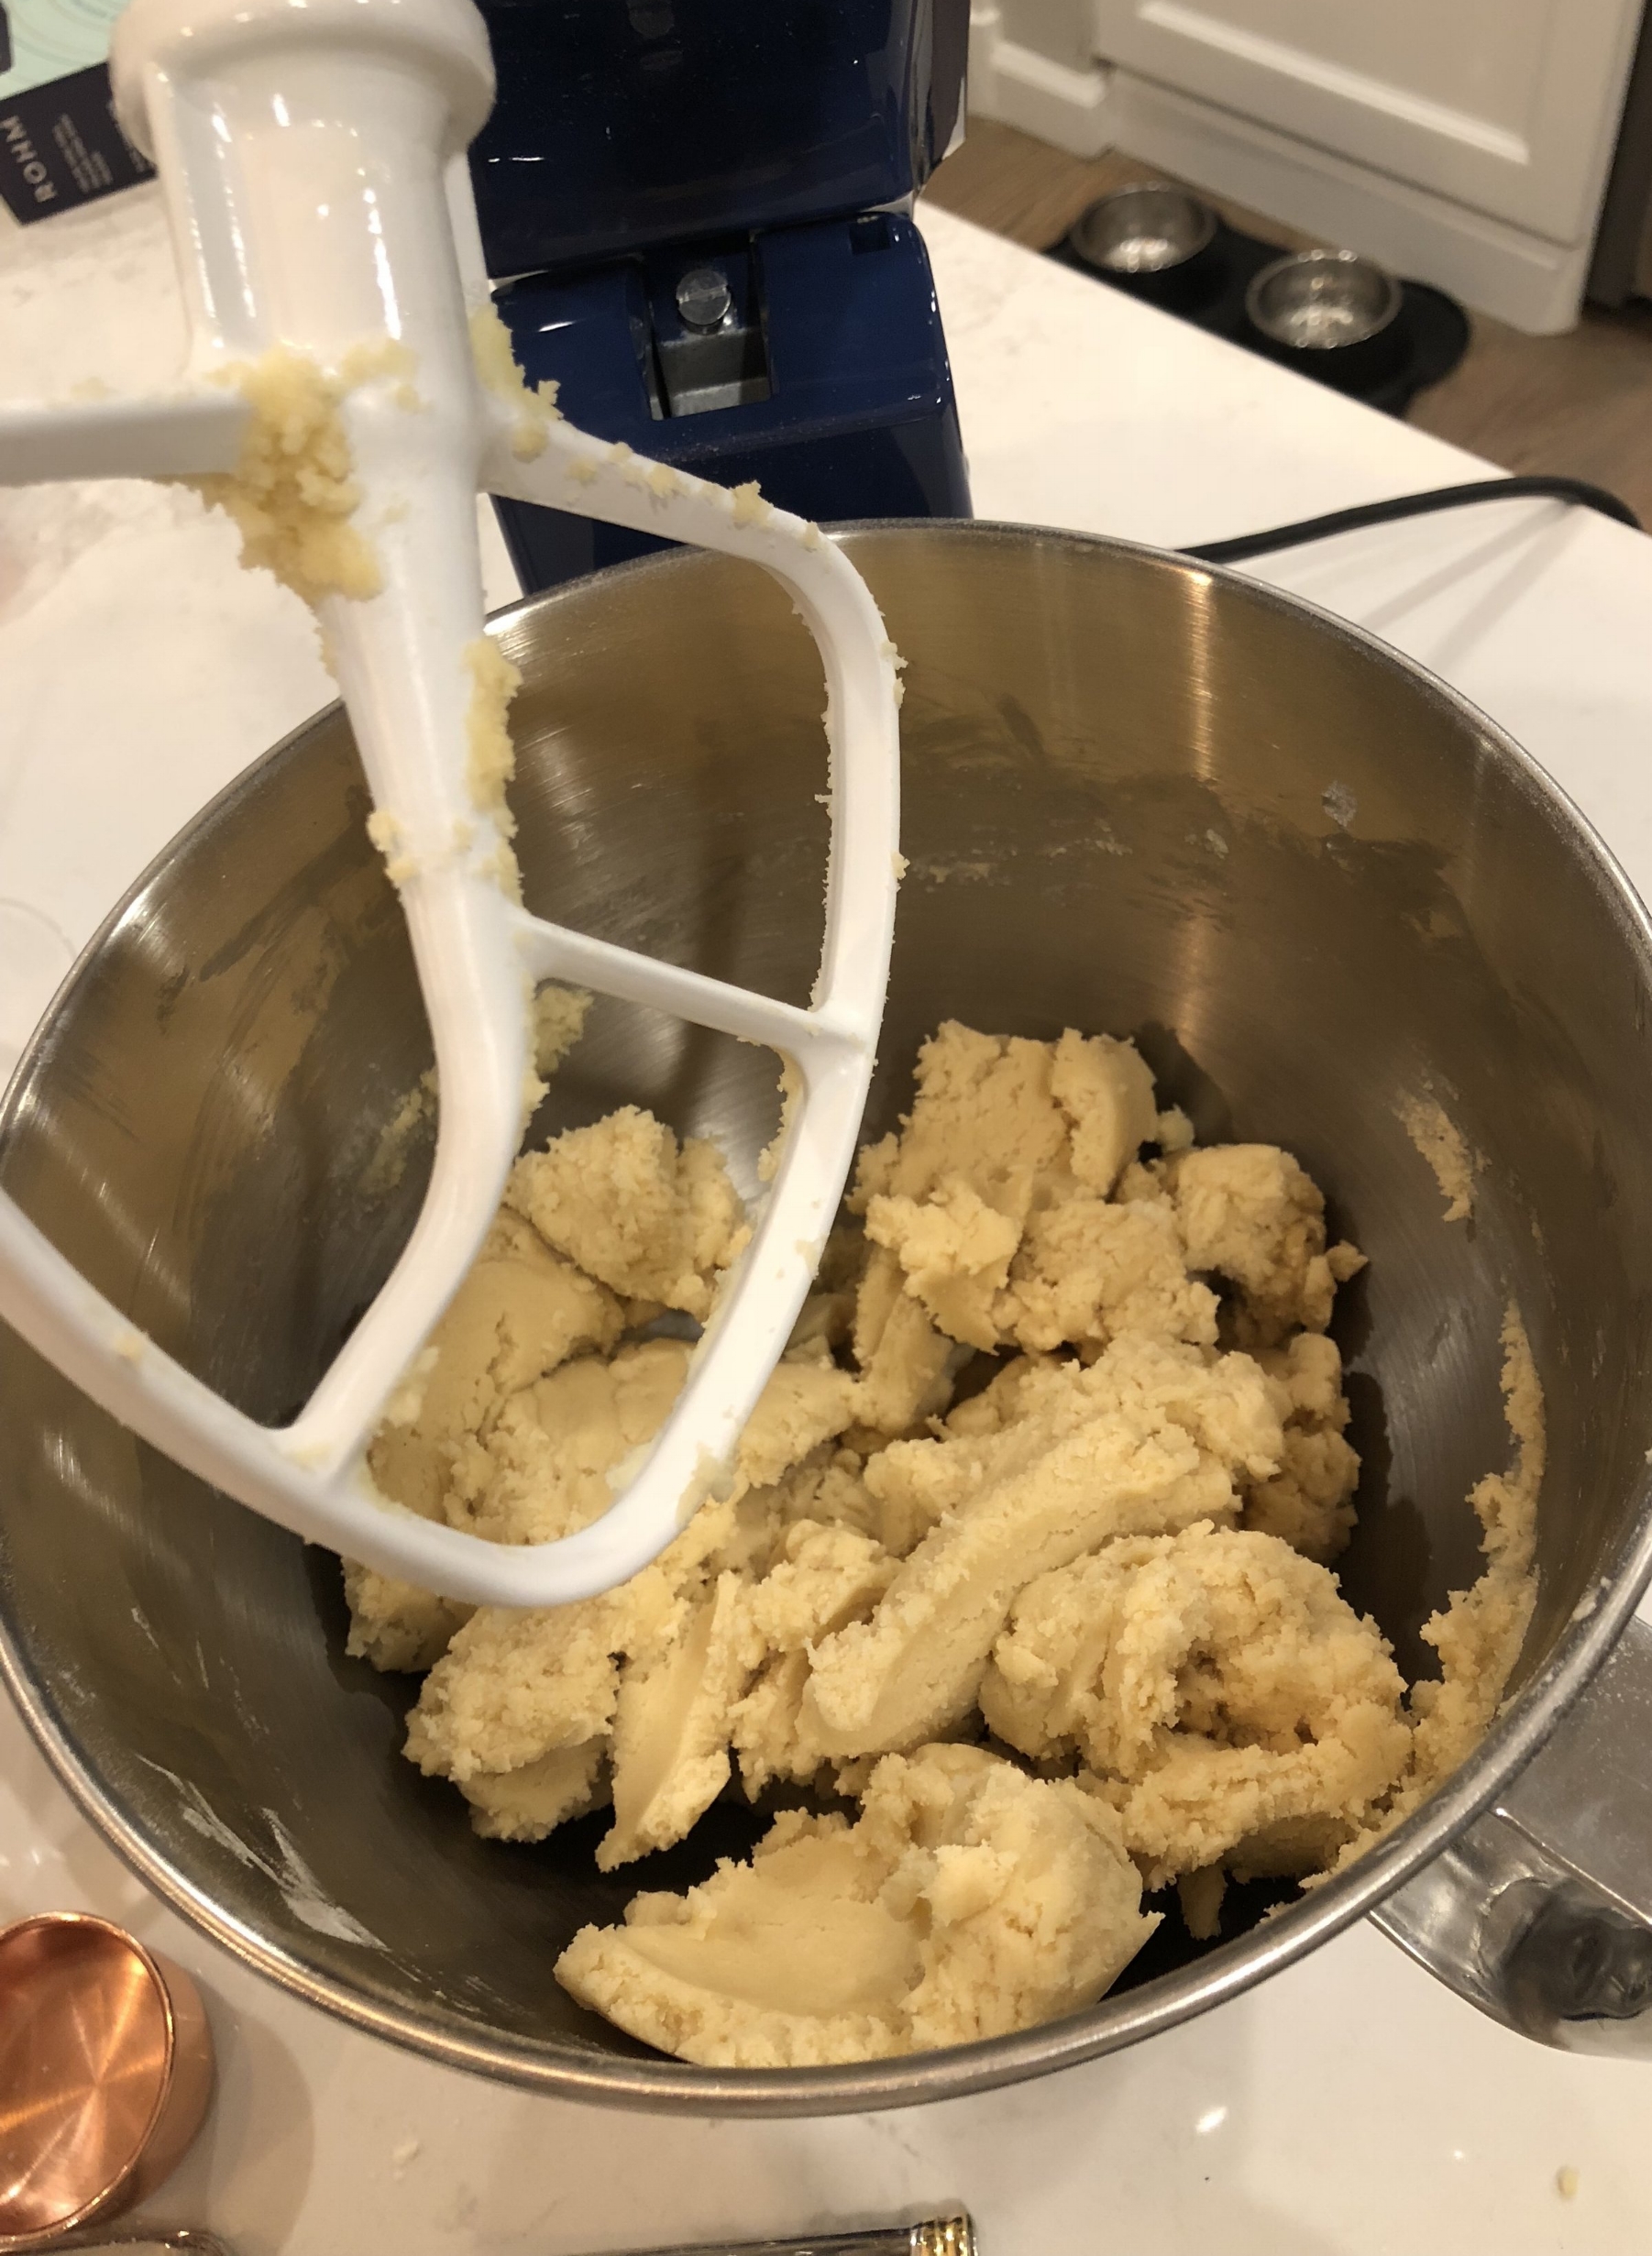
For the cookies, mix together the flour, baking powder, and salt in separate bowl. Then, in a stand mixer with a paddle attachment, whip butter until smooth. Add in the sugar to the butter and mix for a few minutes until fluffy. With the mixer on low, add in each egg and the vanilla.
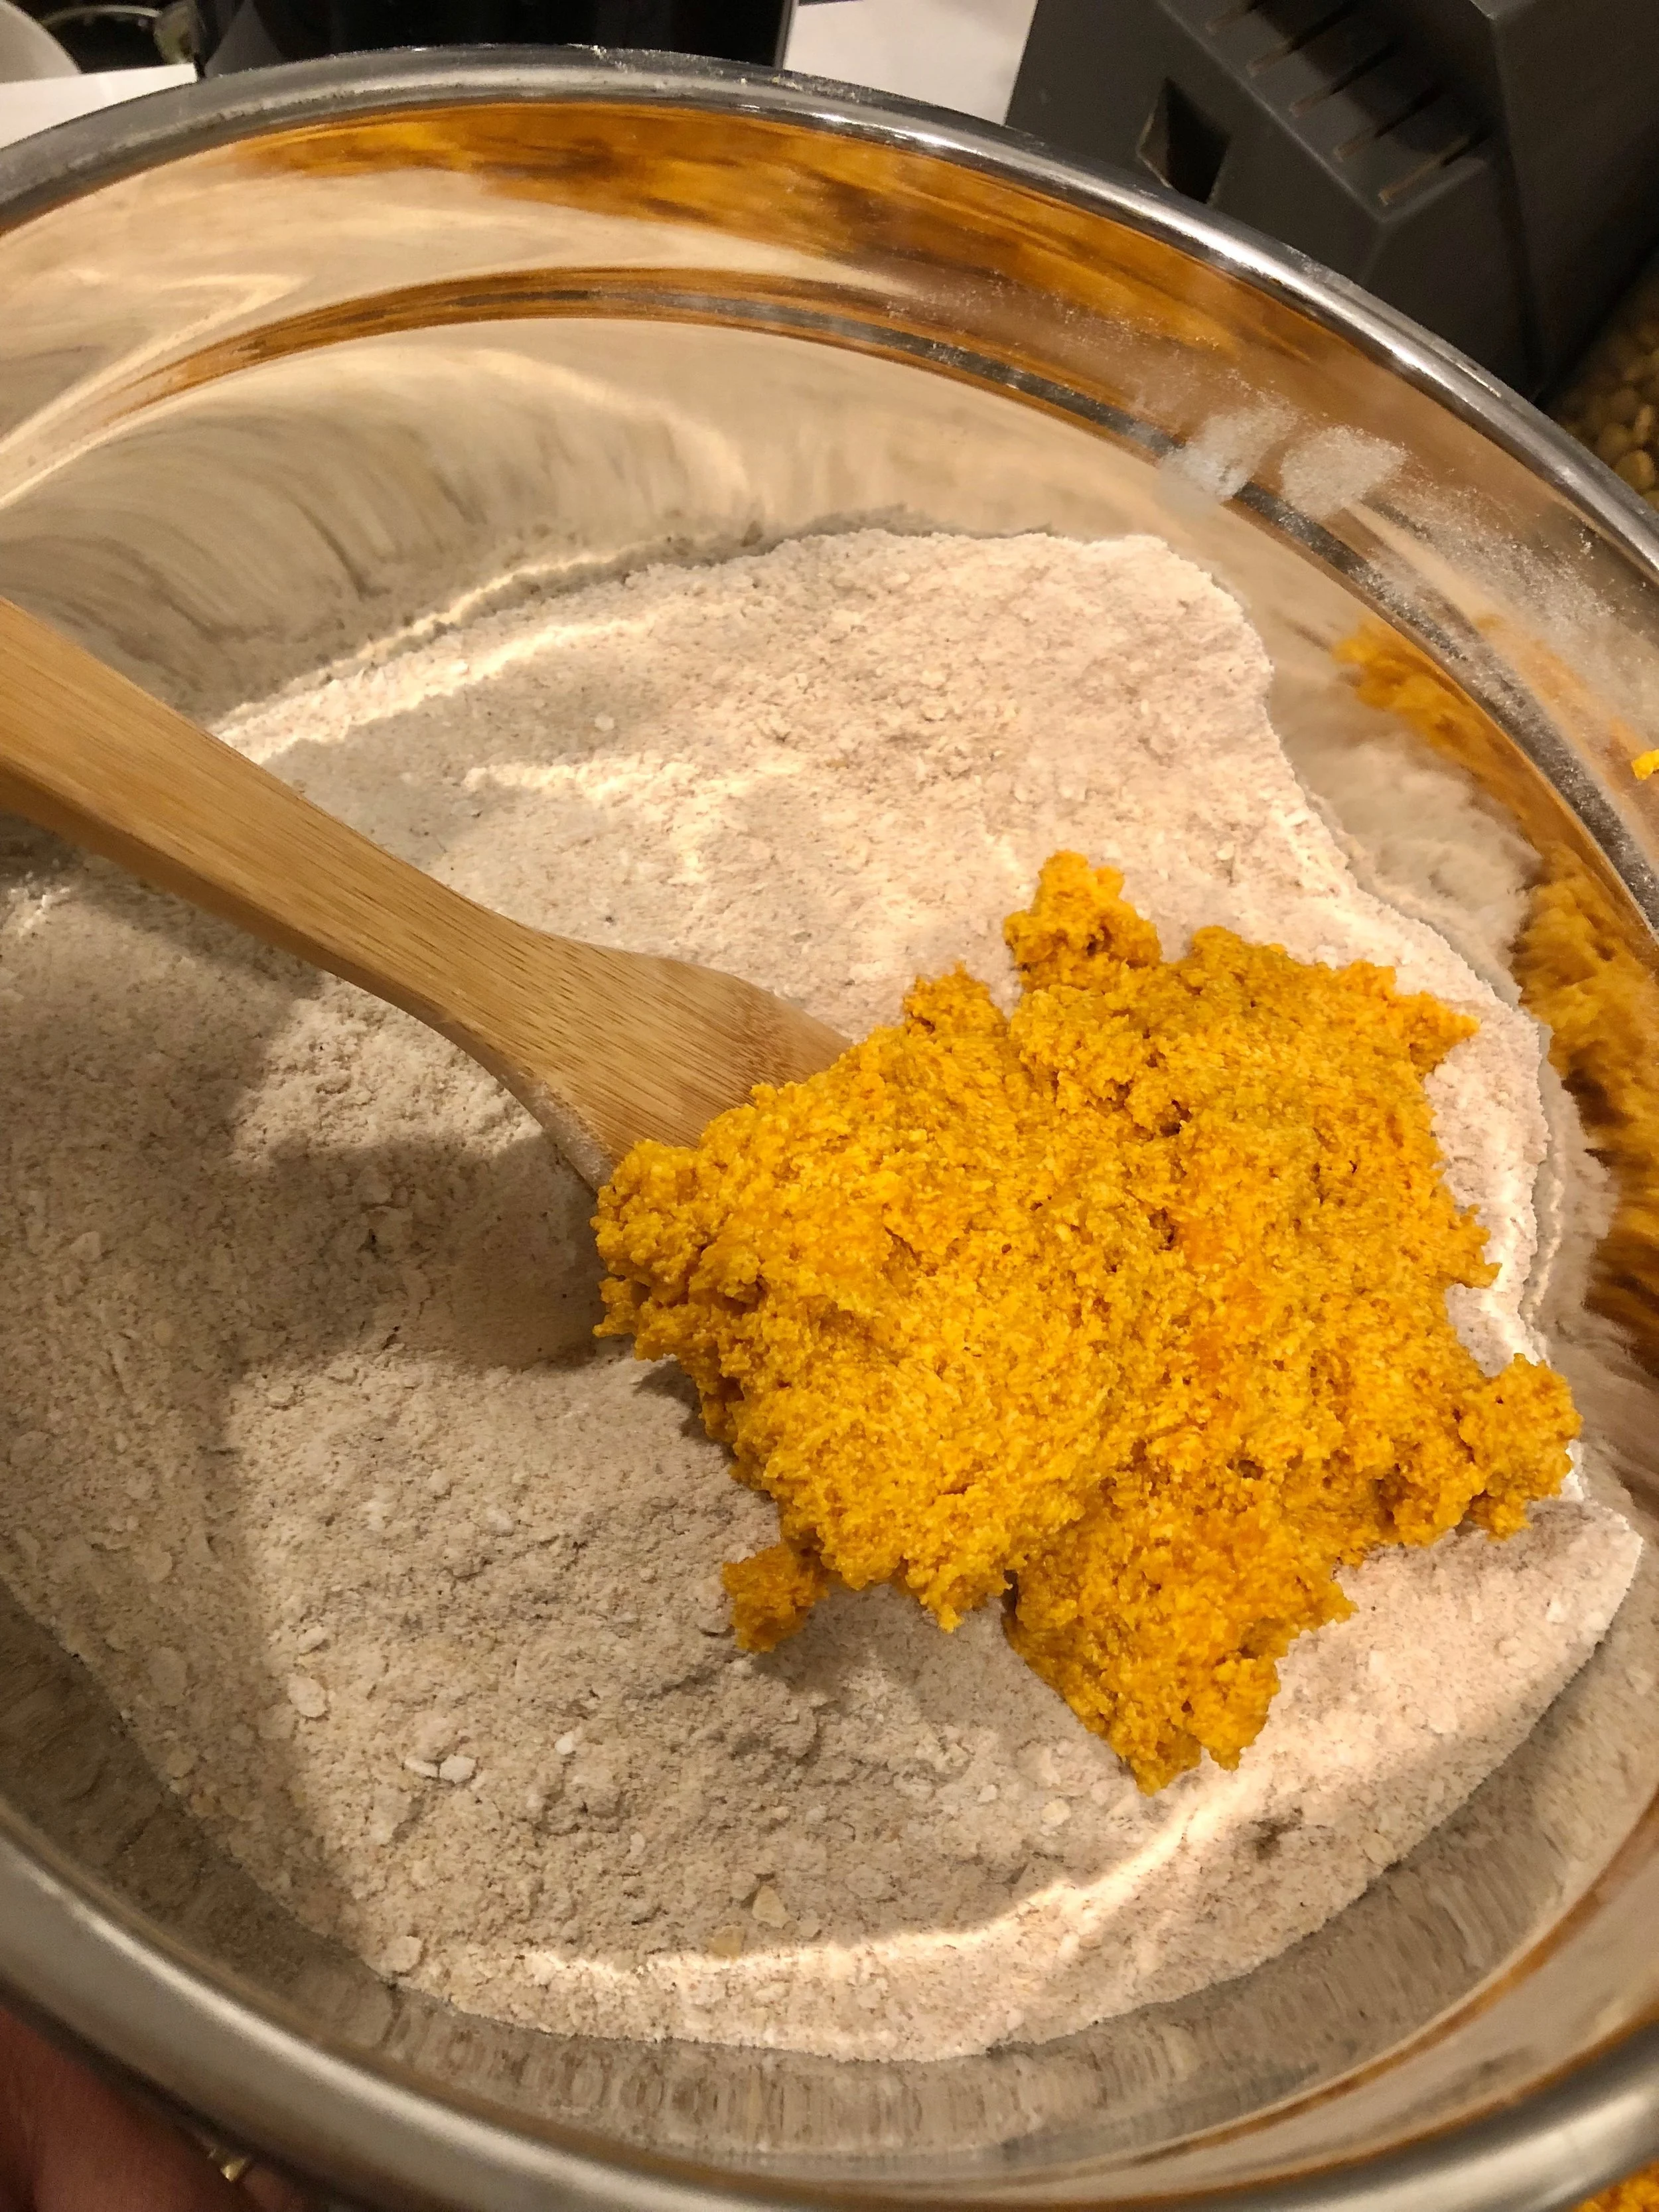
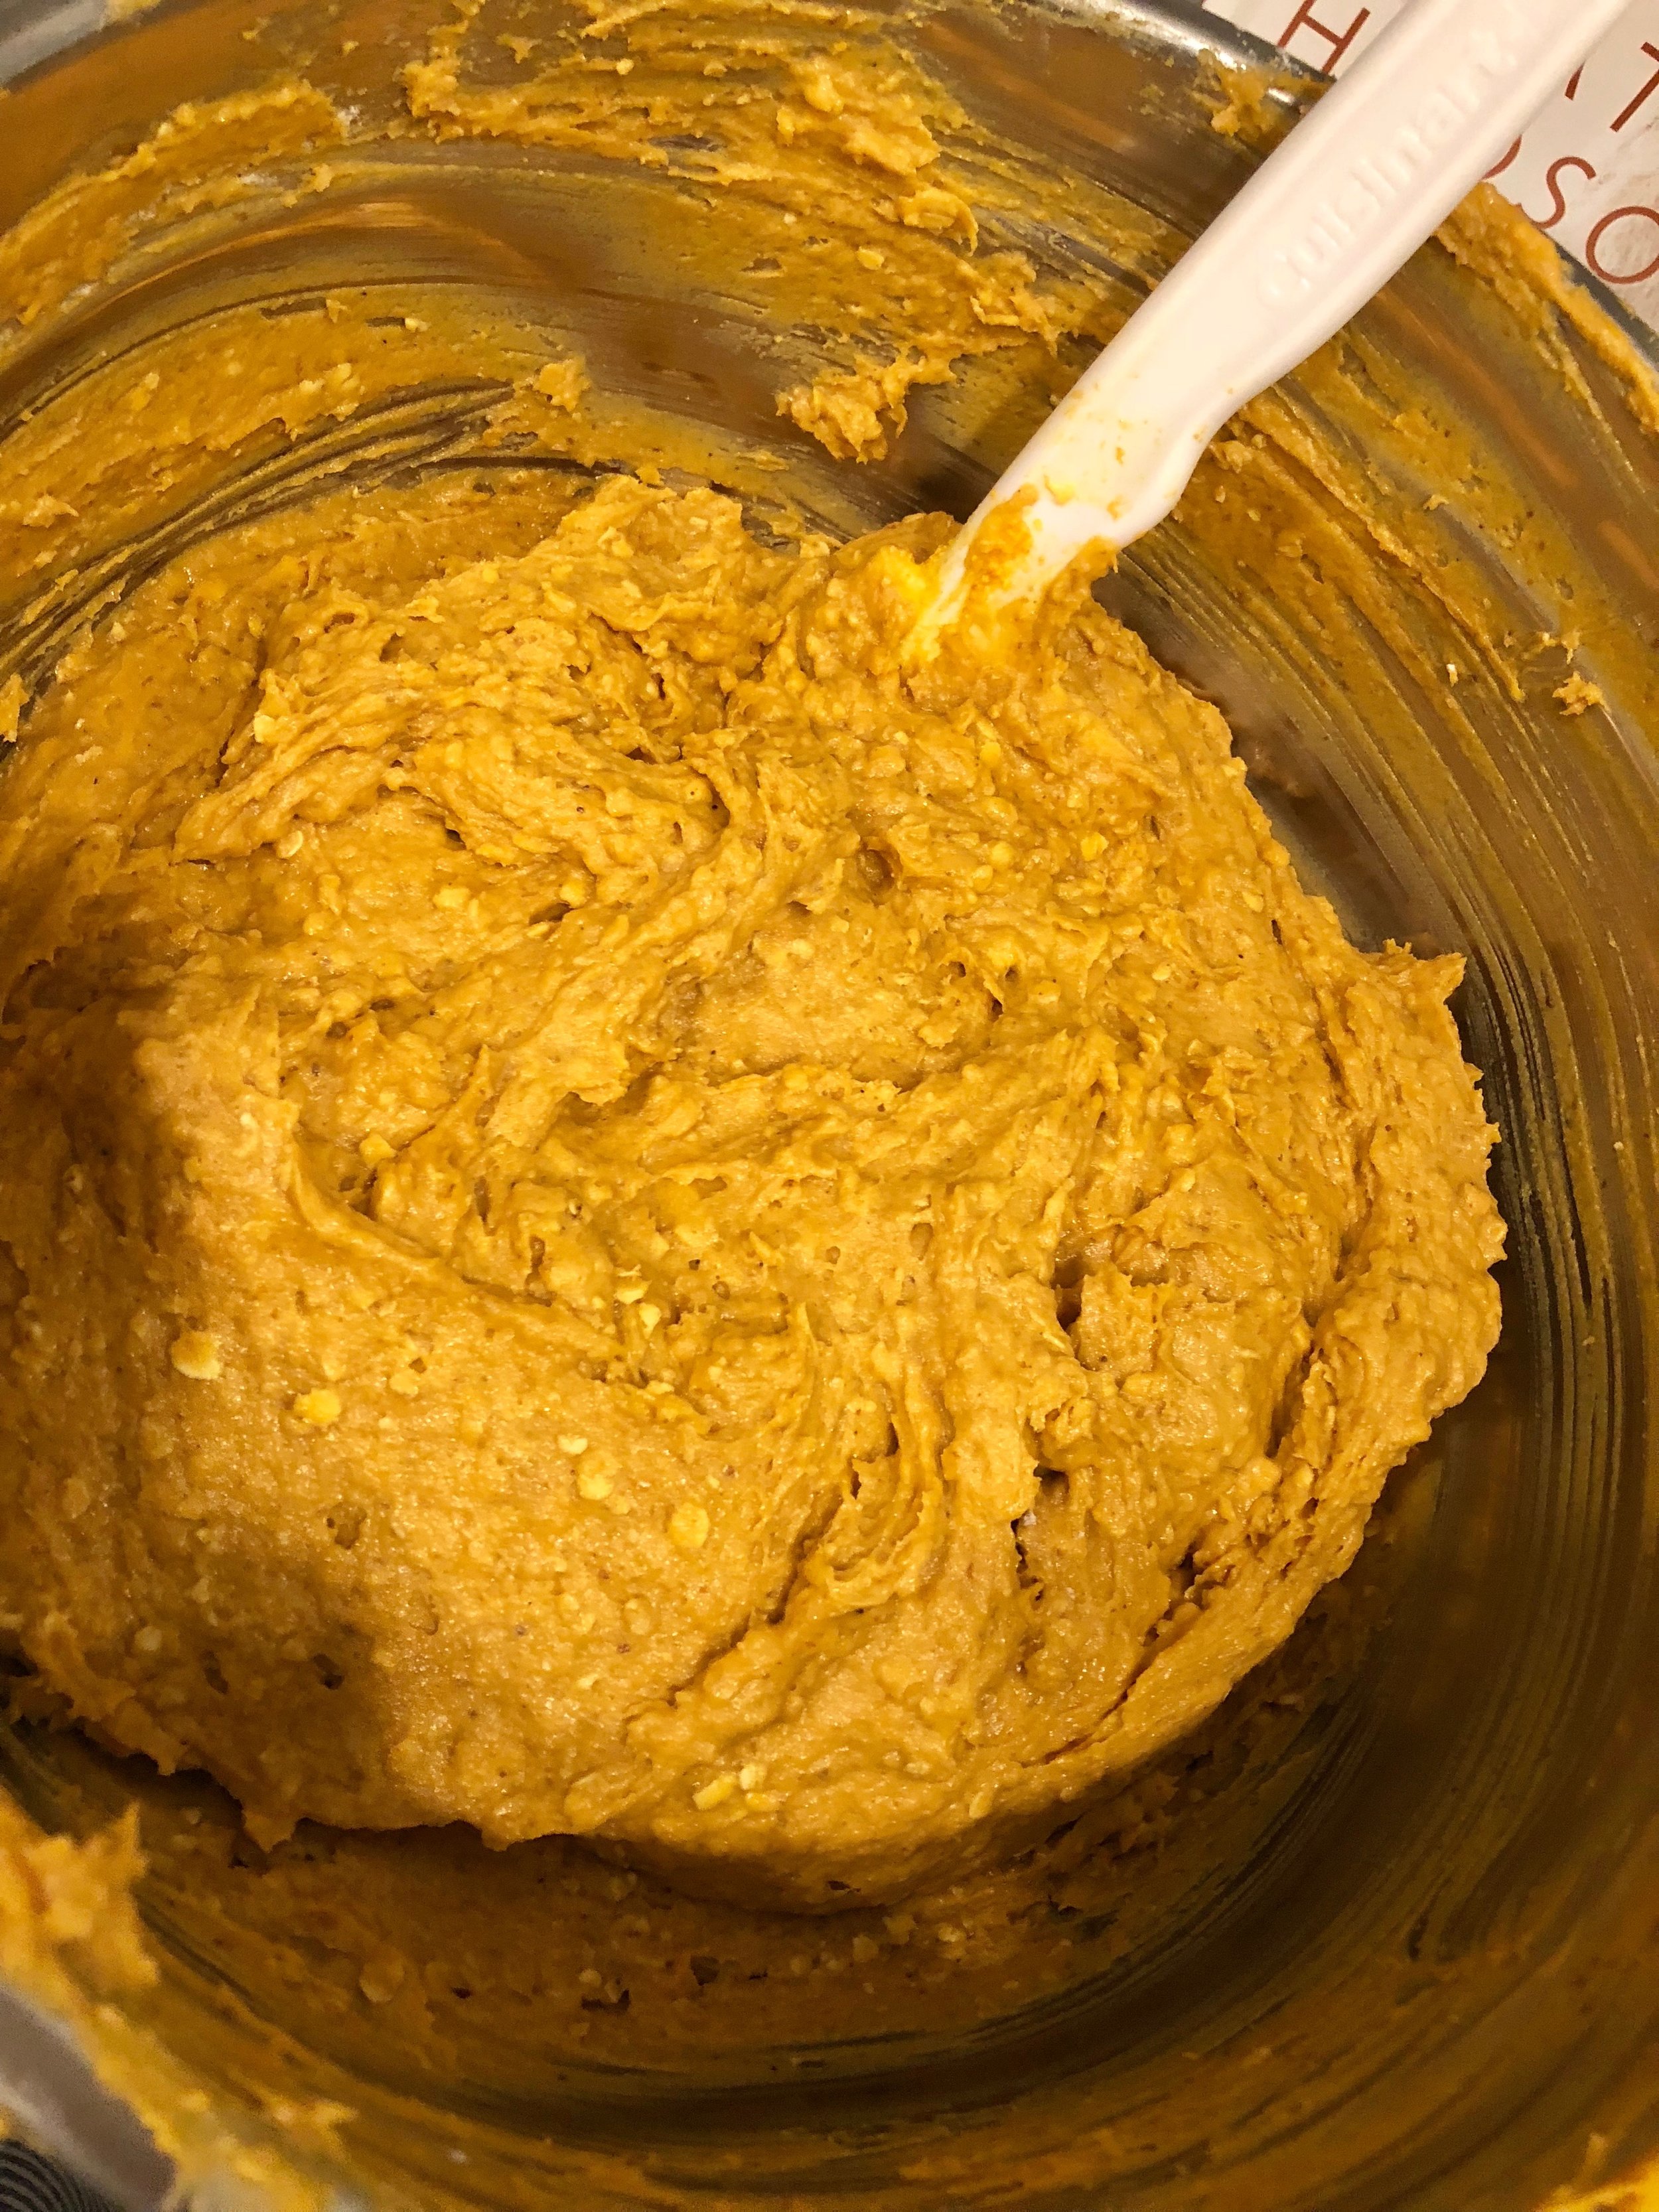
When all wet ingredients are mixed, turn the mixer off and add in 1/2 of the flour mixture. If you have it, you can switch out the paddle attachment with a dough hook before adding in the rest of the flour mixture (if not, just keep adding the flour in as usual). A pretty stiff dough should form. Be sure not to over mix the dough. If it is combined and looking like cookie dough, you are done.
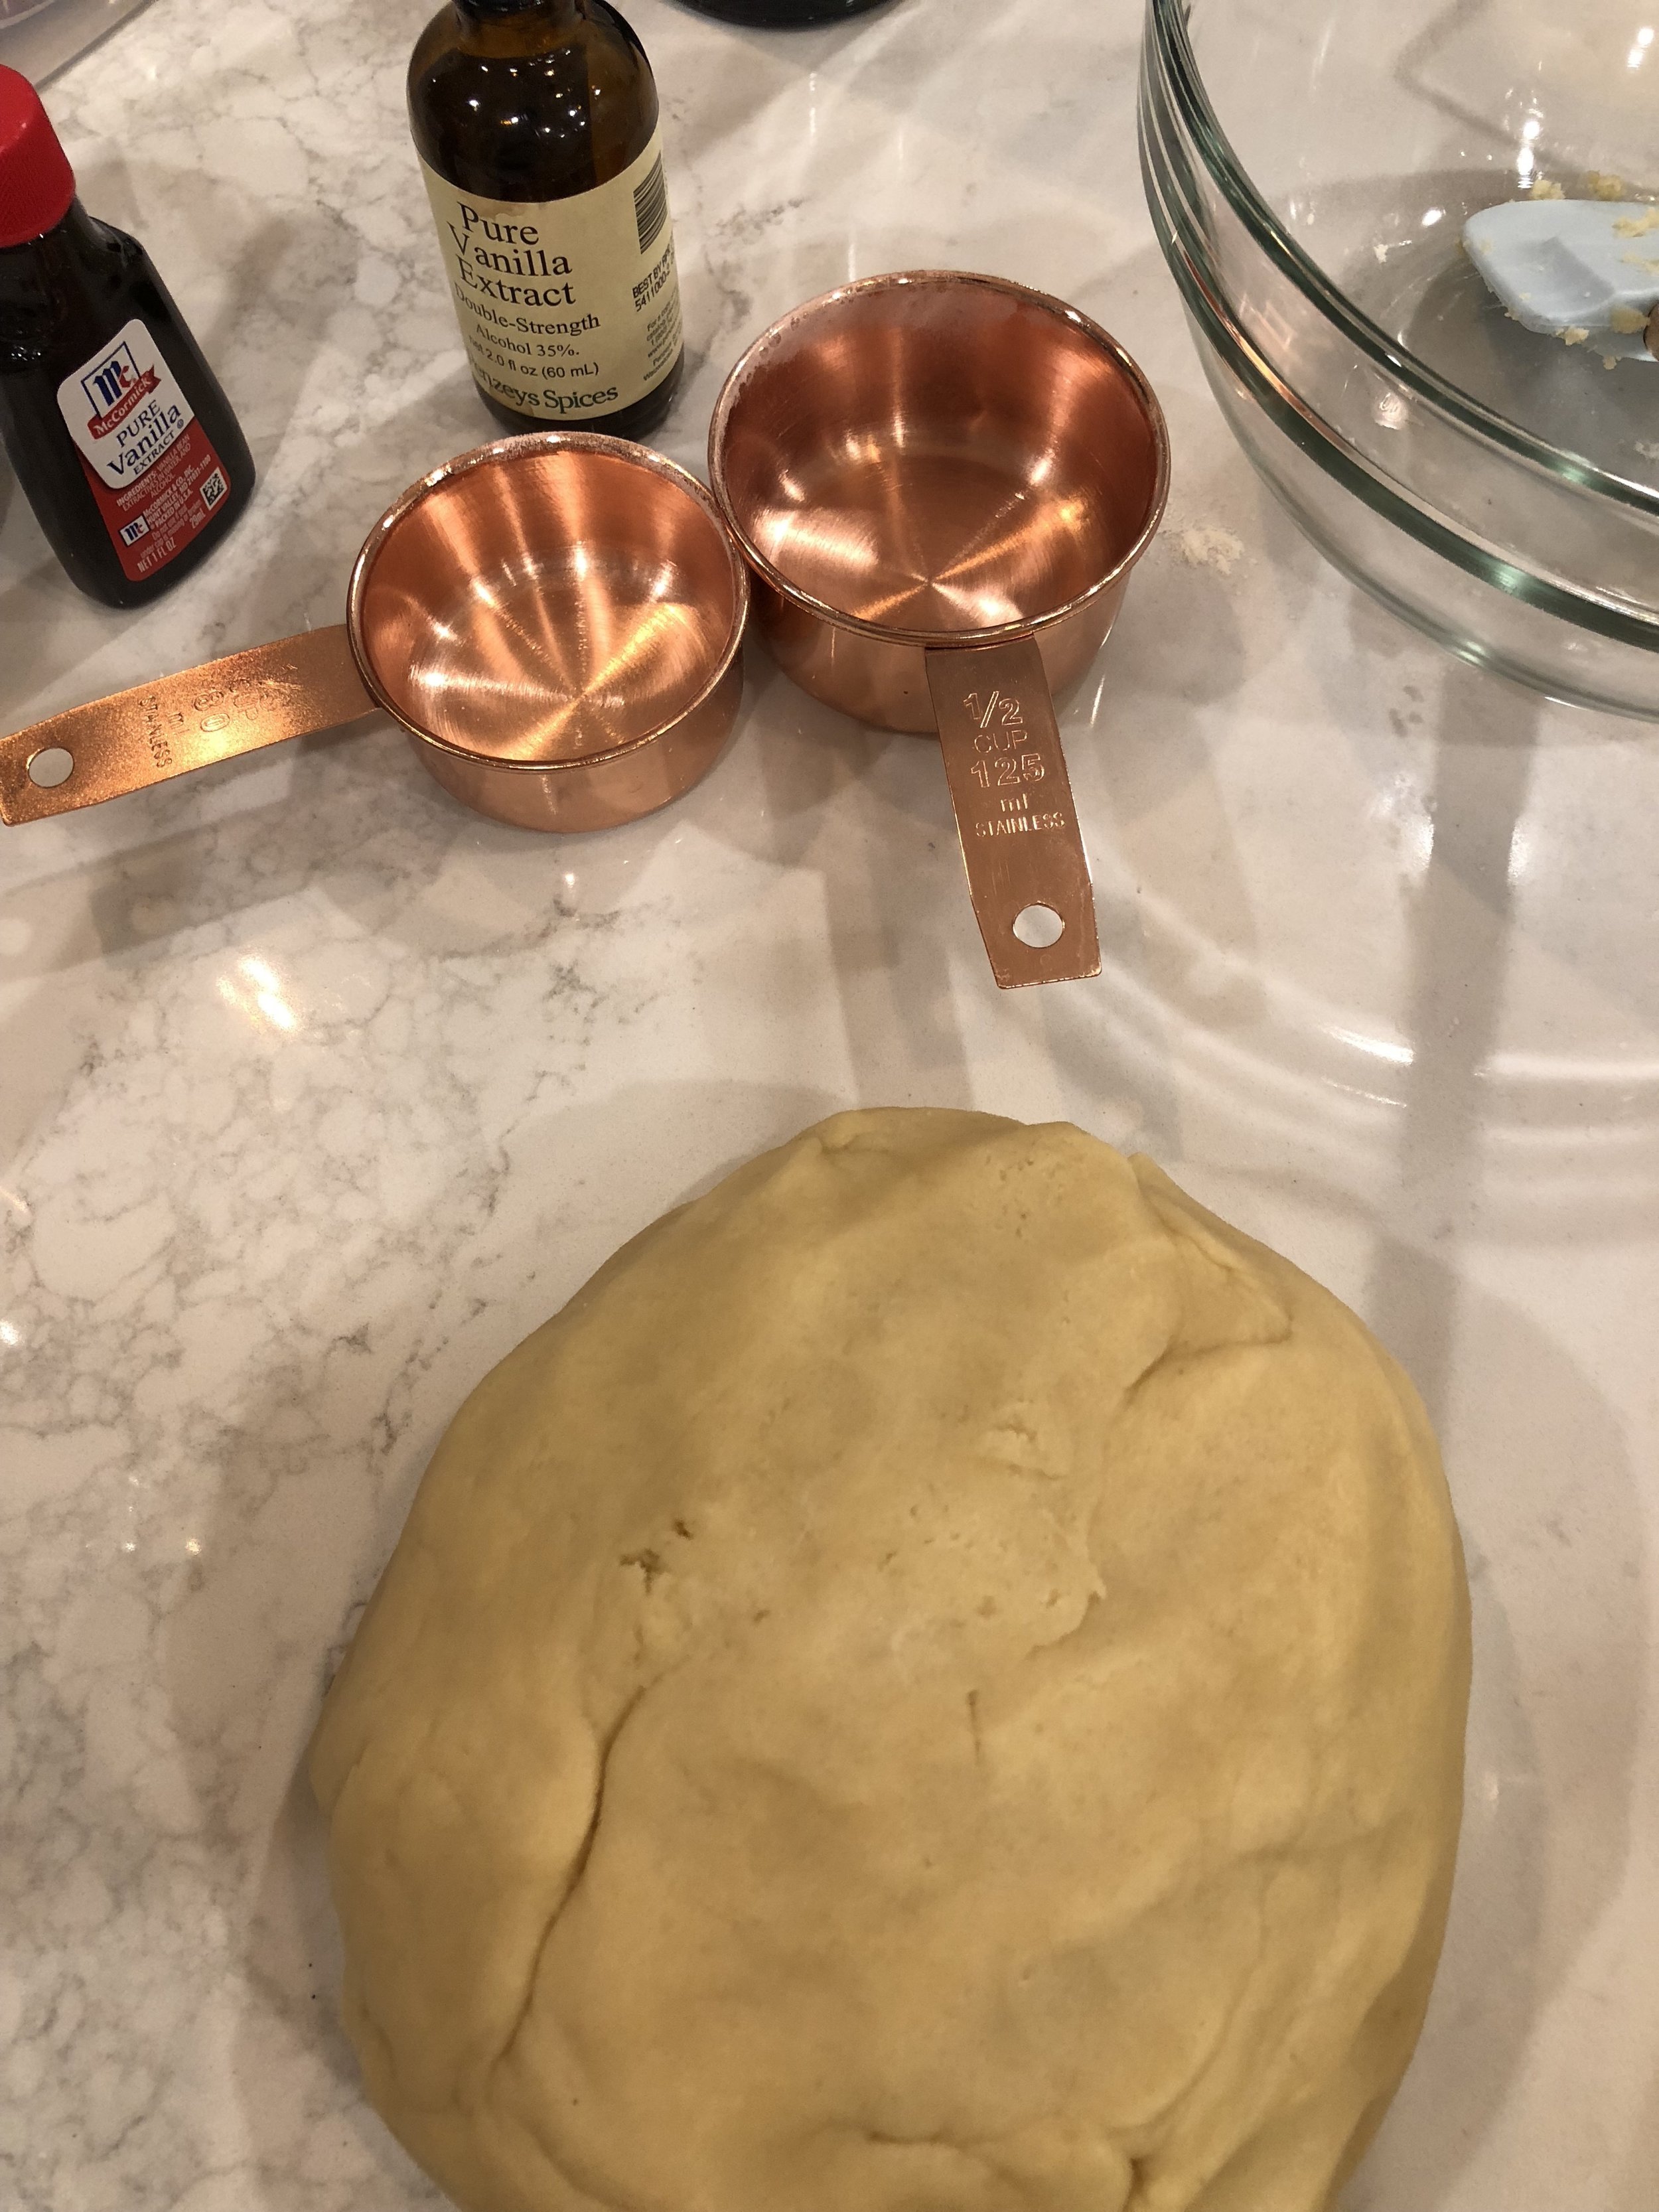
Remove dough from mixing bowl and form into a round disc shape. Wrap in plastic wrap and refrigerate for at least one hour. I usually make the dough the night before (if you do this, be sure to bring to room temperature before baking).
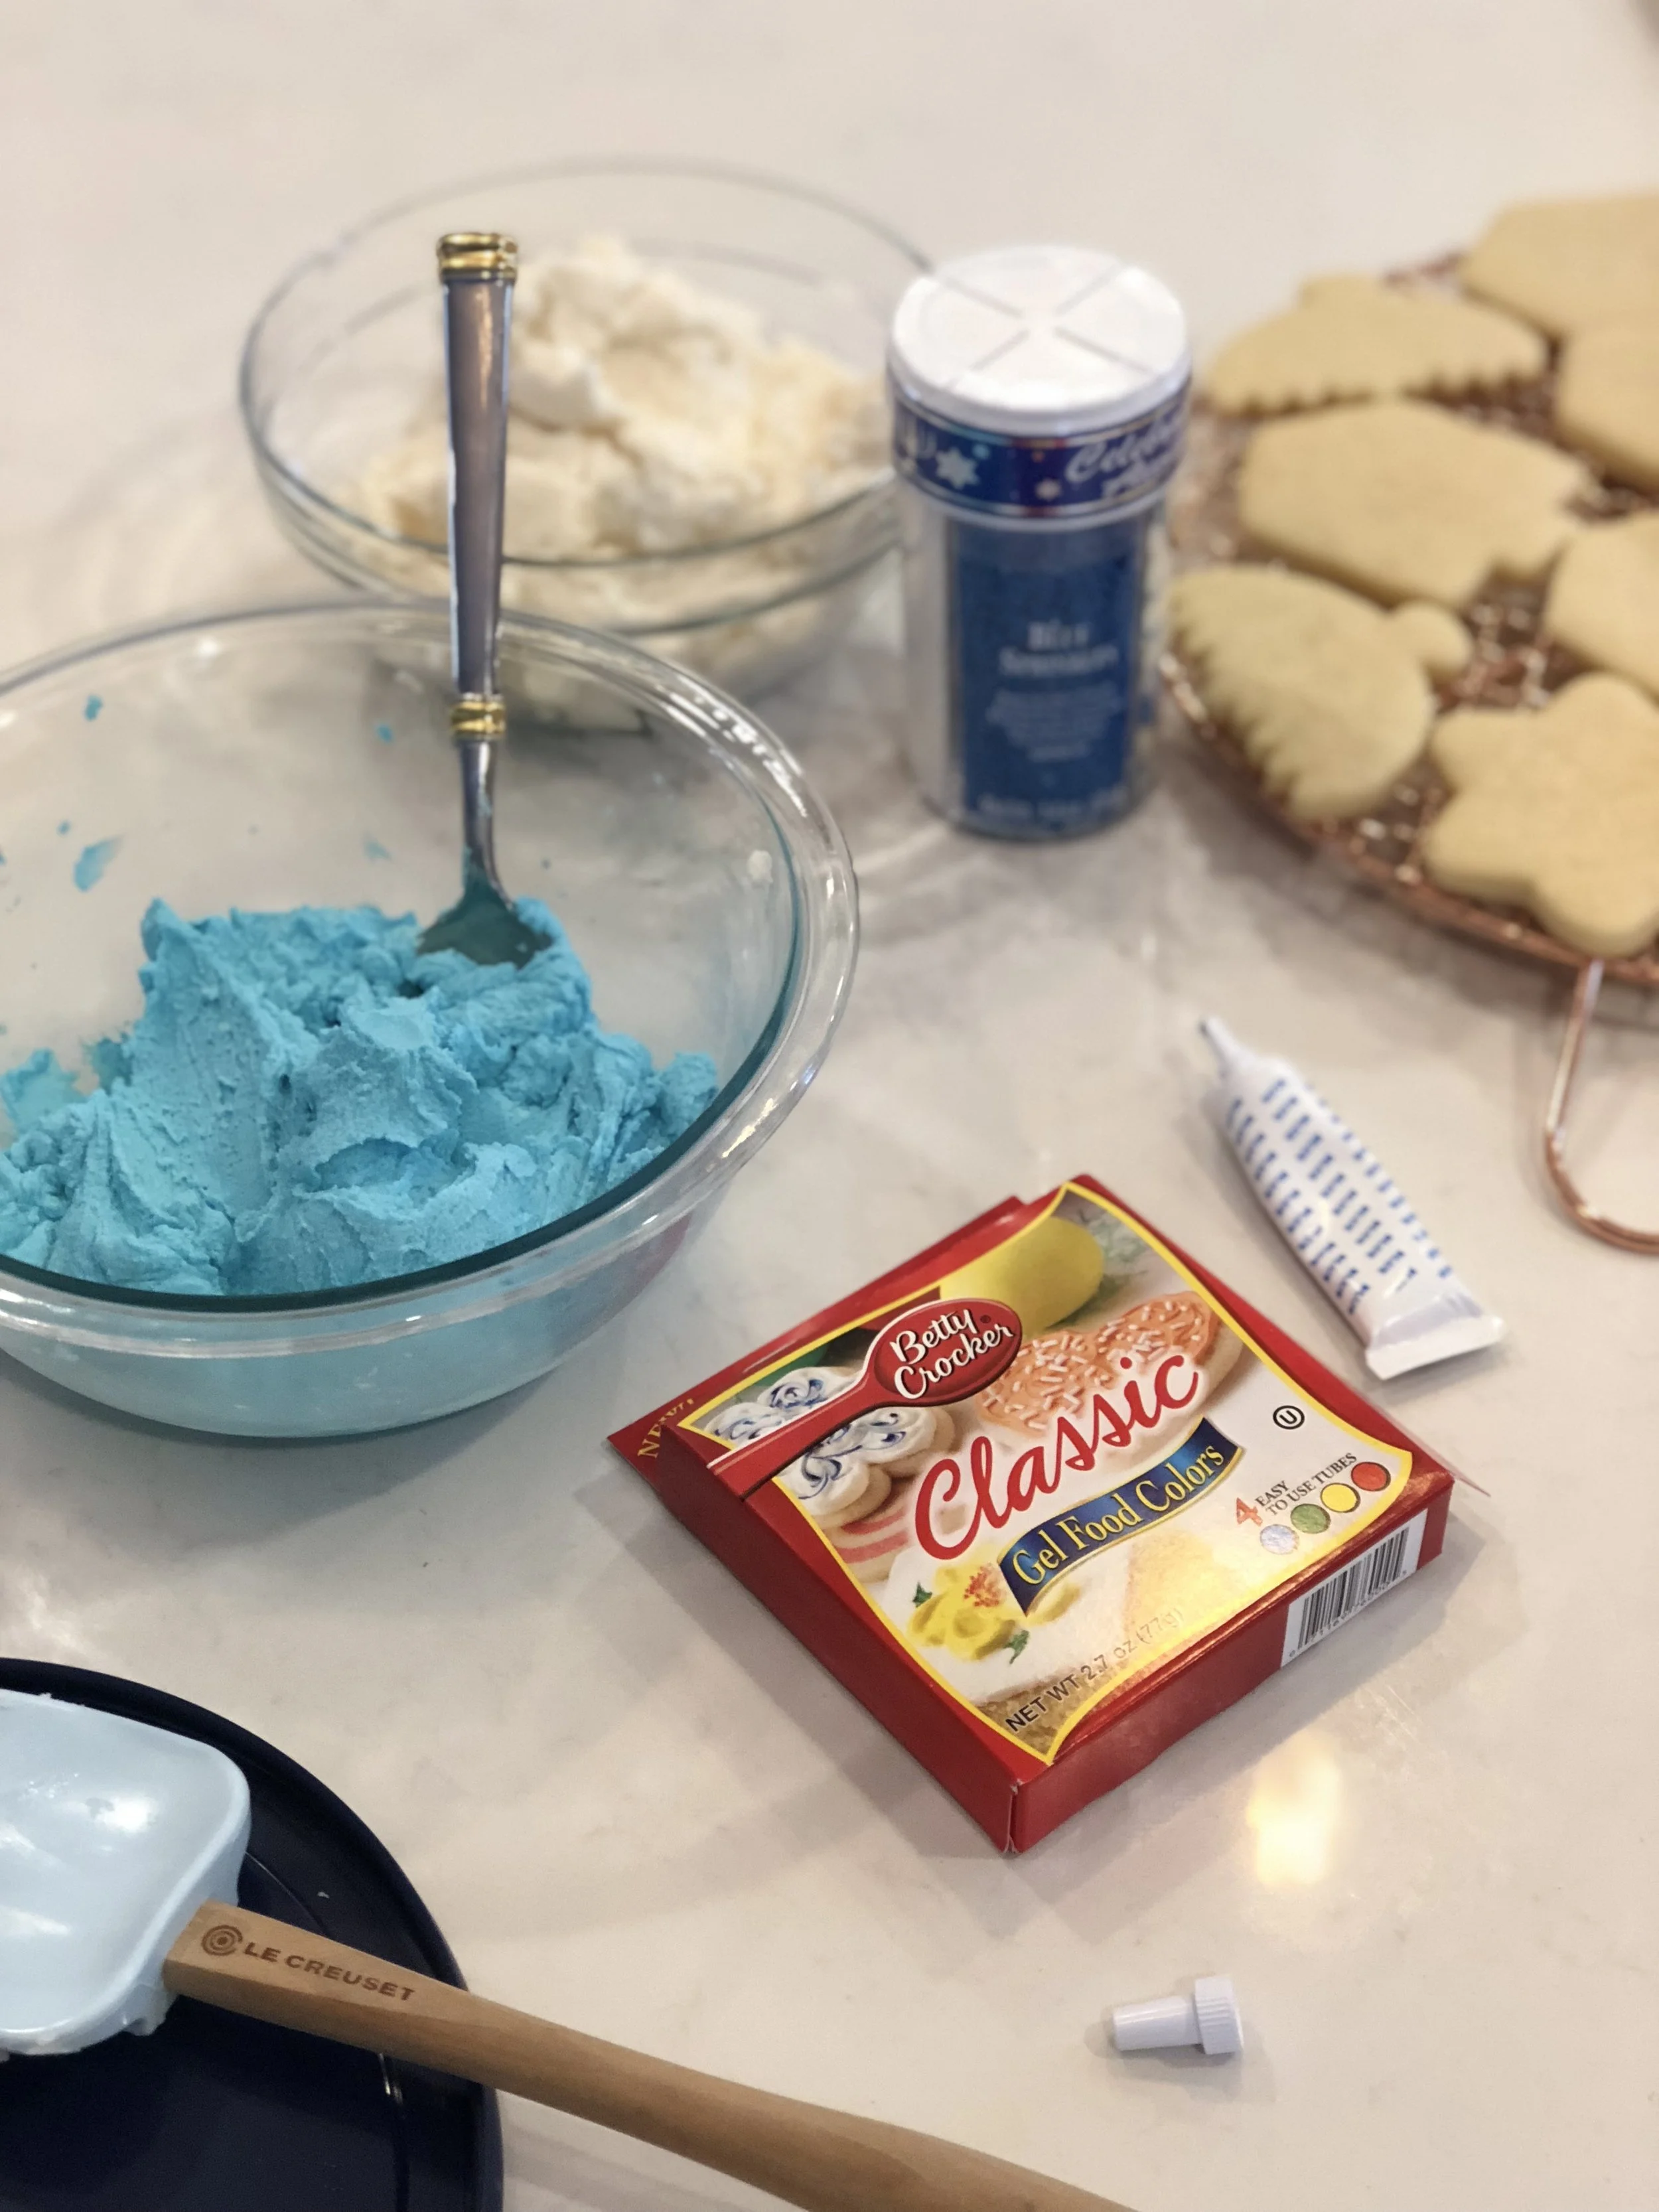
While you are waiting for your dough to chill, you can make the icing. This recipe couldn’t be easier…In a stand mixer, with the whisk attachment, add in the butter, shortening, vanilla, powdered sugar and milk. I suggest adding powdered sugar in gradually so it doesn’t look like the first snow storm in your kitchen (speaking from experience here). If you want your icing a bit sweeter, add in more powdered sugar. And if it seems really dry, add in a bit more milk. You really can’t mess this up! The taste should remind you of those soft sugar cookies with the colored icing and sprinkles you can buy in the supermarket.
**This icing is designed to crust over (which is why we add the shortening) so if you prefer that it doesn’t, you can just sub with more butter, but I highly suggest using the shortening, especially if you want cookies that can transport easily.
If desired, split the icing in half and add blue food color gel to the icing until you’ve reached the desired color. Kids LOVE the colored icing. Be sure to keep the icing covered while waiting to ice your cookies.
BACK to the cookies….
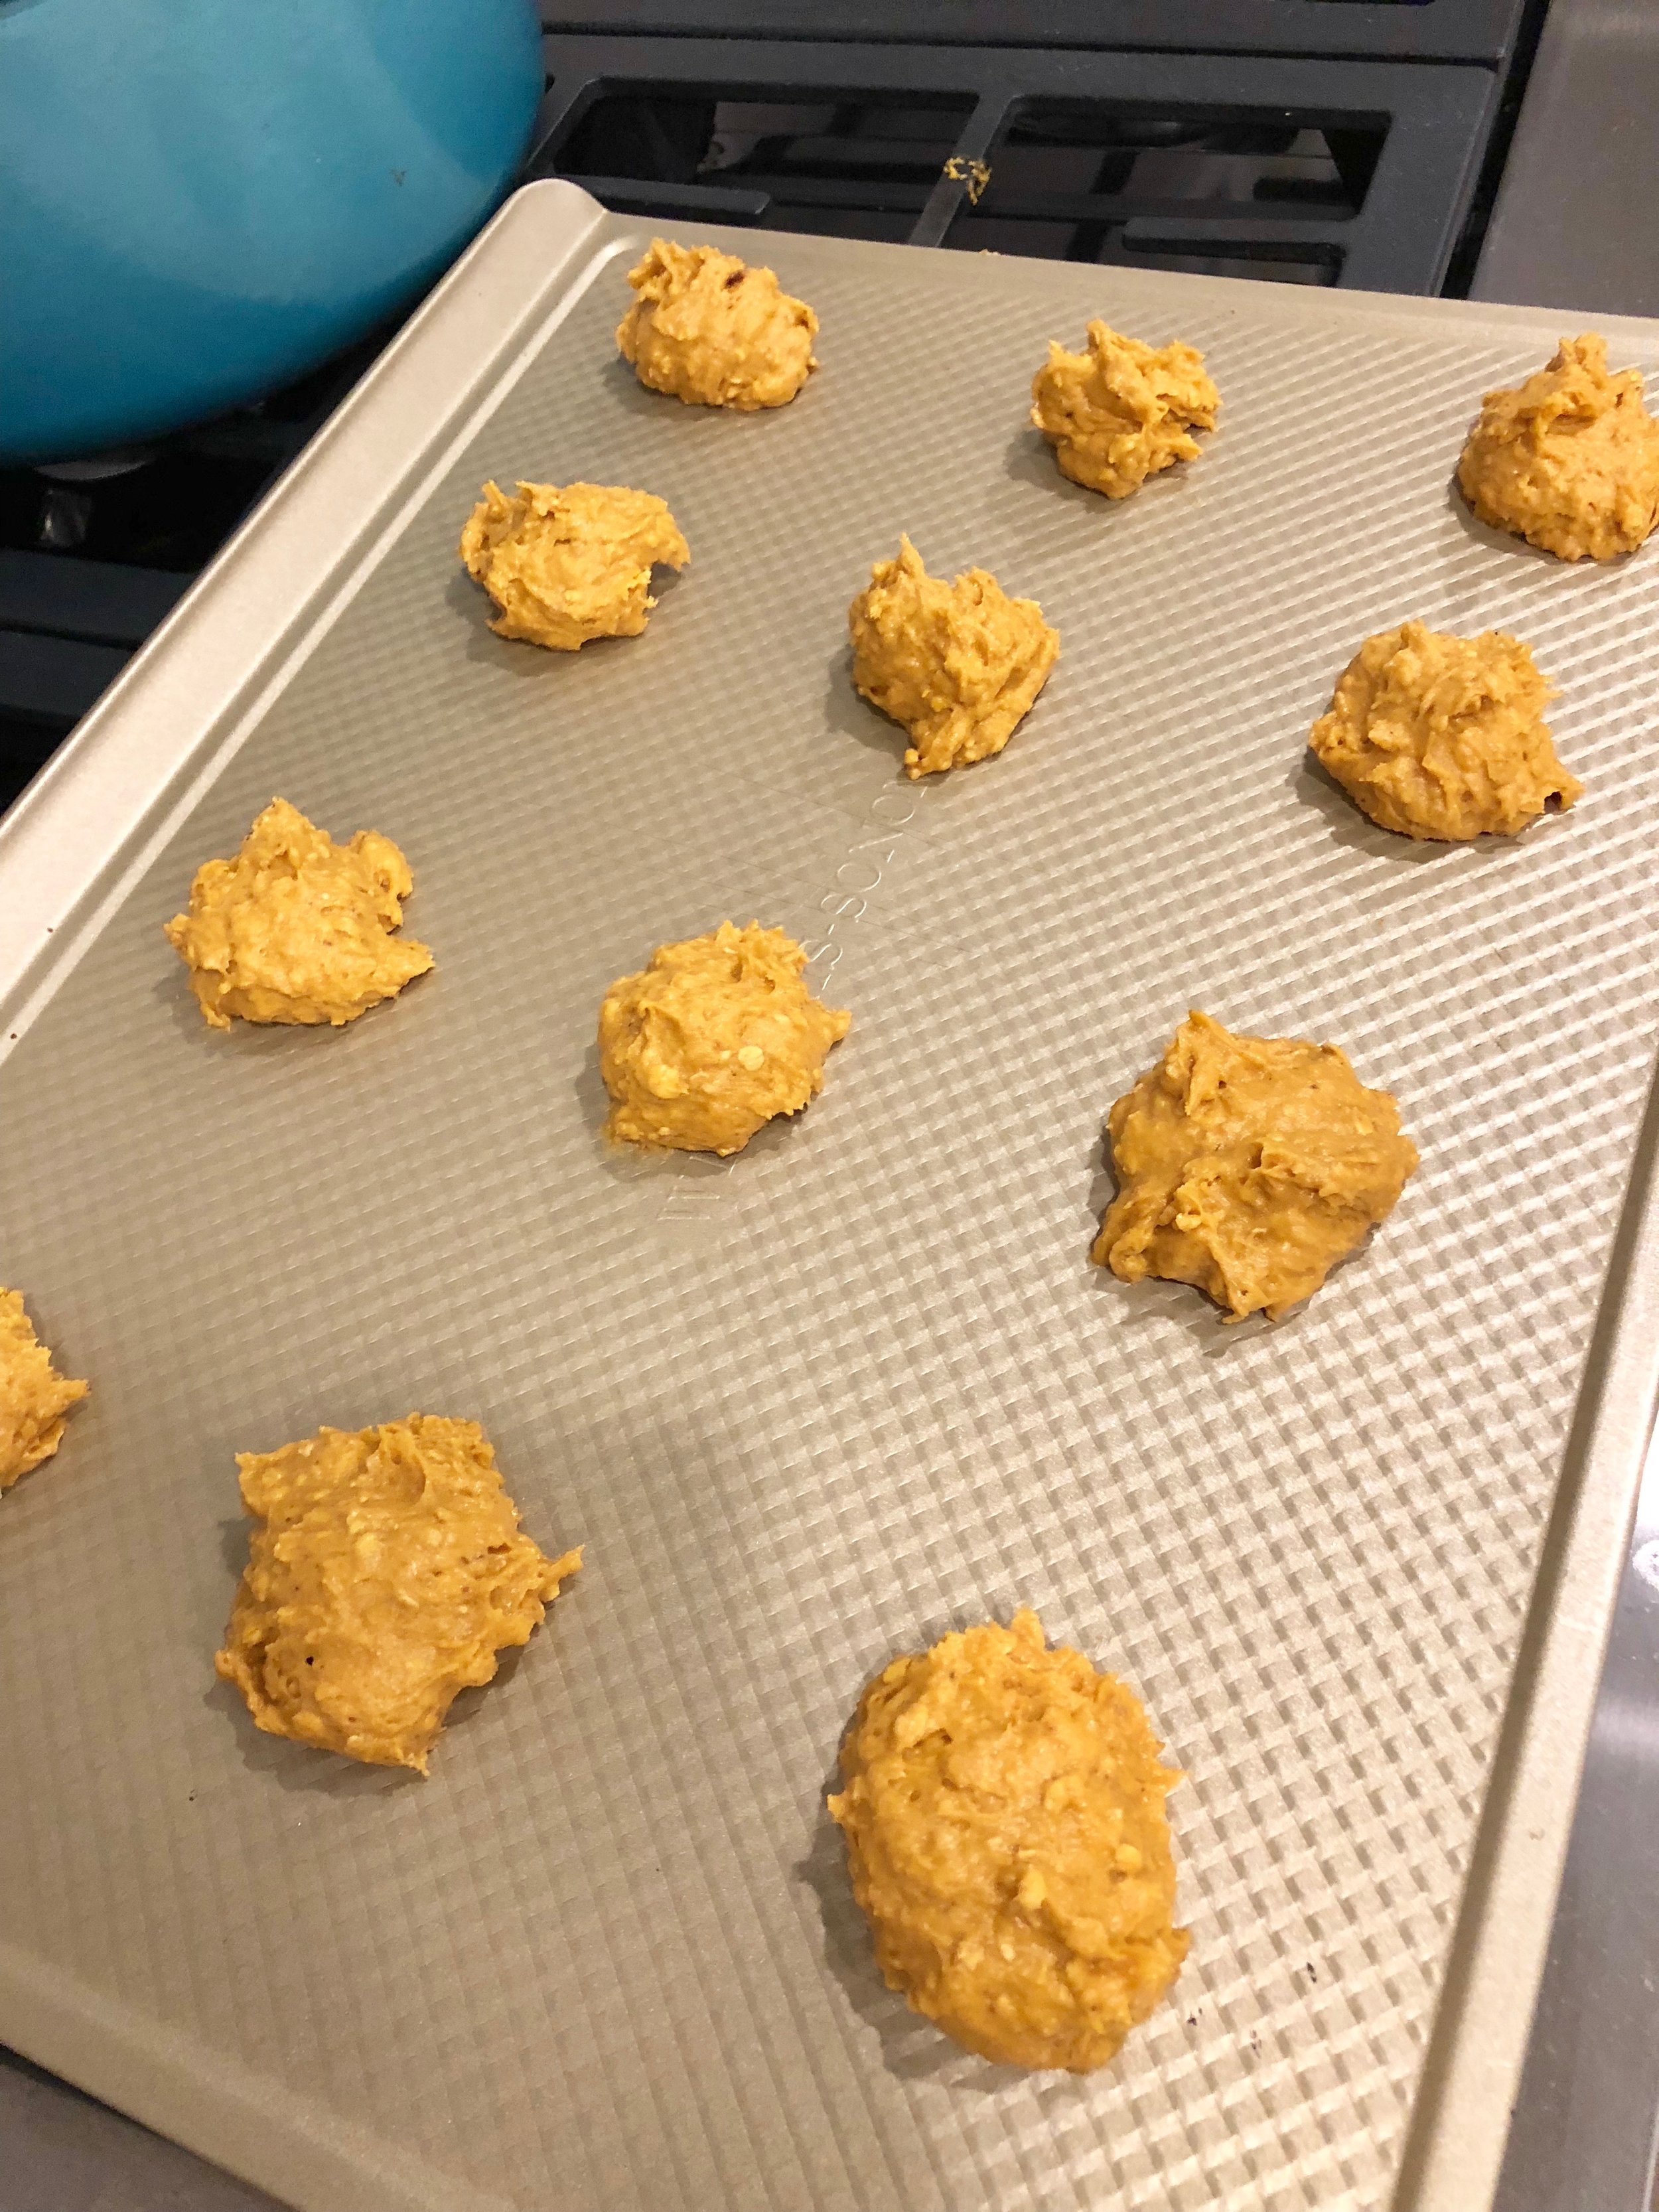
Once your icing is done, set the oven to 350 degrees. While the oven heats, cover two cookie sheets with parchment paper.
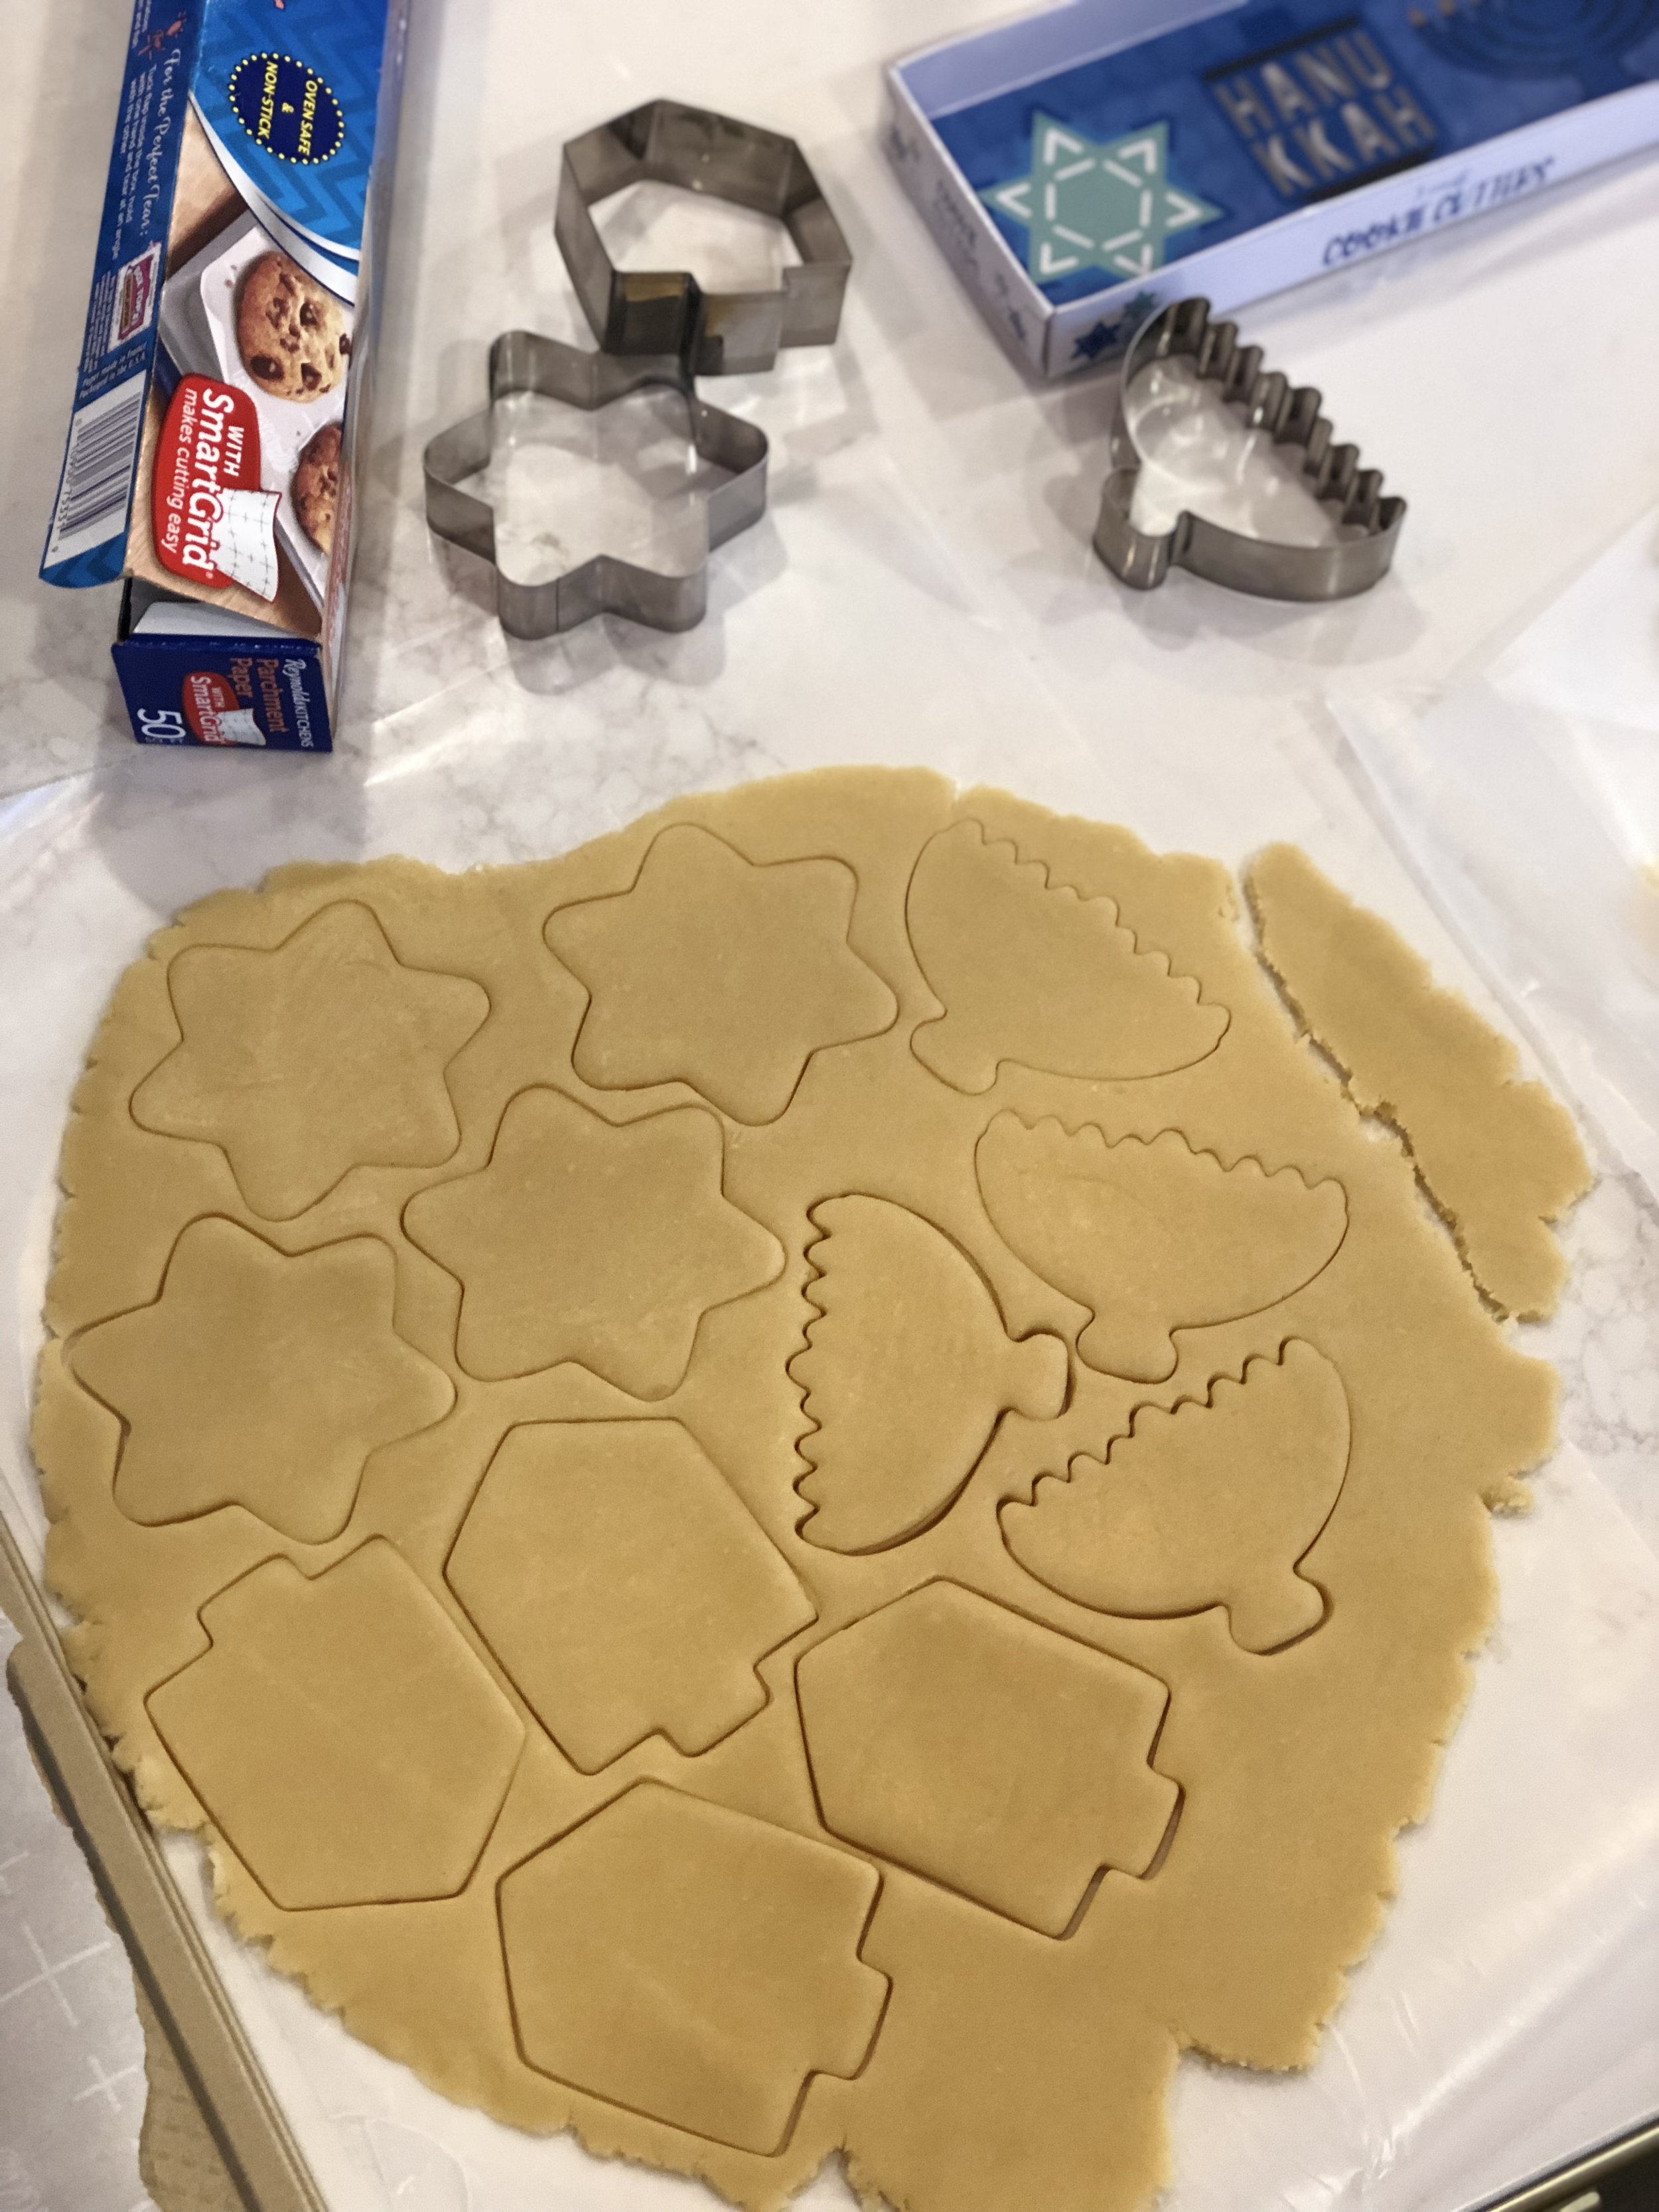
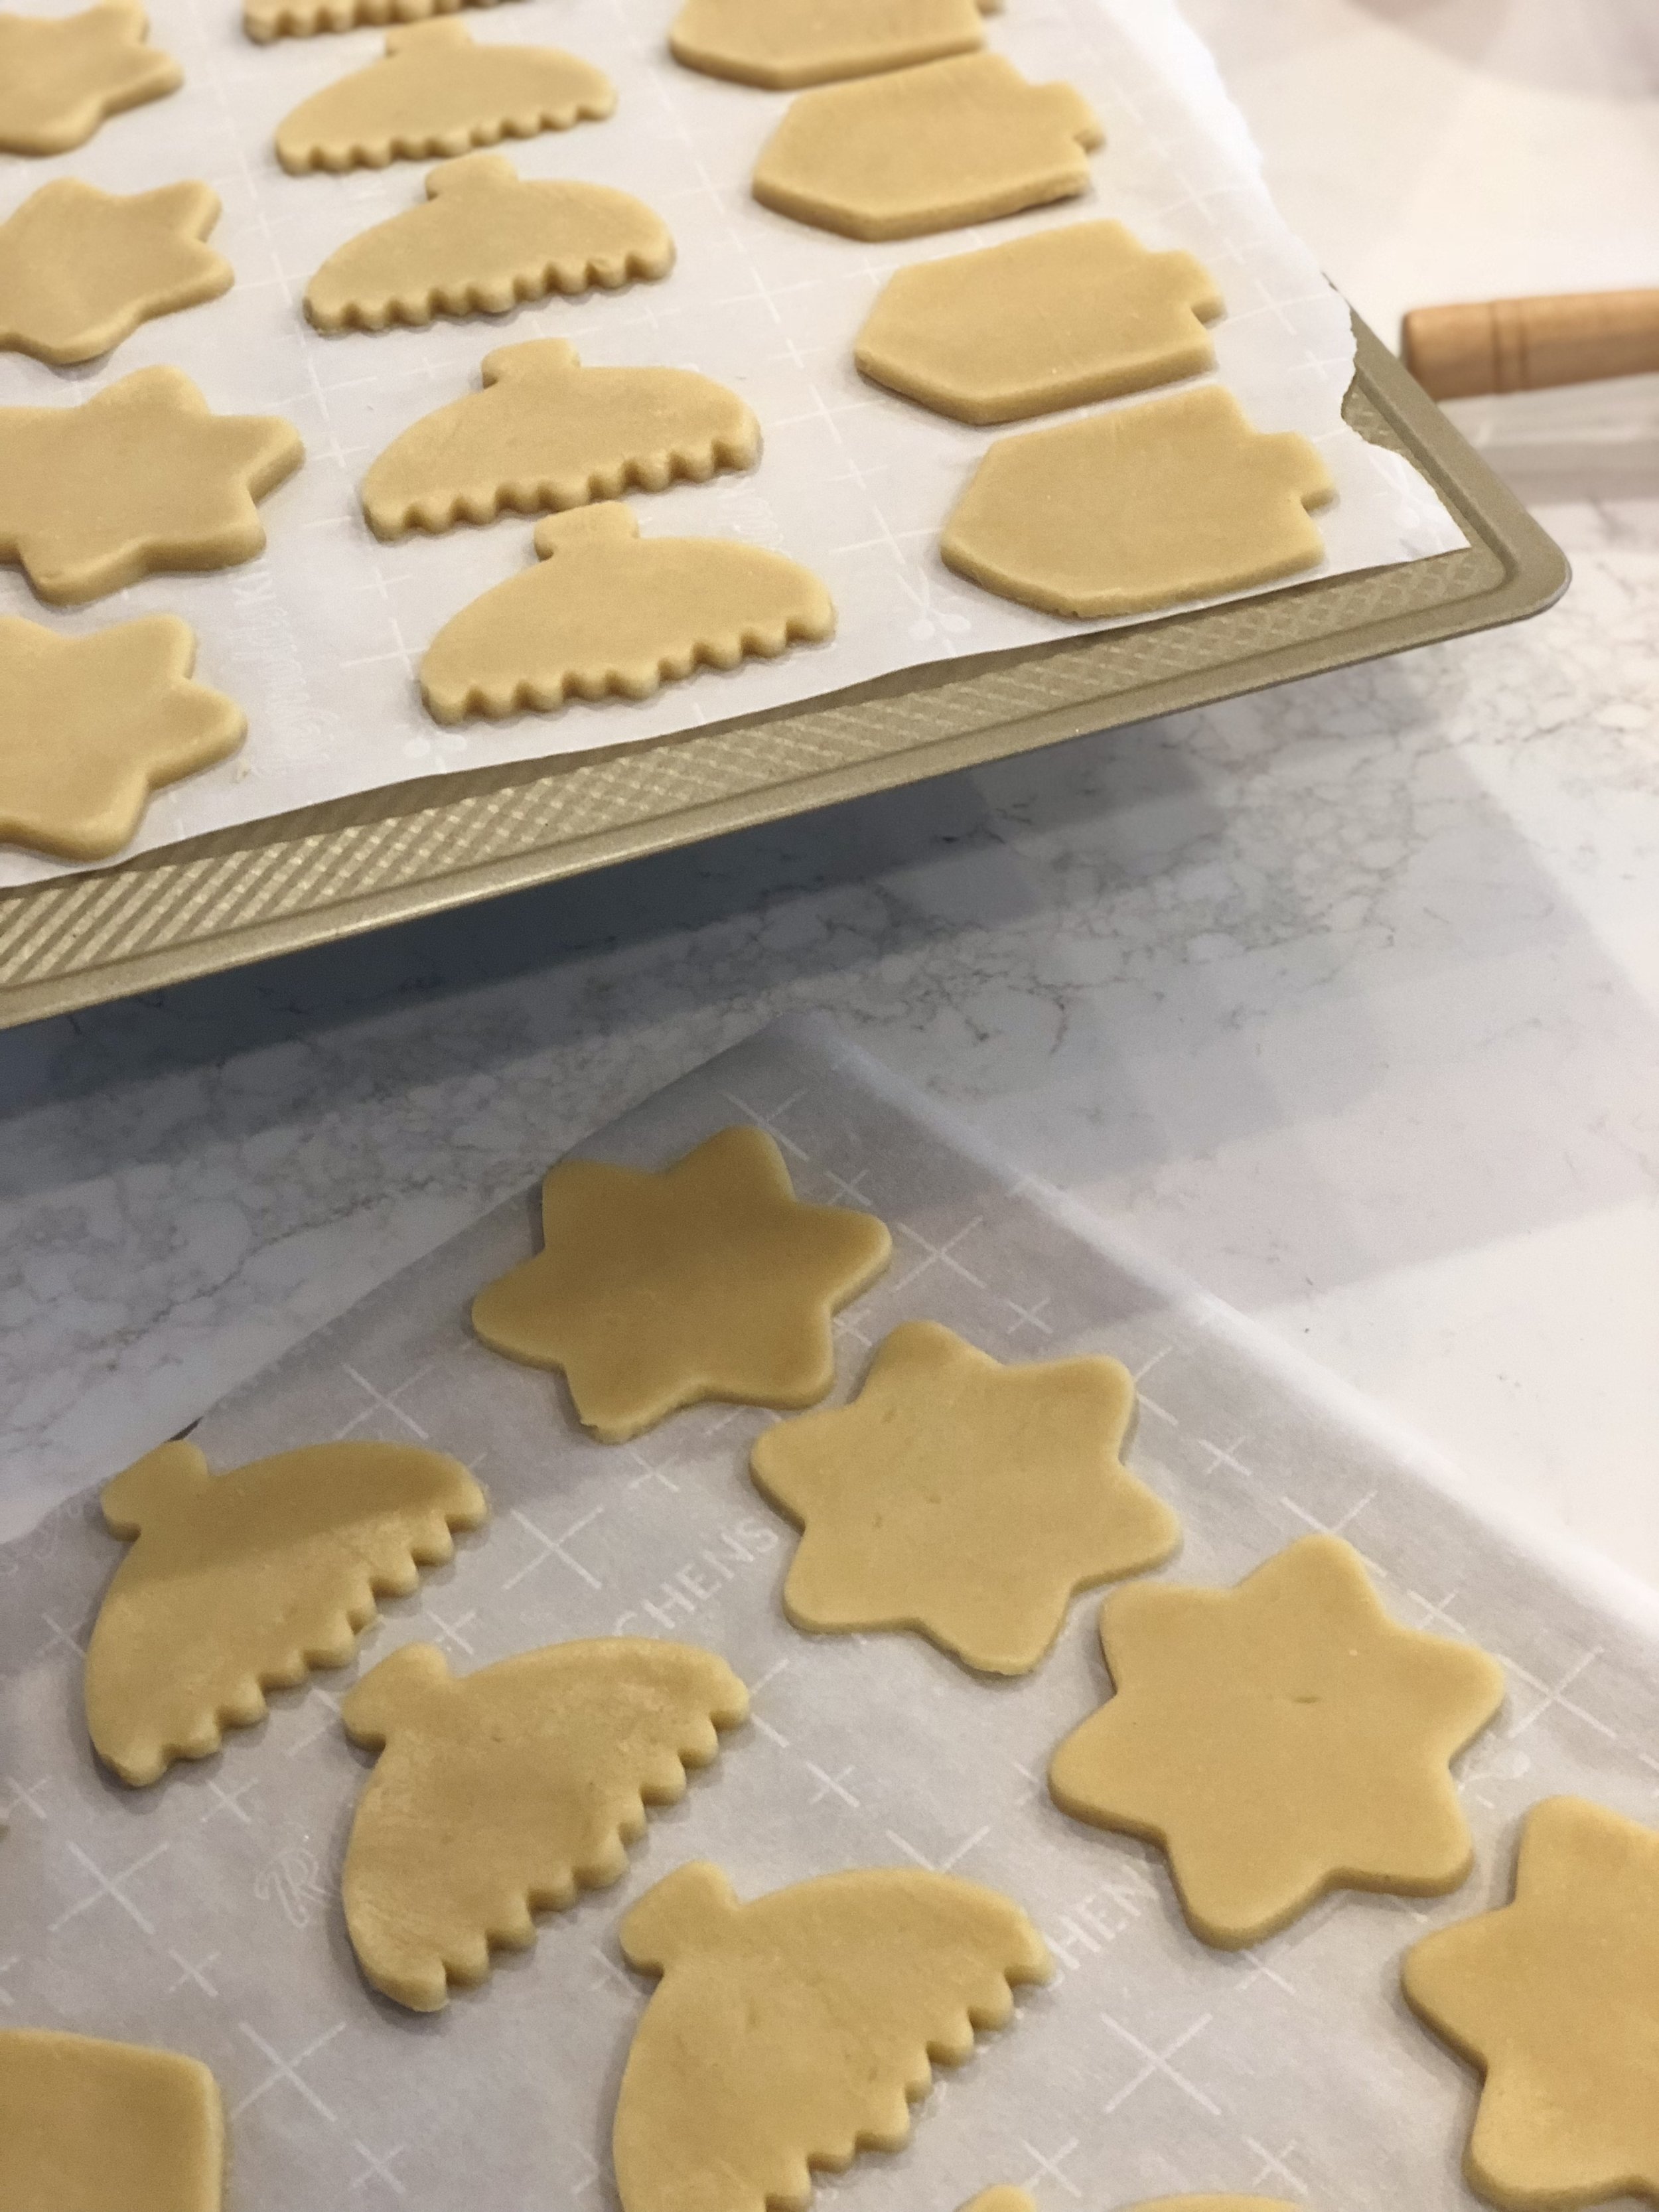
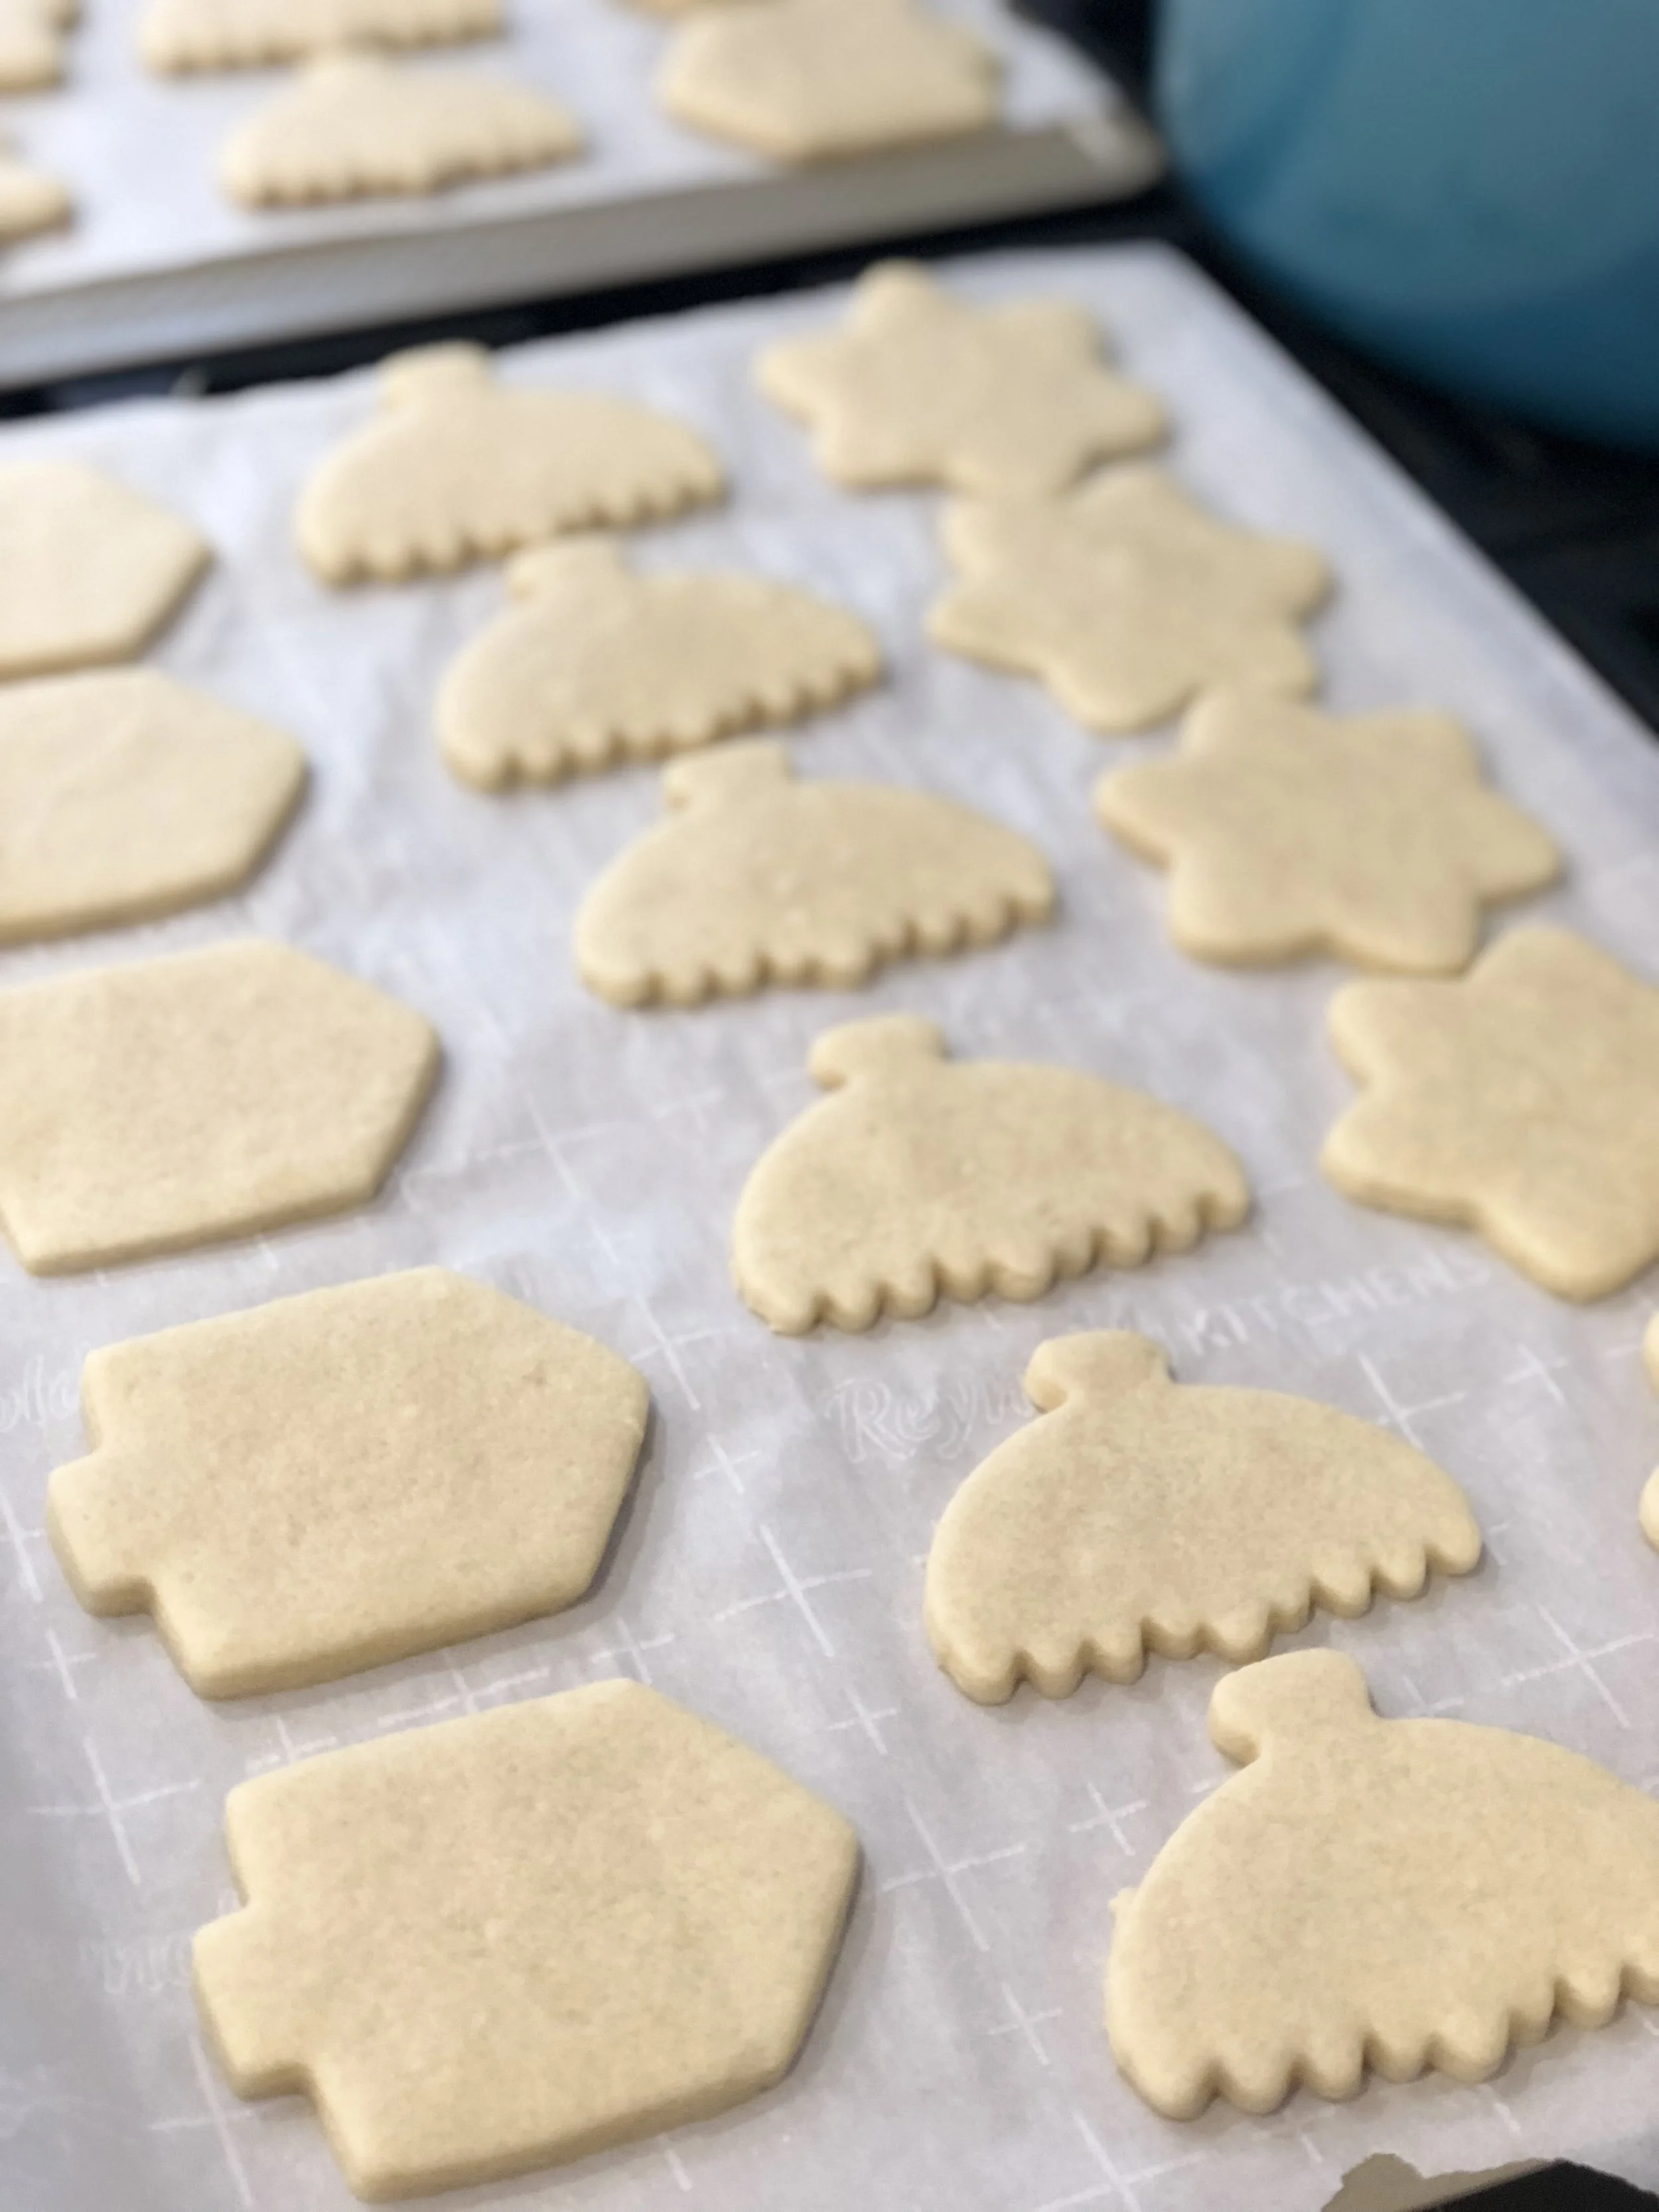
Remove the dough from the fridge and split in half. Place each piece of dough between two sheets of wax paper and roll until it is about 1/4 inch thick. After rolling the dough out, cut desired shapes with cookie cutters. Any extra dough can be rolled again to yield the maximum amount of cookies.
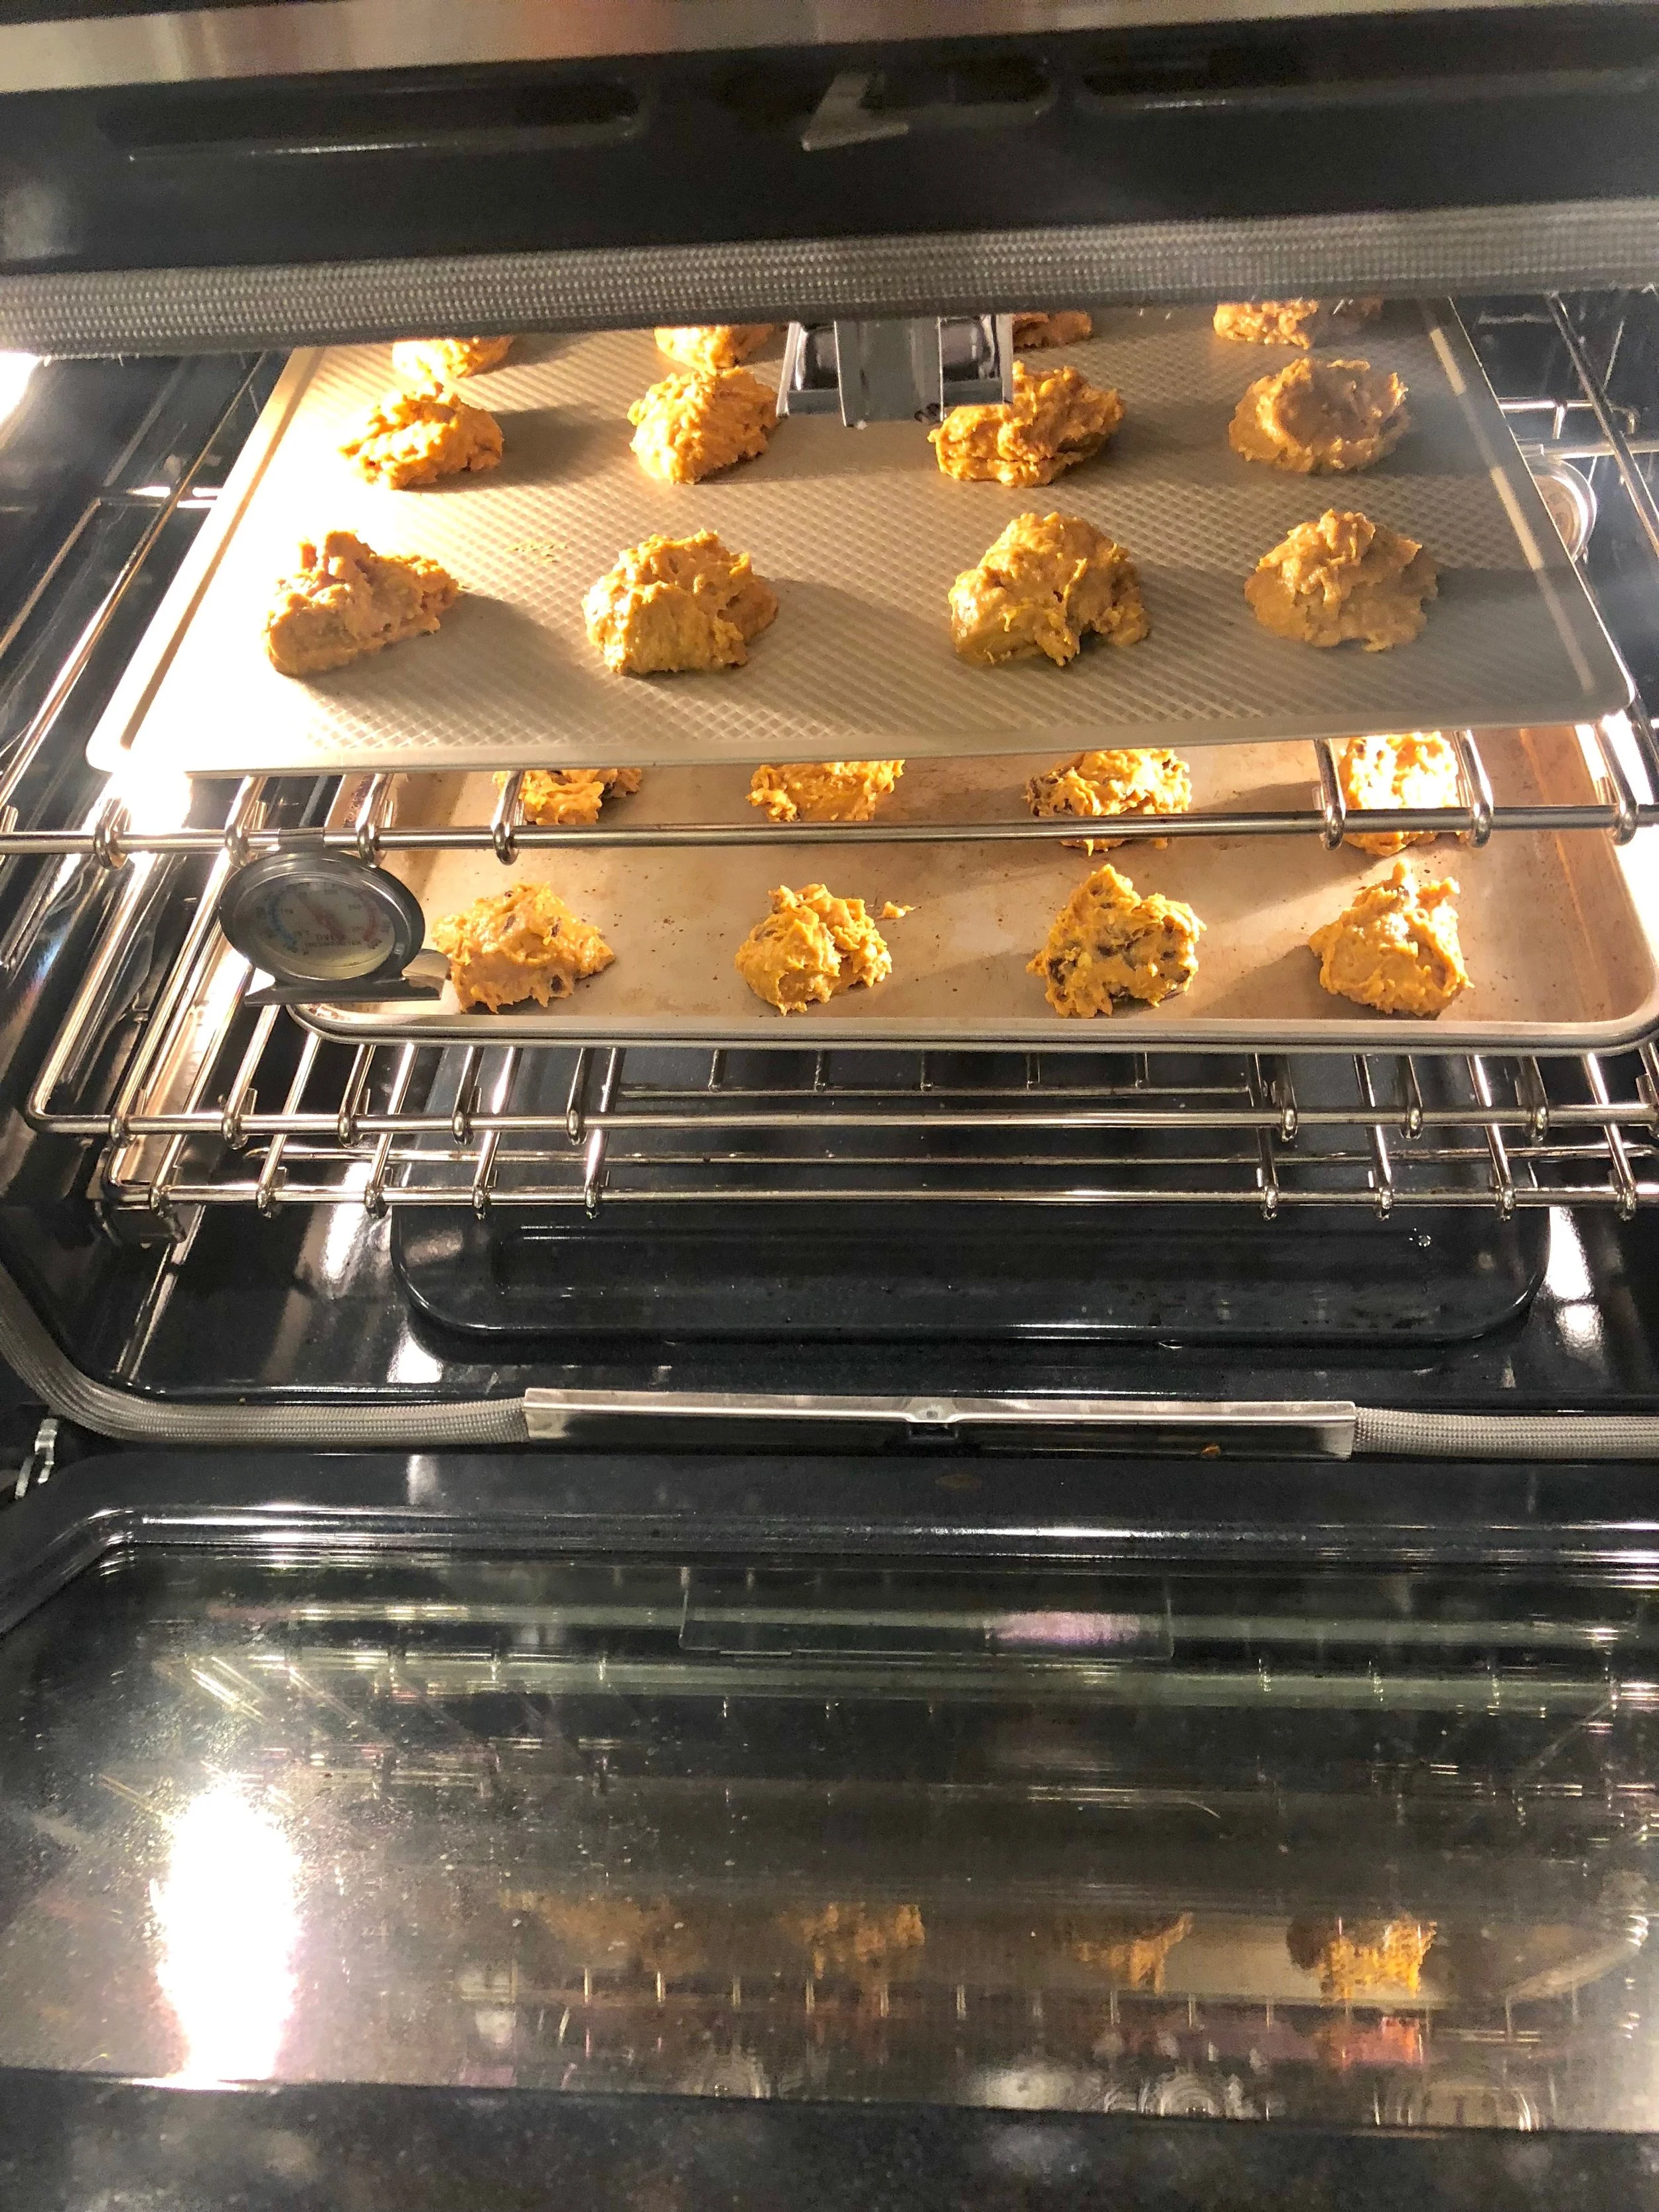
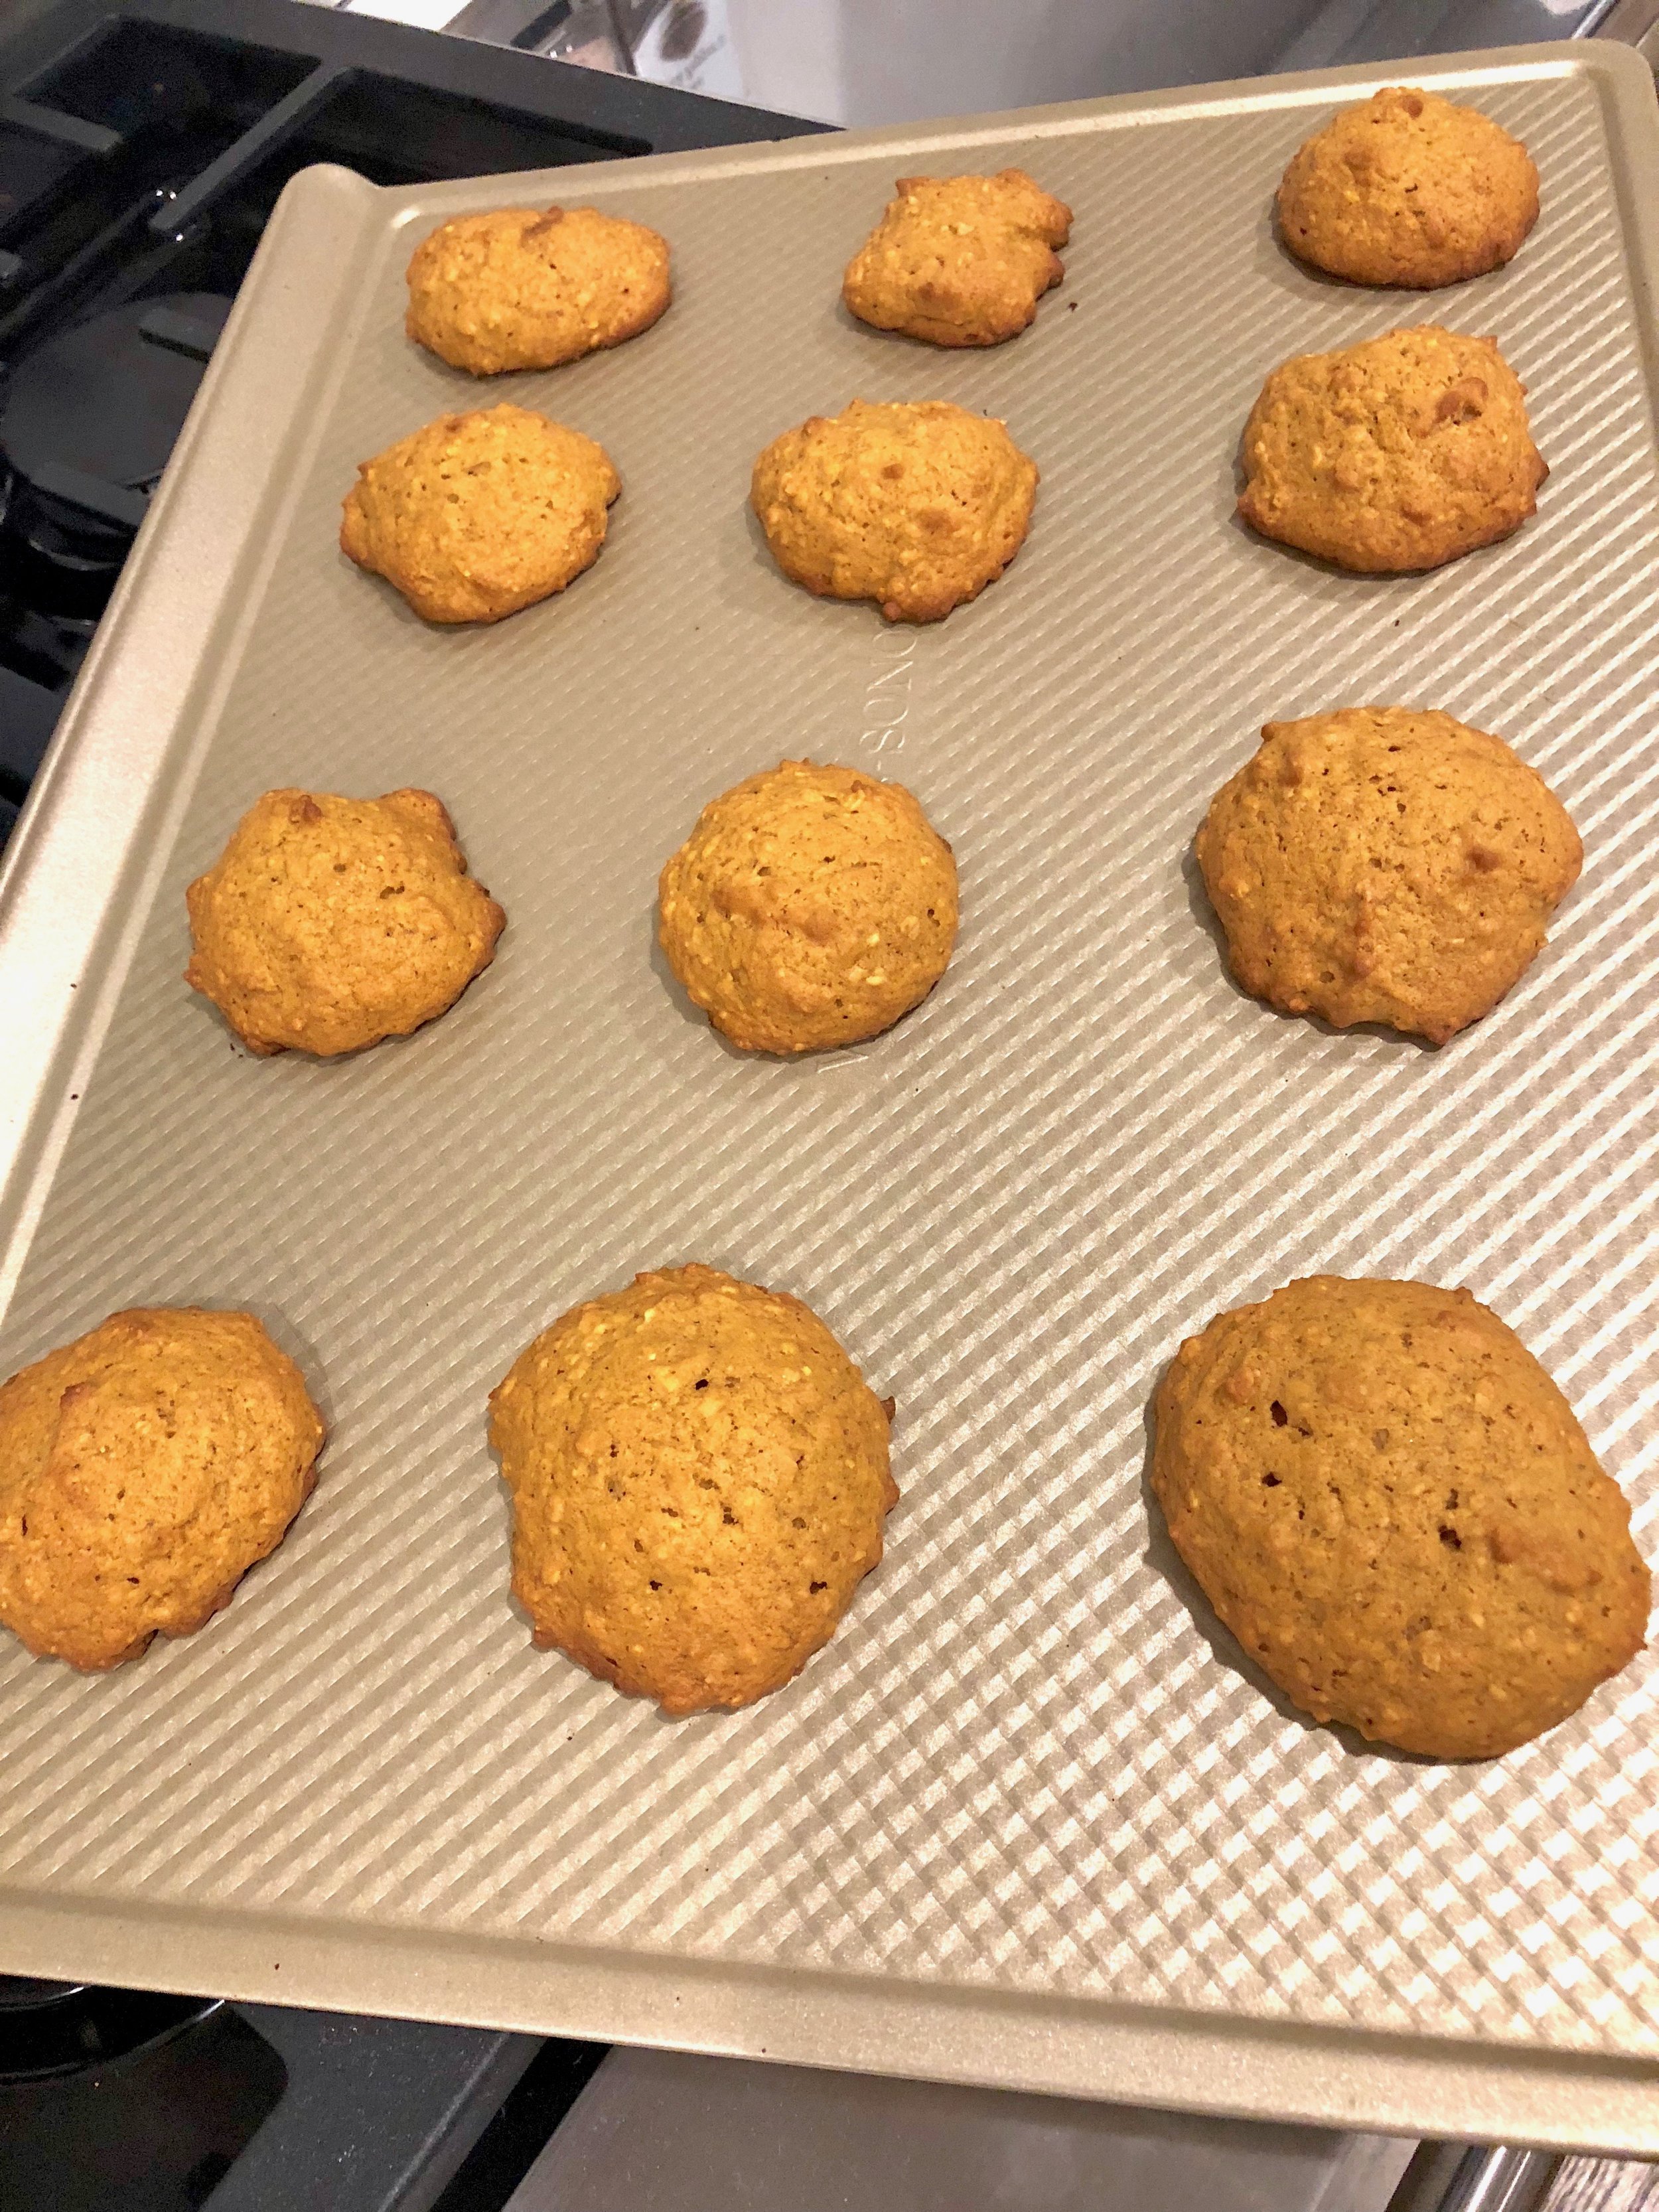
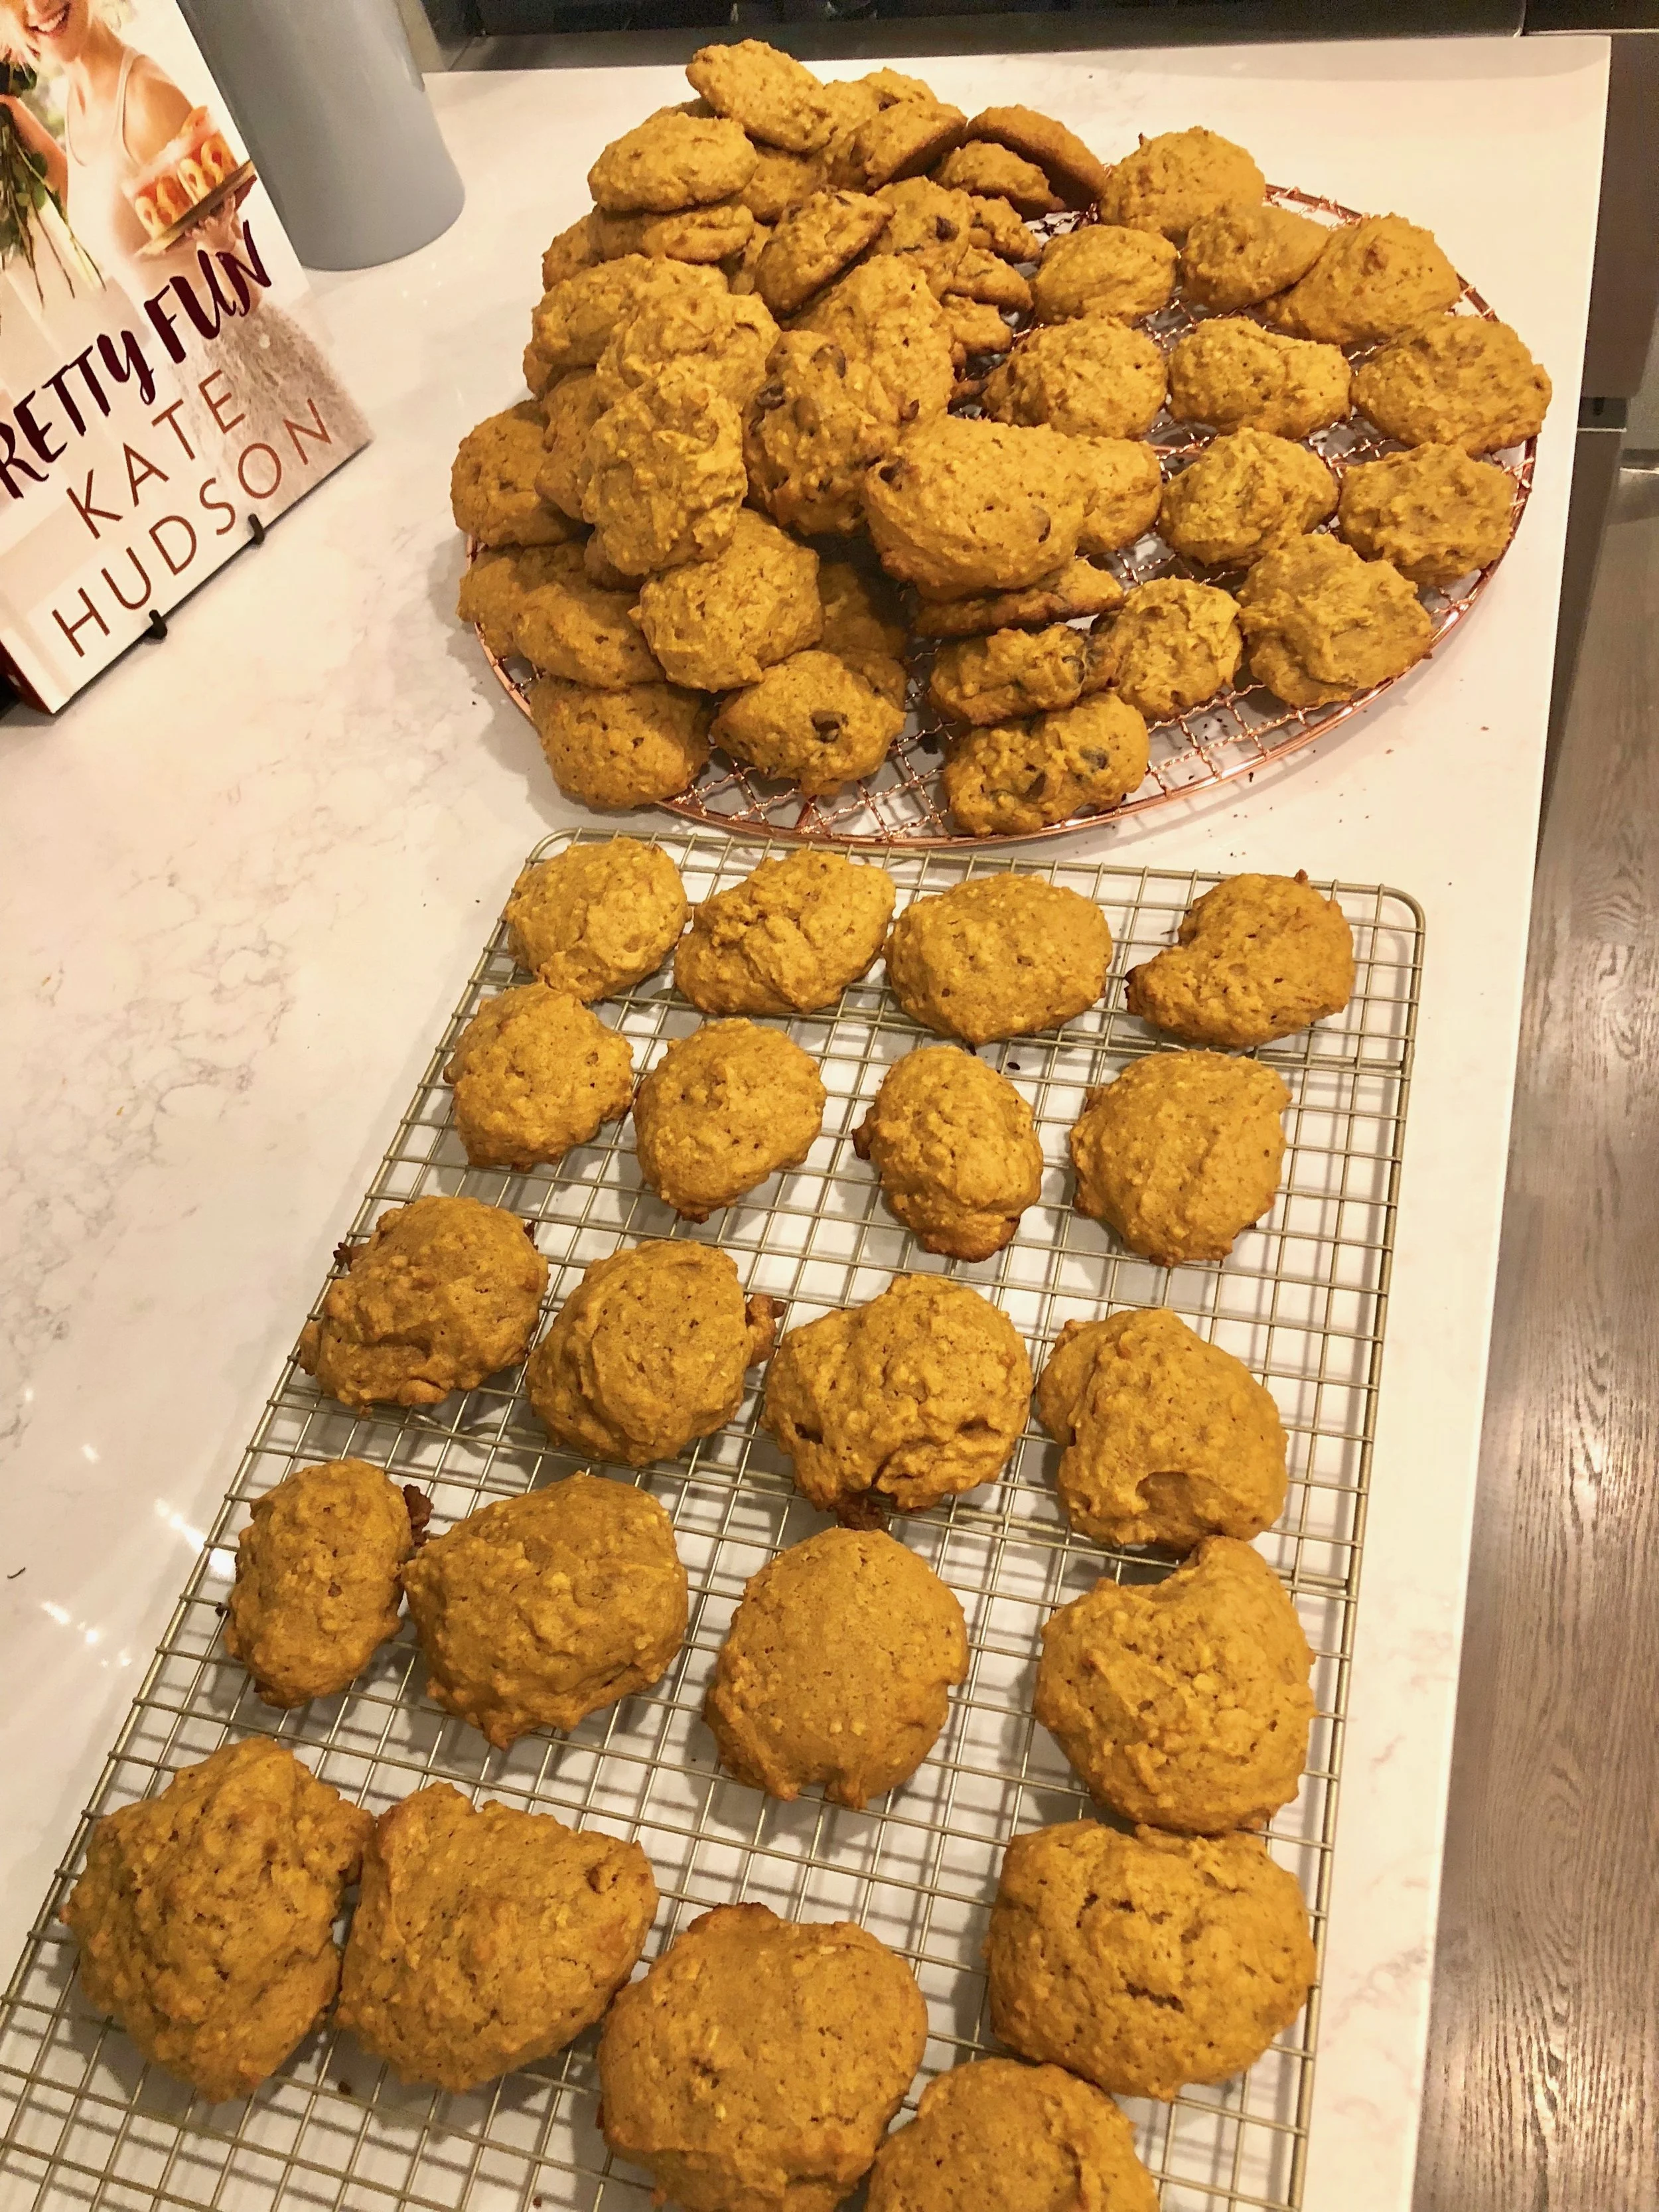
Place cut shapes onto the cookie sheets and bake for 10 minutes. Watch for the bottoms to get slightly golden if you want a crispier cookie (about 11 min), if you want a softer cookie, take them out right at the 10 minute mark or just before. Be sure to move to a cooling rack immediately and cool completely before icing
The FINAL STEP - let’s decorate! This is the fun part so feel free to get creative and get the kiddos involved! You can spread or pipe the icing on (if piping, be sure to add a little more milk) and then decorate with any sprinkles or decorations you have! I found great Hanukkah themed sprinkles at Home Goods of all places!

Another super easy dish that makes a perfect topping for latkes is homemade applesauce. This Crockpot Applesauce is also so easy and delicious!
Crockpot Applesauce
12 apples (I like Golden Delicious)
1/2 cup sugar
1/2 cup water
1 tbsp lemon juice
1/2 tsp cinnamon.
DIRECTIONS
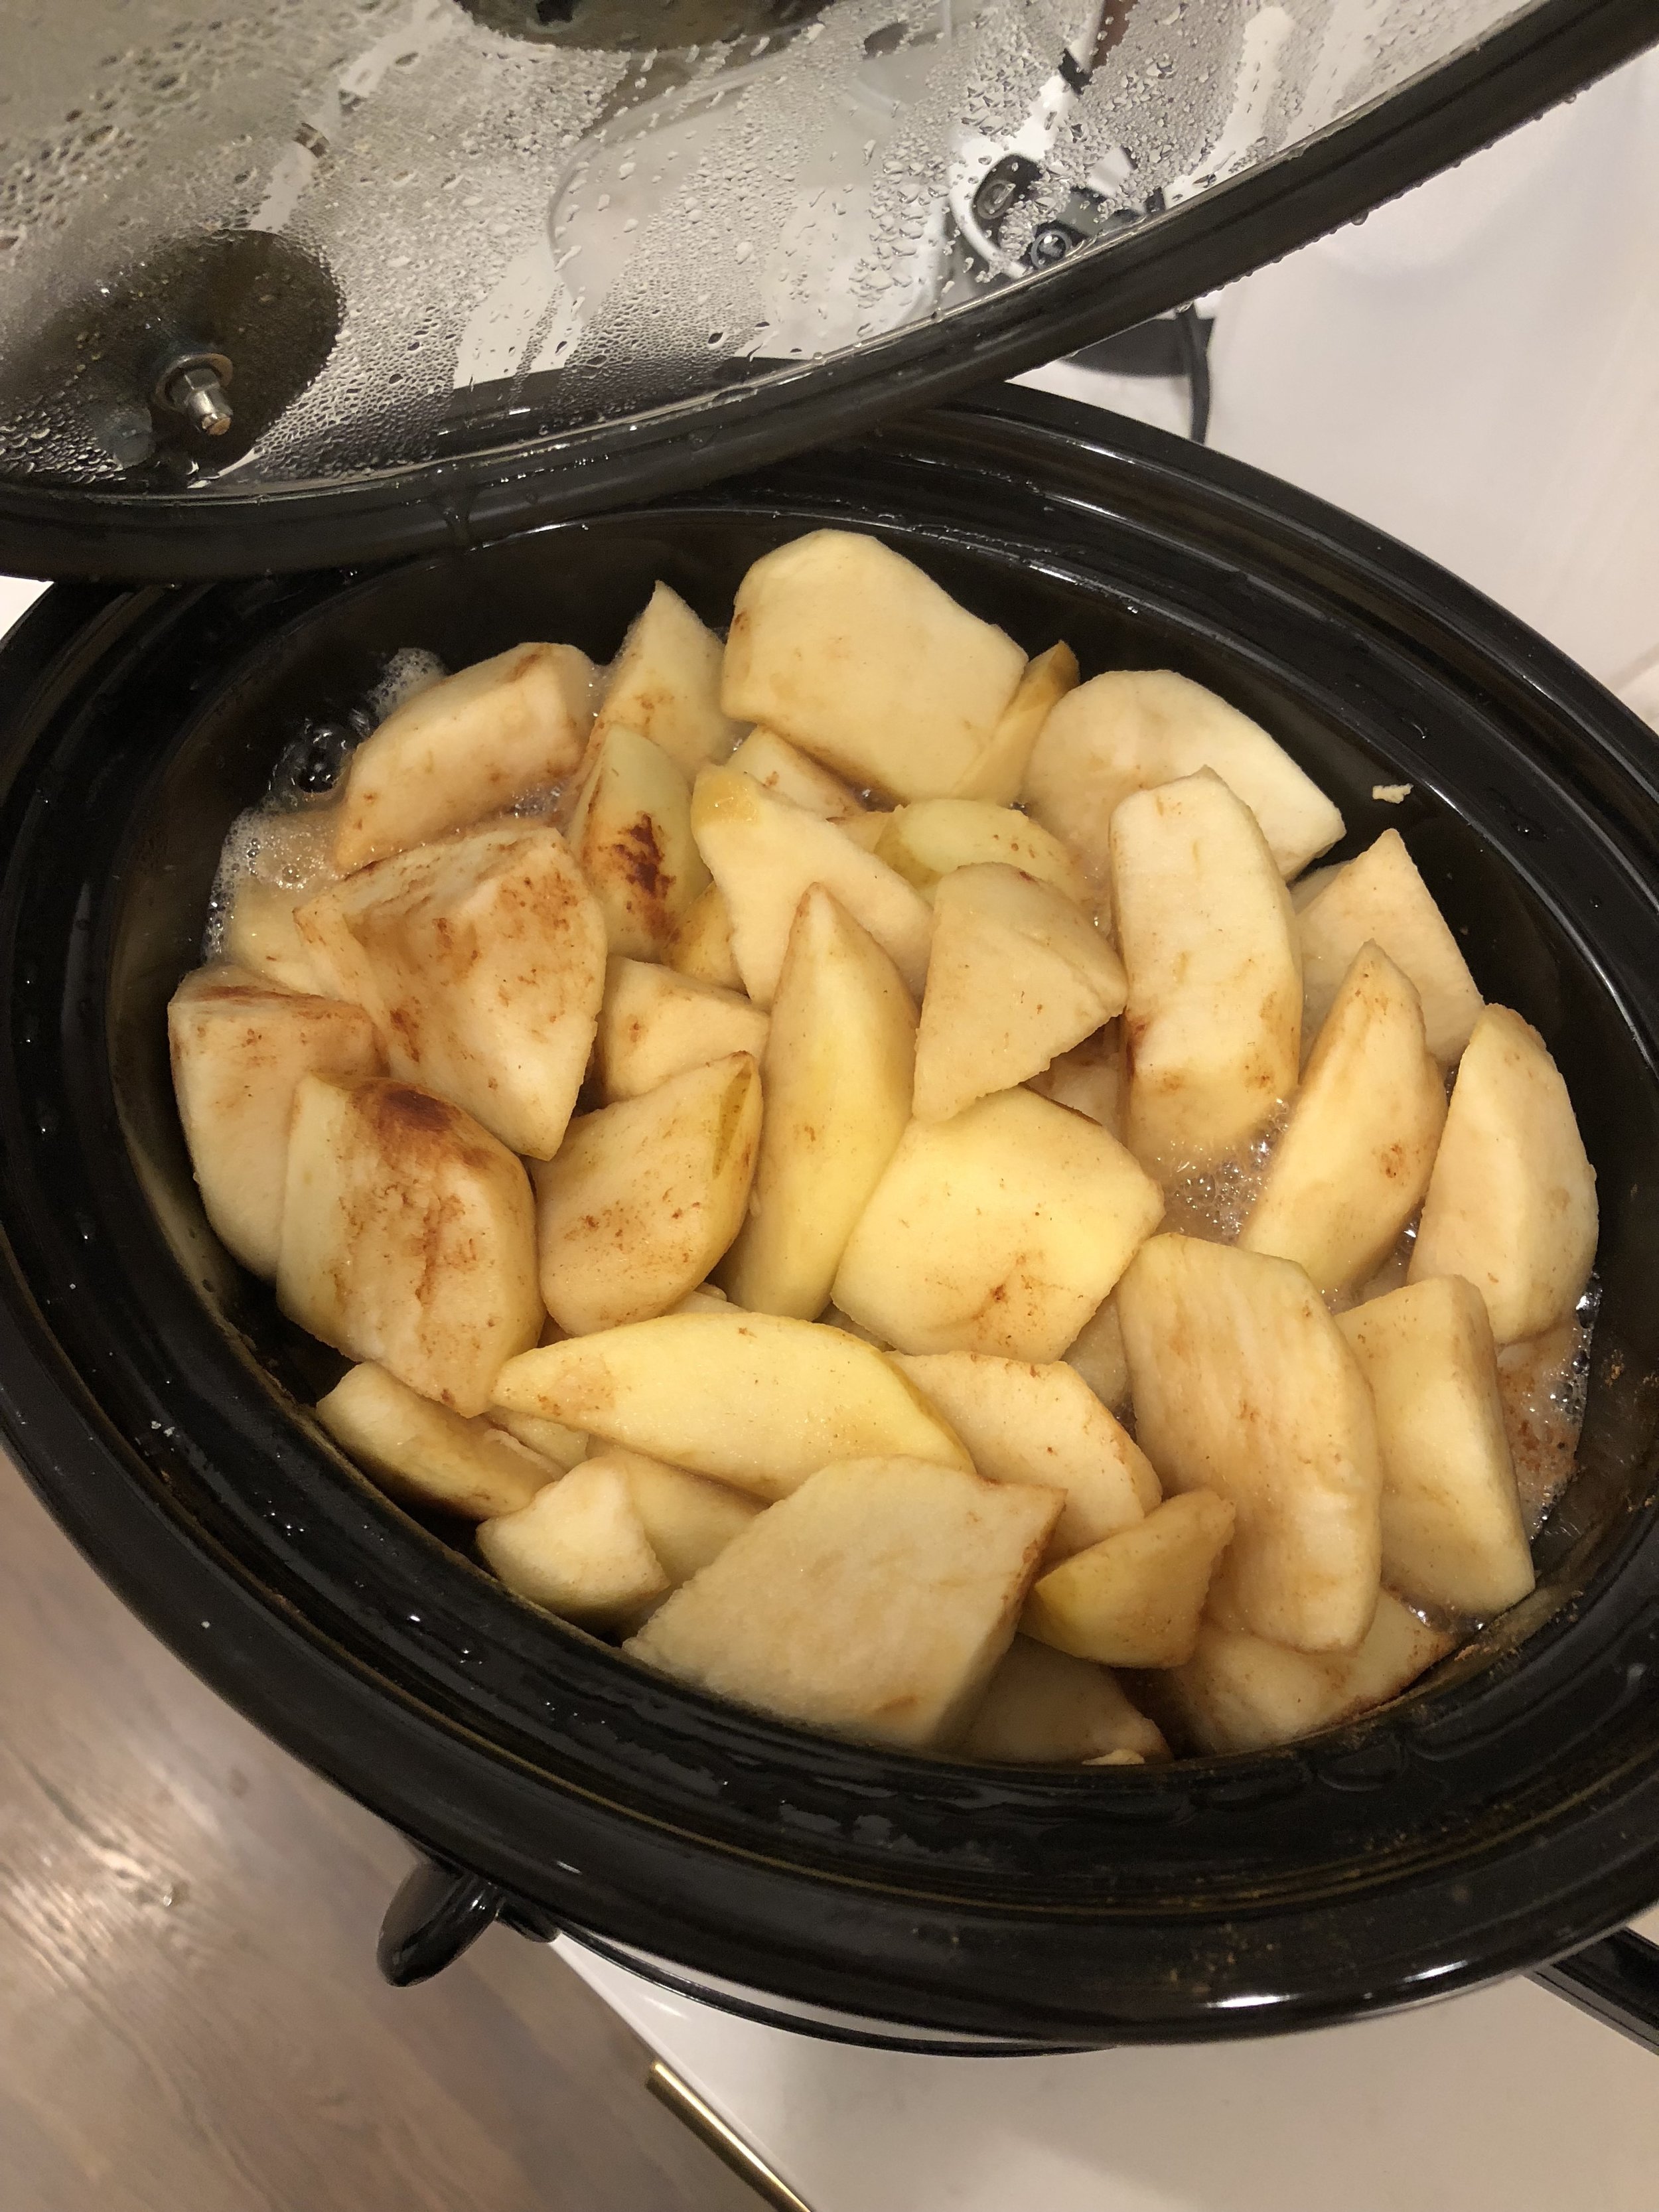
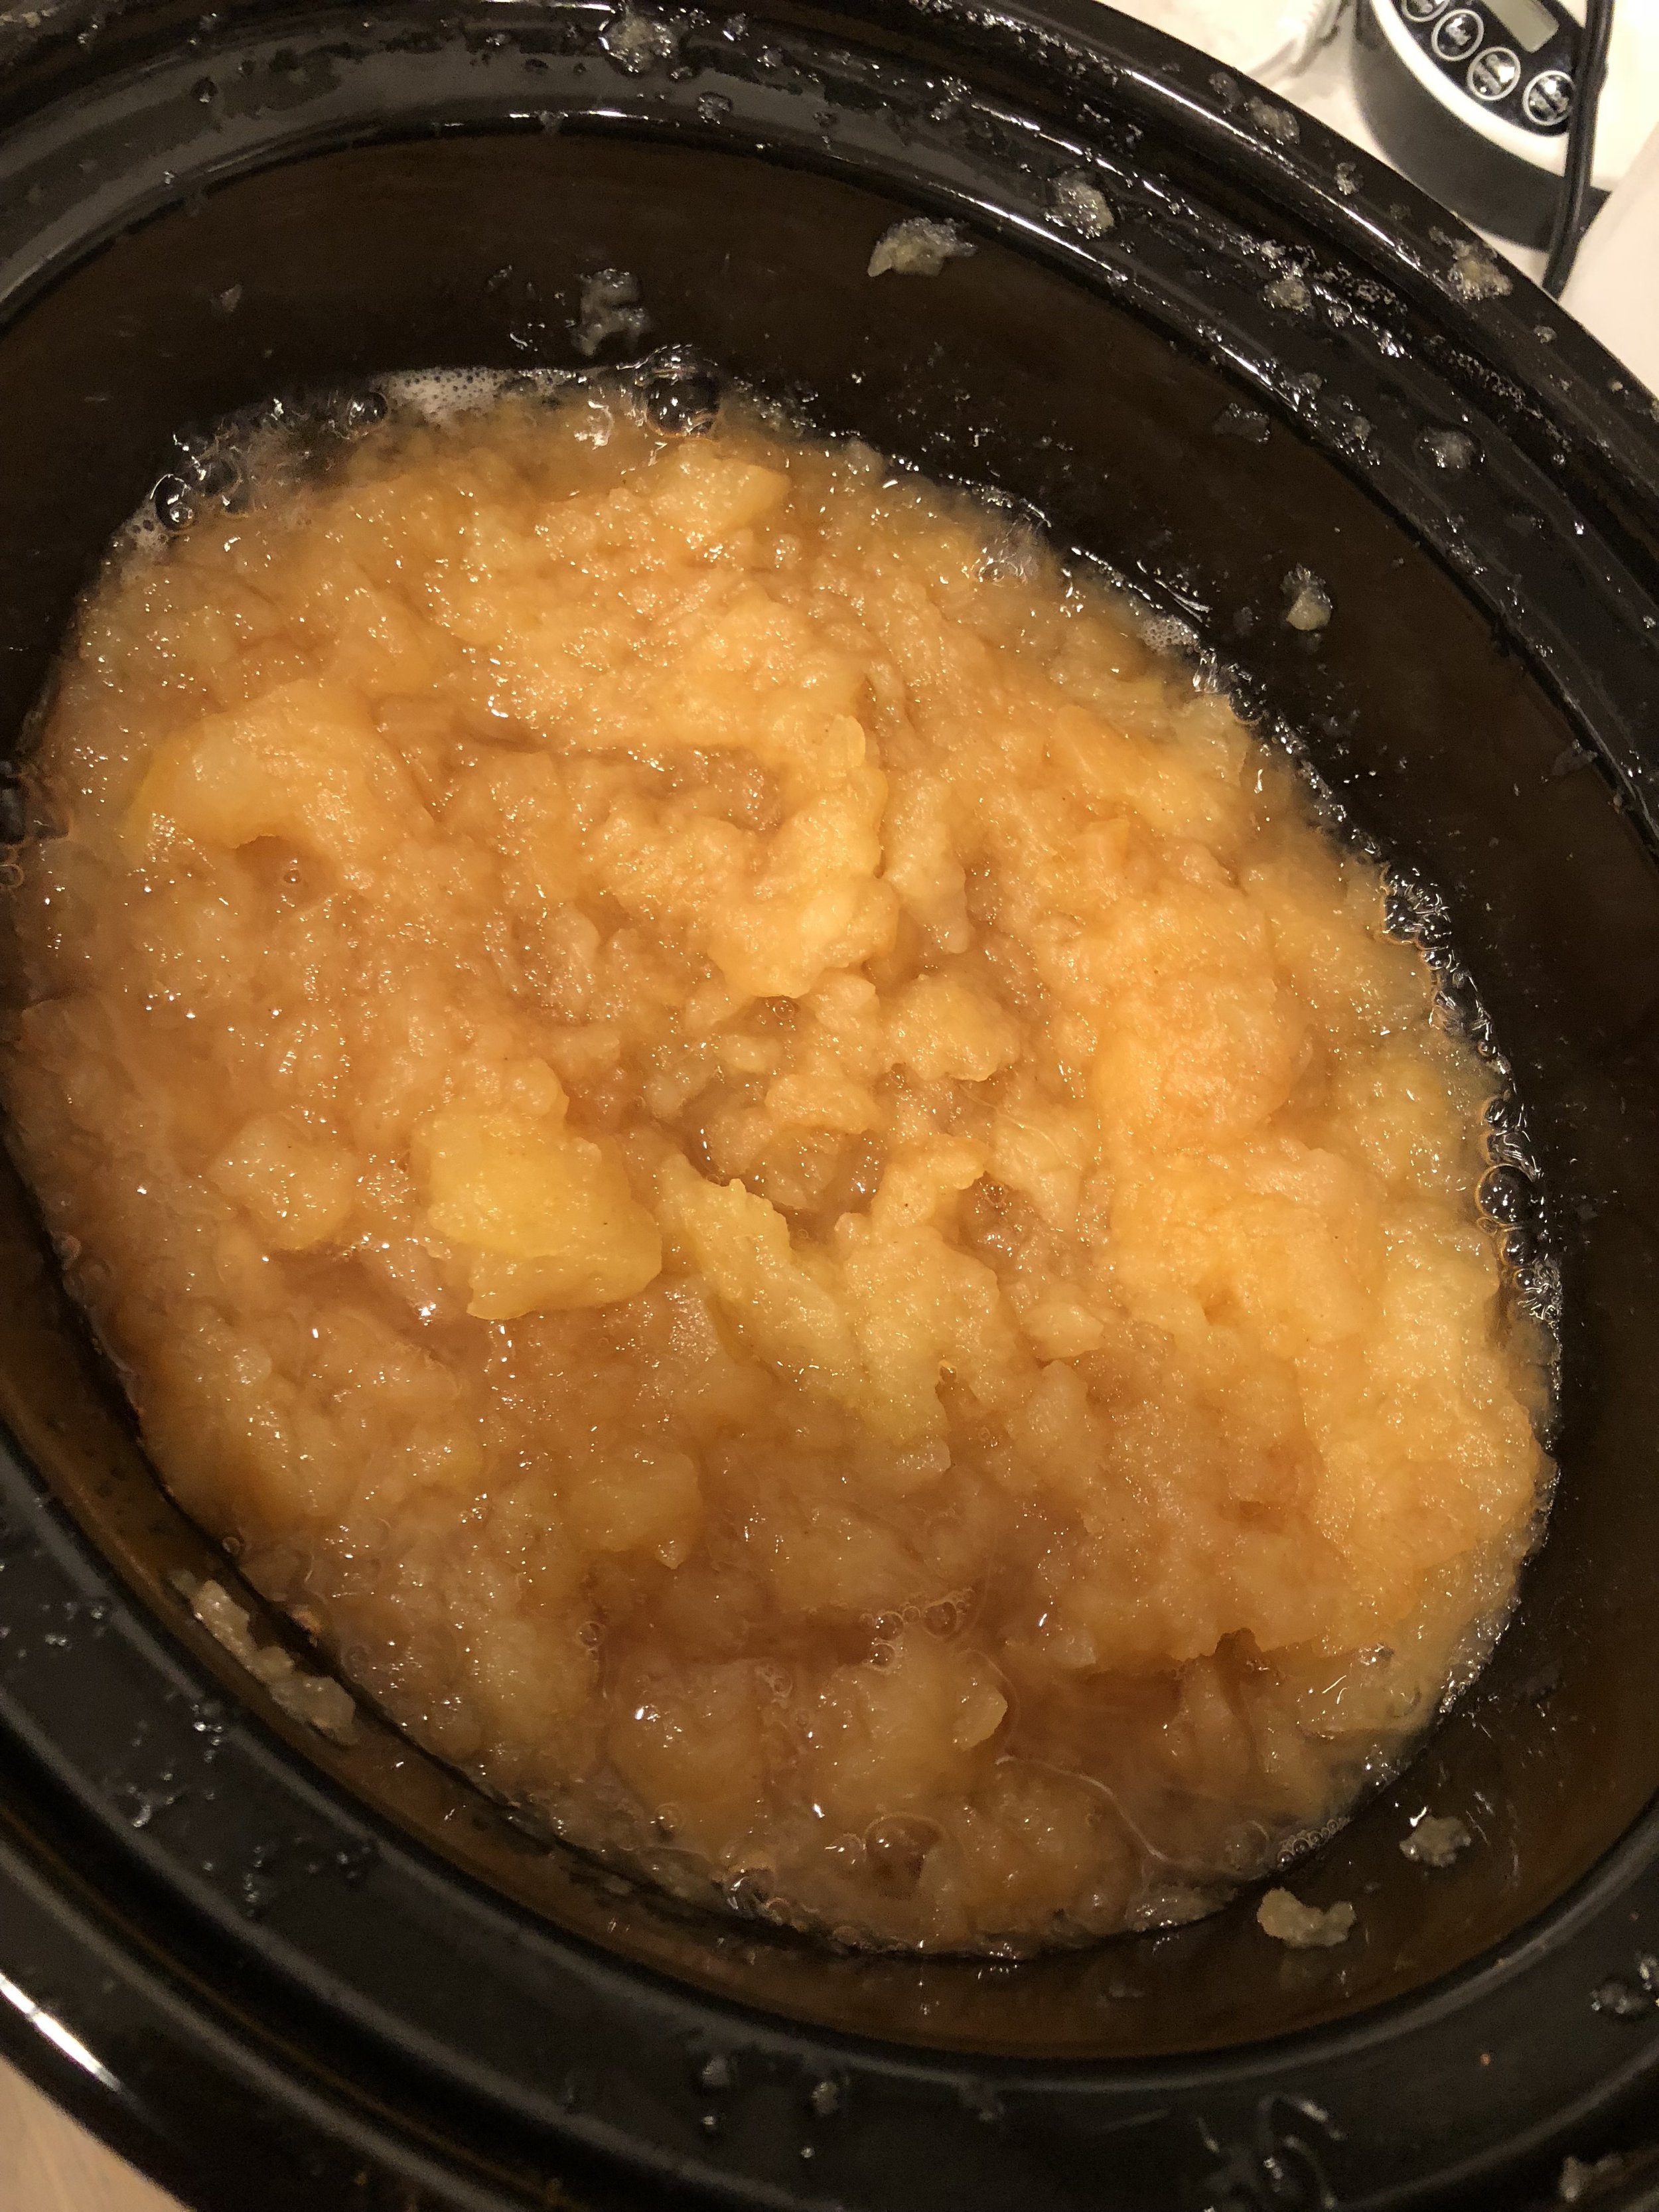
Core, skin, and cut your apples into quarters and place in crockpot. Add in lemon juice and toss (if your crockpot isn’t huge, I suggest doing this beforehand). Toss apples with cinnamon and sugar. Then add water into crockpot.
Place top on and turn on high for about 3 hours or until the apples are really soft and can be mashed. Once soft, turn heat off and let cool for about 10-15 minutes. Then, mash the apples with a potato masher to desired consistency.
Next…just kidding, you’re done! How easy was that!?
Remember, all of these recipes can be adapted for any holiday and to your tastes! They are both so easy and delicious and you can make them ahead of time! Woohoo!
If you have questions, please feel free to comment below!
Happy Hanukkah and Happy Holidays!!
XoXo - Jamie