A Delicious and Healthier Way to get your Spinach Artichoke "Dip" Fix
Ahh...Spinach Artichoke Dip. We all love it, but no so much the calories that go with it. And even if you do make a healthier version, its not exactly a well balanced meal that you can serve on your dinner table.
Not to worry, this recipe solves ALL of those problems and is absolutely DELICIOUS! Keep scrolling for all of the details and step-by-step directions (with pictures)!
INGREDIENTS
Estimated Time: 1 hour
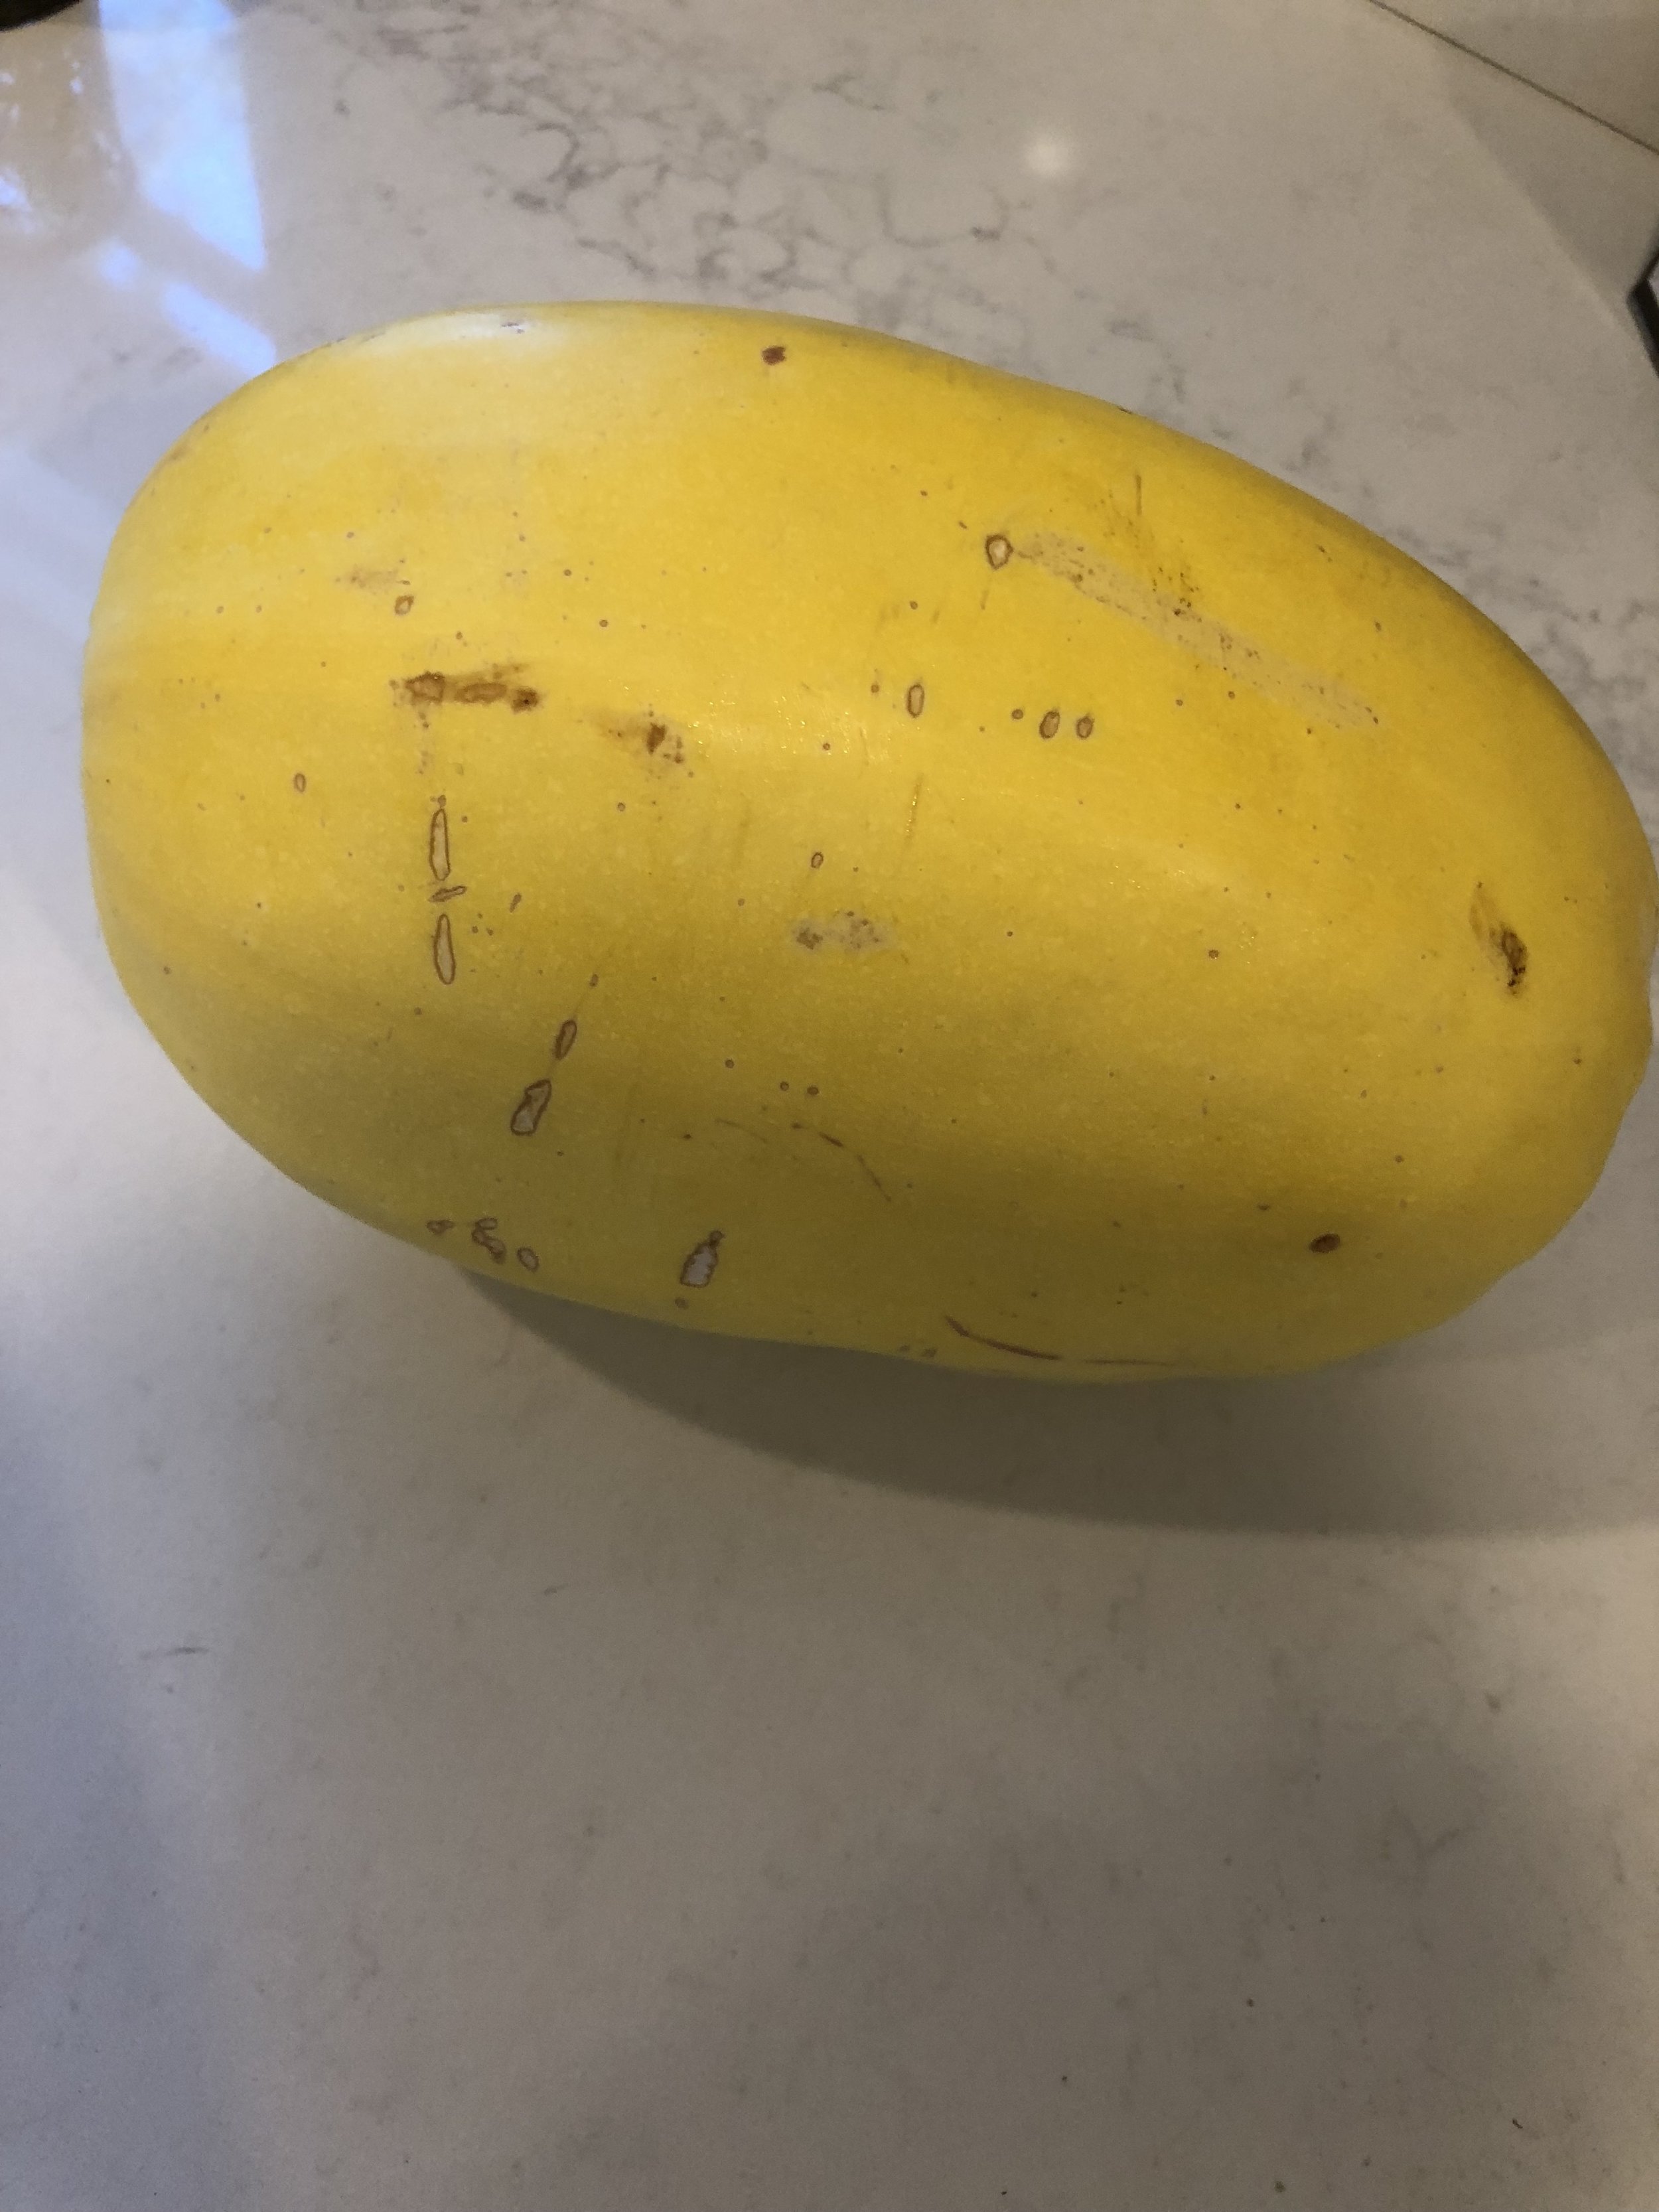
- 1 large spaghetti squash (cut in half, seeds removed)
- 14-16 large raw shrimp, peeled and deveined
- 1/3 cup Greek yogurt (I use 0% fat)
- 2-3 oz Philadelphia Cream Cheese (1/3 fat tastes just as good as full fat)
- 1 can artichoke hearts (15 oz), quartered, drained, and unmarinated
- 1/2 cup milk
- 1/2 cup chicken broth (can sub. vegetable broth too)
- 2 large handfuls organic baby spinach
- 1/2 cup shredded mozzarella cheese
- 2-3 cloves garlic, minced
- 2 Tablespoons corn starch (or flour if you don't have)
- 2 Tablespoons butter (can sub EVOO)
- EVOO
- Salt
- Pepper
Step 1:
Preheat oven to 425 degrees. Wash the squash and cut it in half horizontally so you have two "boats", then, remove all of the seeds. I like to use a spoon to do this and scrape along the edges, just like you would if you were carving out a pumpkin. Once all seeds are removed, lightly drizzle EVOO over the squash and sprinkle with salt and pepper.
Place squash halves face down on a non-stick baking pan or one lined with foil. My favorite baking pans of ALL TIME are these Williams-Sonoma Goldtouch Bakeware. They don't stain, nothing sticks, and they are just all around amazing.

Step 2:
Once the oven is heated, place your squash (face down) in the oven and bake for 35-40 minutes. This will depend on how big your squash is. I usually start checking it around the 30 minute mark to see if it will easily "spaghetti" with a fork. If it does, feel free to turn the oven off and let those babies sit in there until you're ready to fill them. The nice thing about this recipe is that you can prep your other ingredients while the squash bakes.
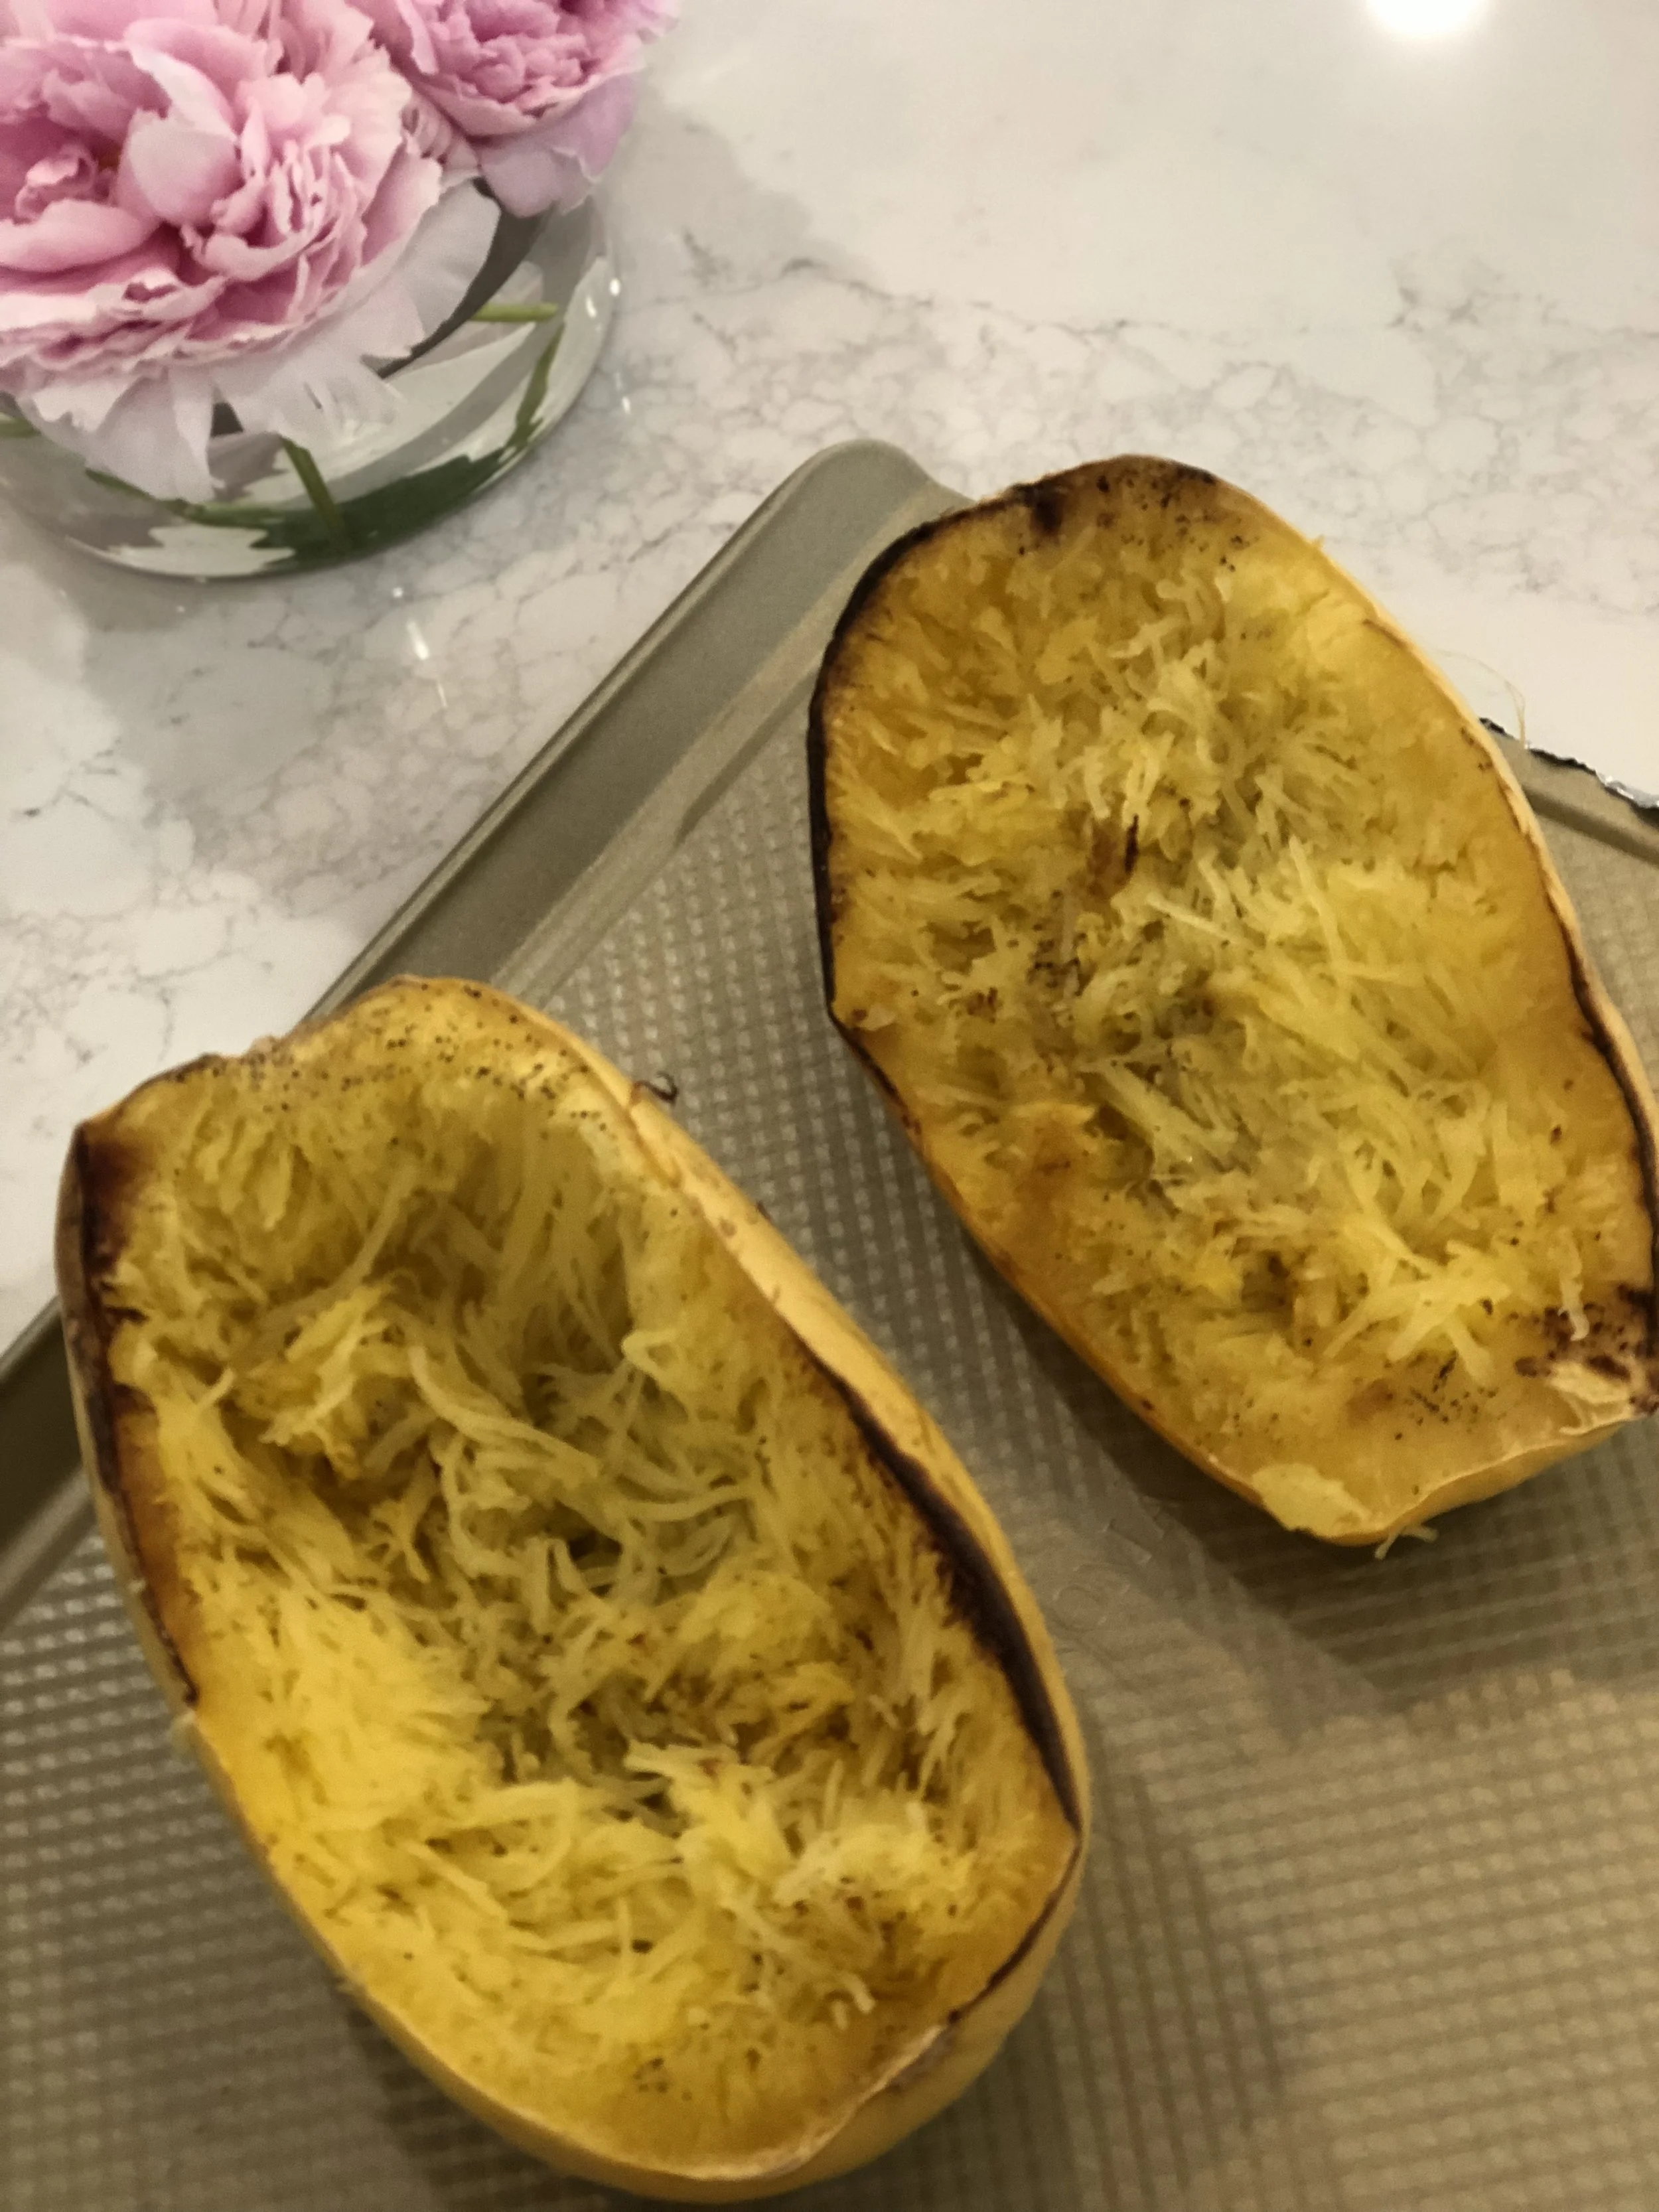
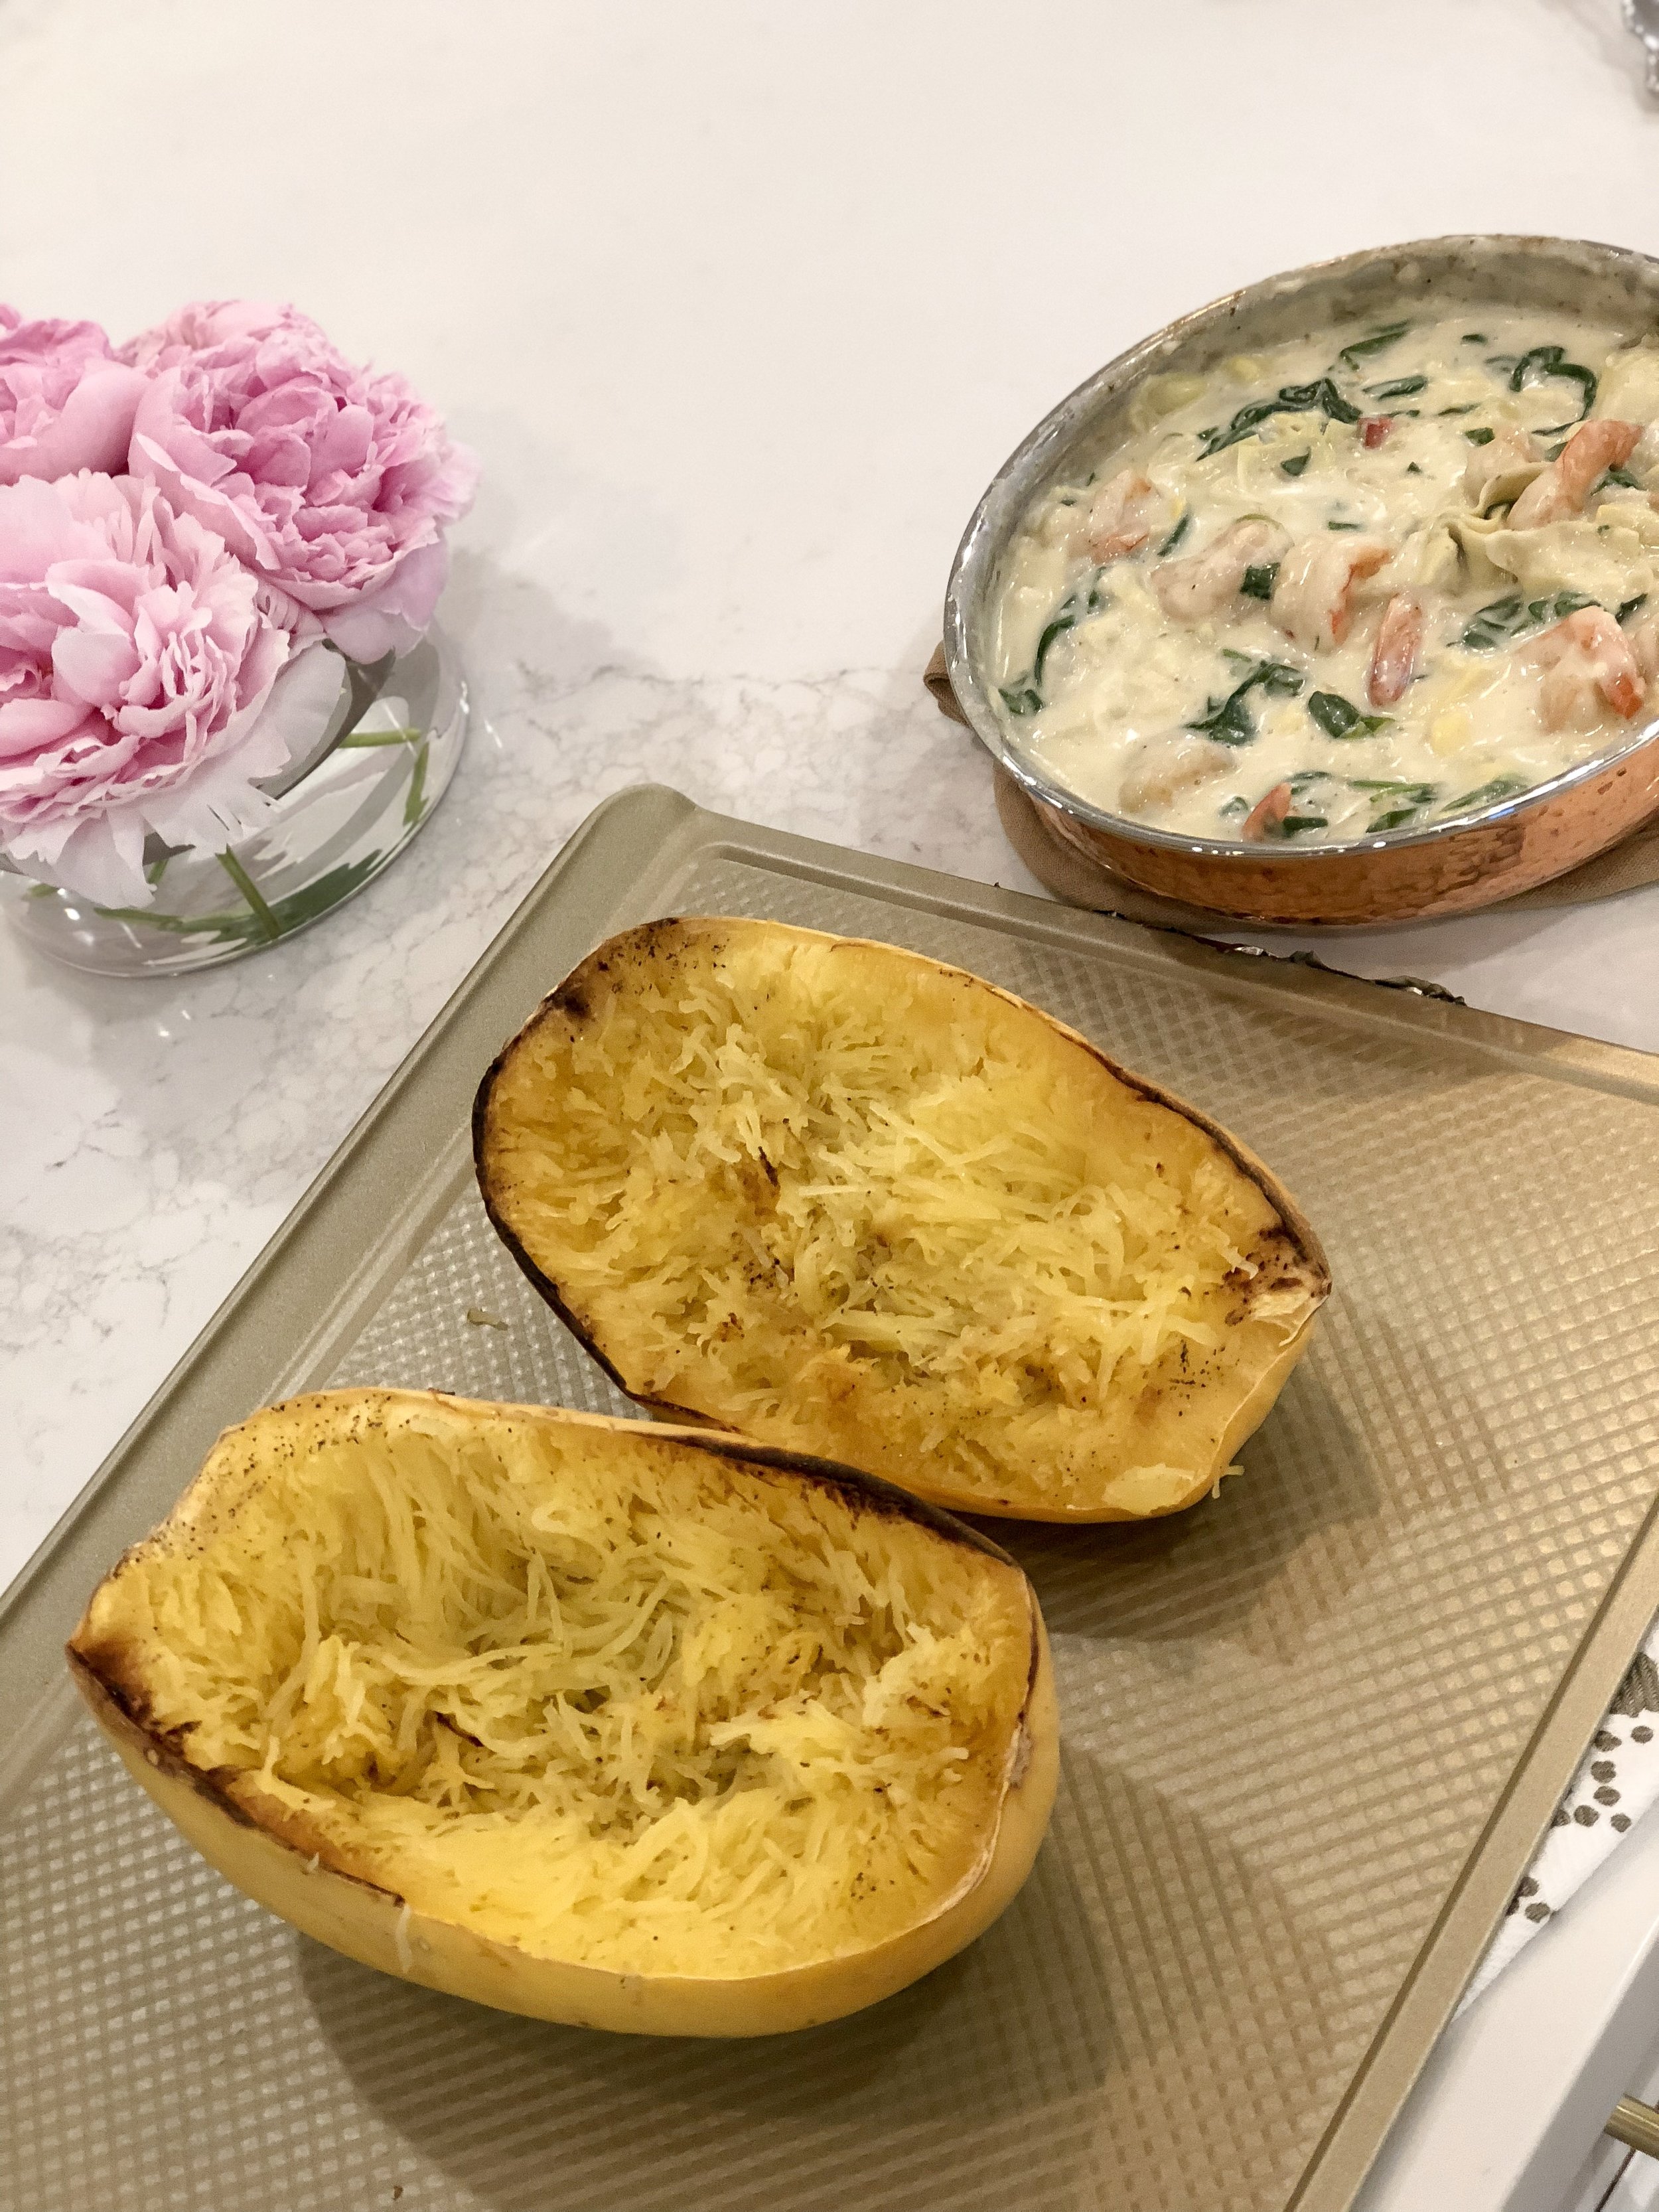
This is how the squash should look once you "spaghetti" it with a fork and it should be fairly easy to do. If it seems too tough, stick it back in for another 10 minutes.
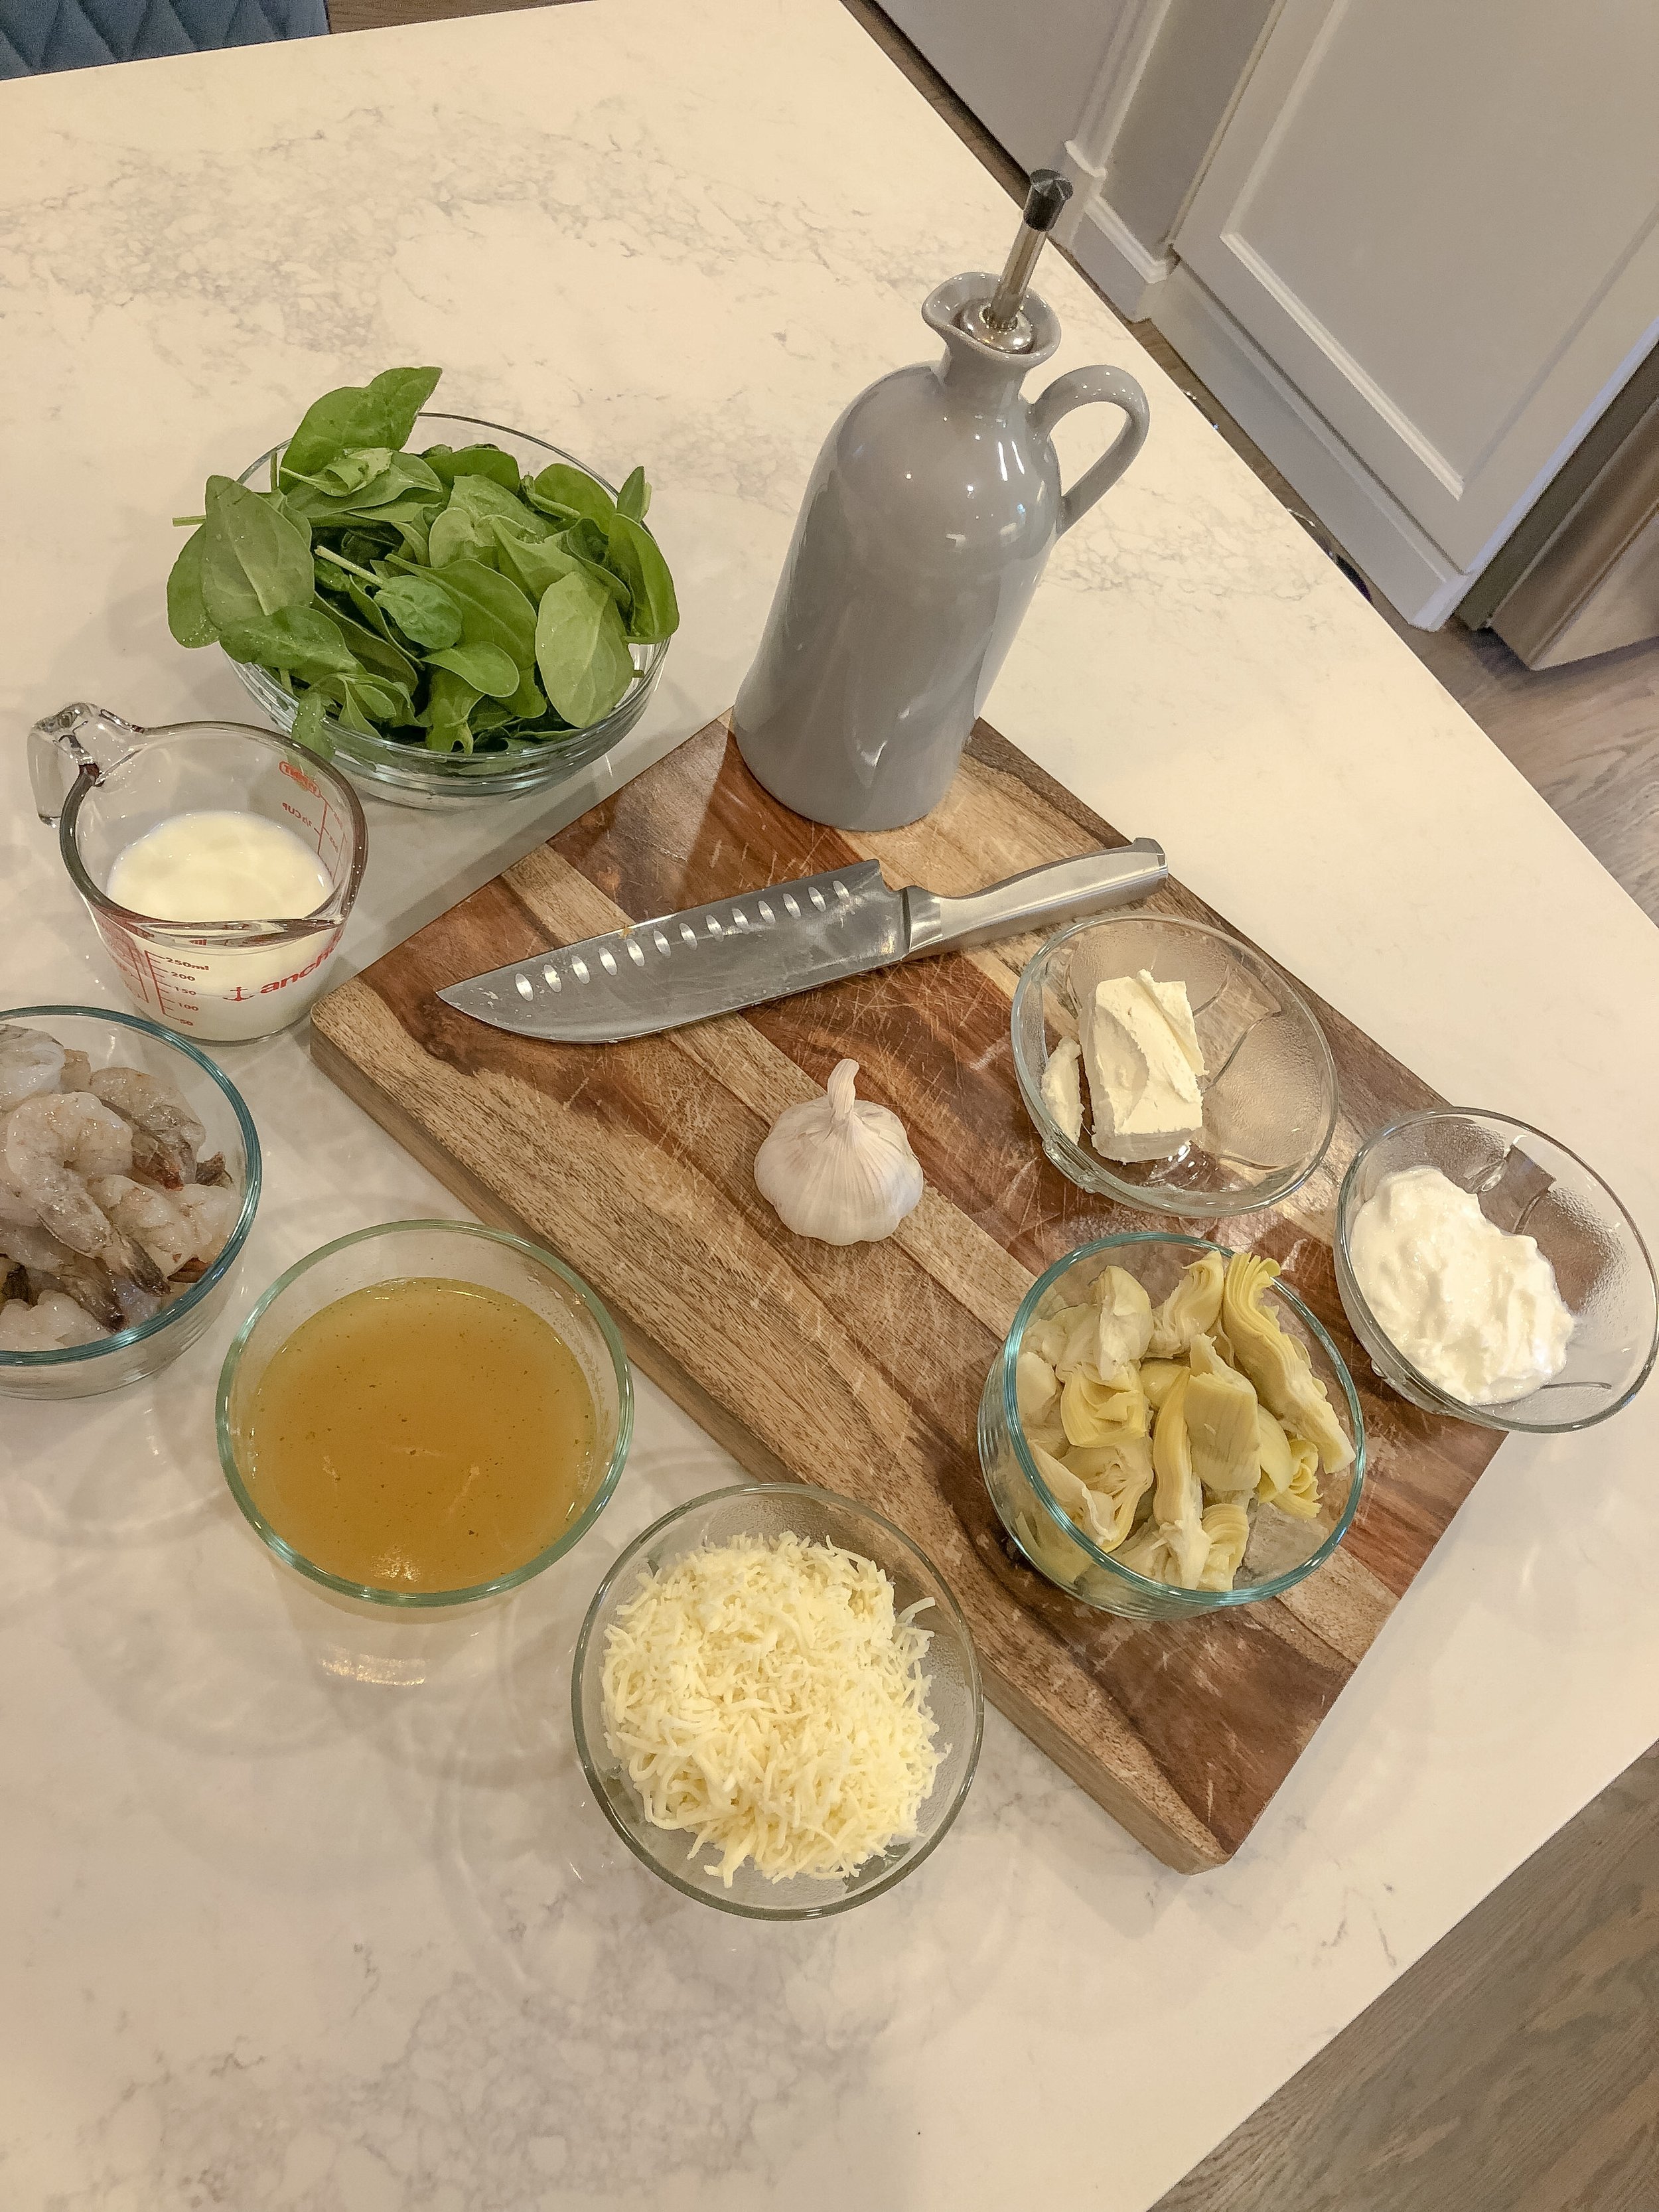
Step 3: Prep Your Ingredients
Start out by getting all of your ingredients ready to go...I find that recipes always go much more smoothly when you are prepped ahead of time! It reduces the risk of things burning or you missing an ingredient which can totally ruin a great meal.
Begin by mincing the garlic cloves and chopping the artichoke hearts into quarters (make sure you've drained the artichokes). You can usually find artichoke hearts already quartered to save some time, but if whole artichokes are all you've got, you'll just need to do a little extra labor. Also, be careful that you aren't buying marinated artichoke hearts. Many varieties come marinated in spices and vinegar...not saying it would ruin your recipe, but it definitely risks compromising the delicious flavors!

Just noticed Baby R making an appearance in the background!
Step 4: Prepare the Filling
Okay now comes the fun part...bringing everything together for that delicious, creamy spinach artichoke flavor.
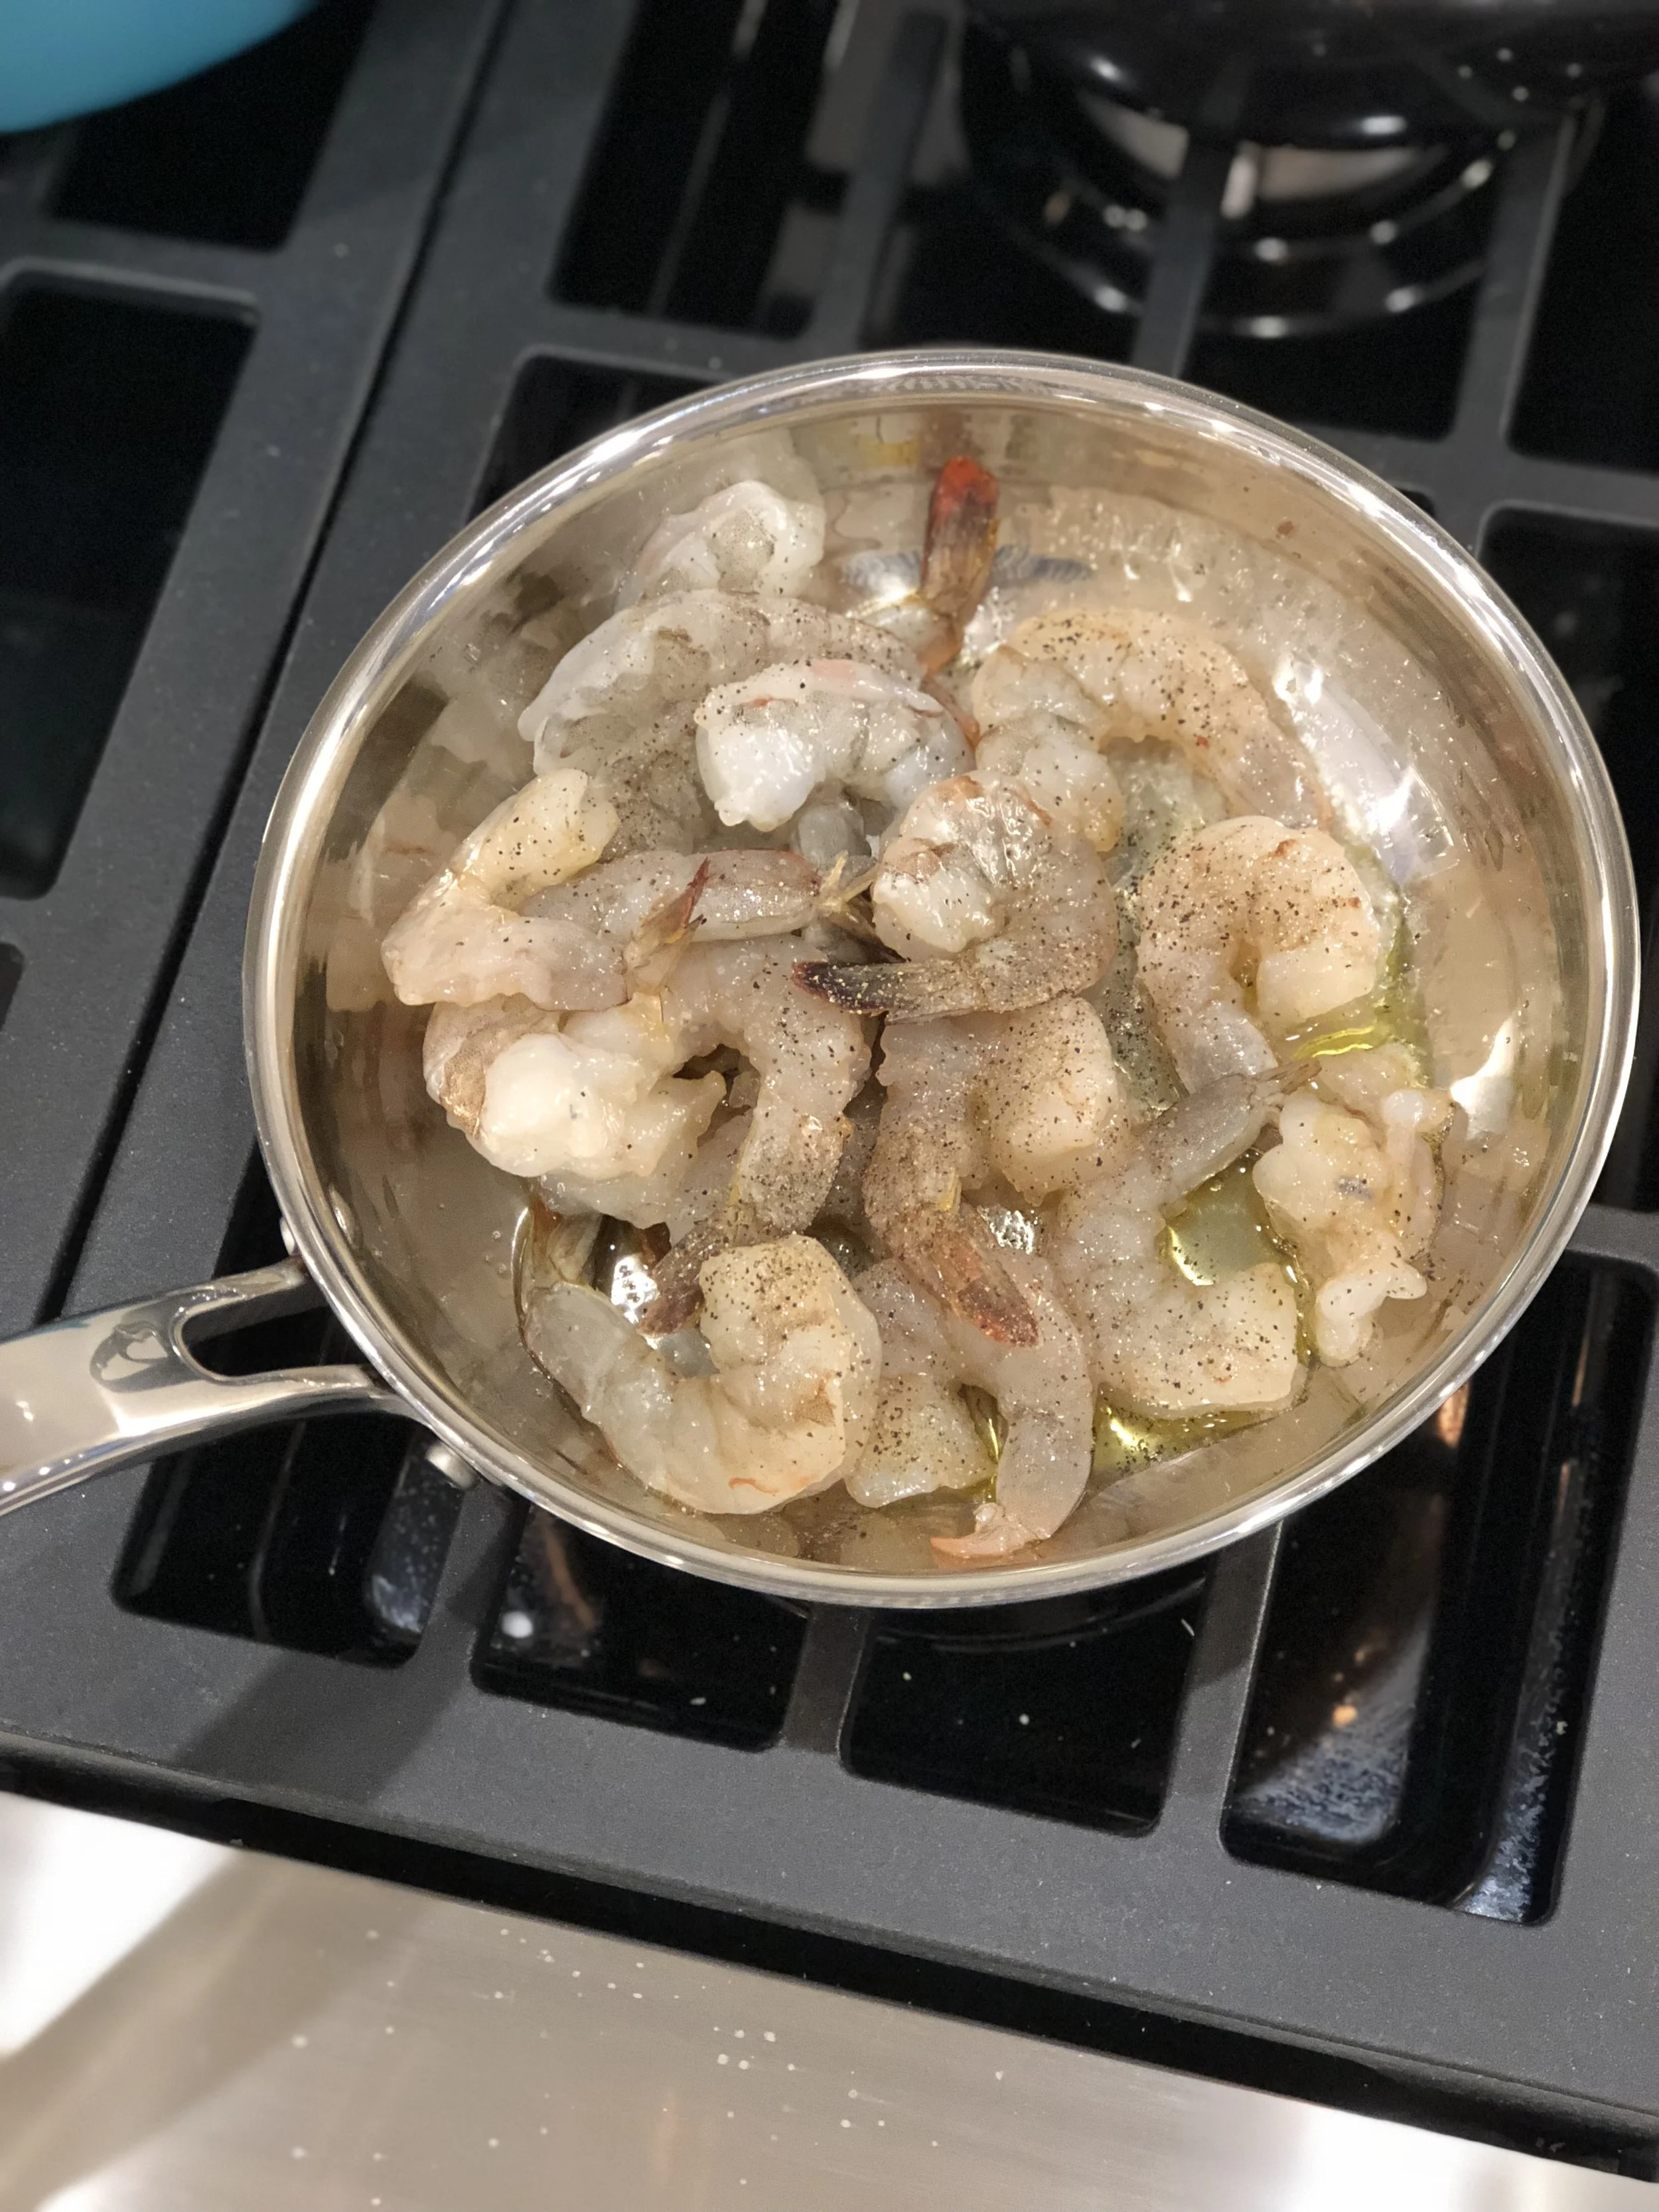
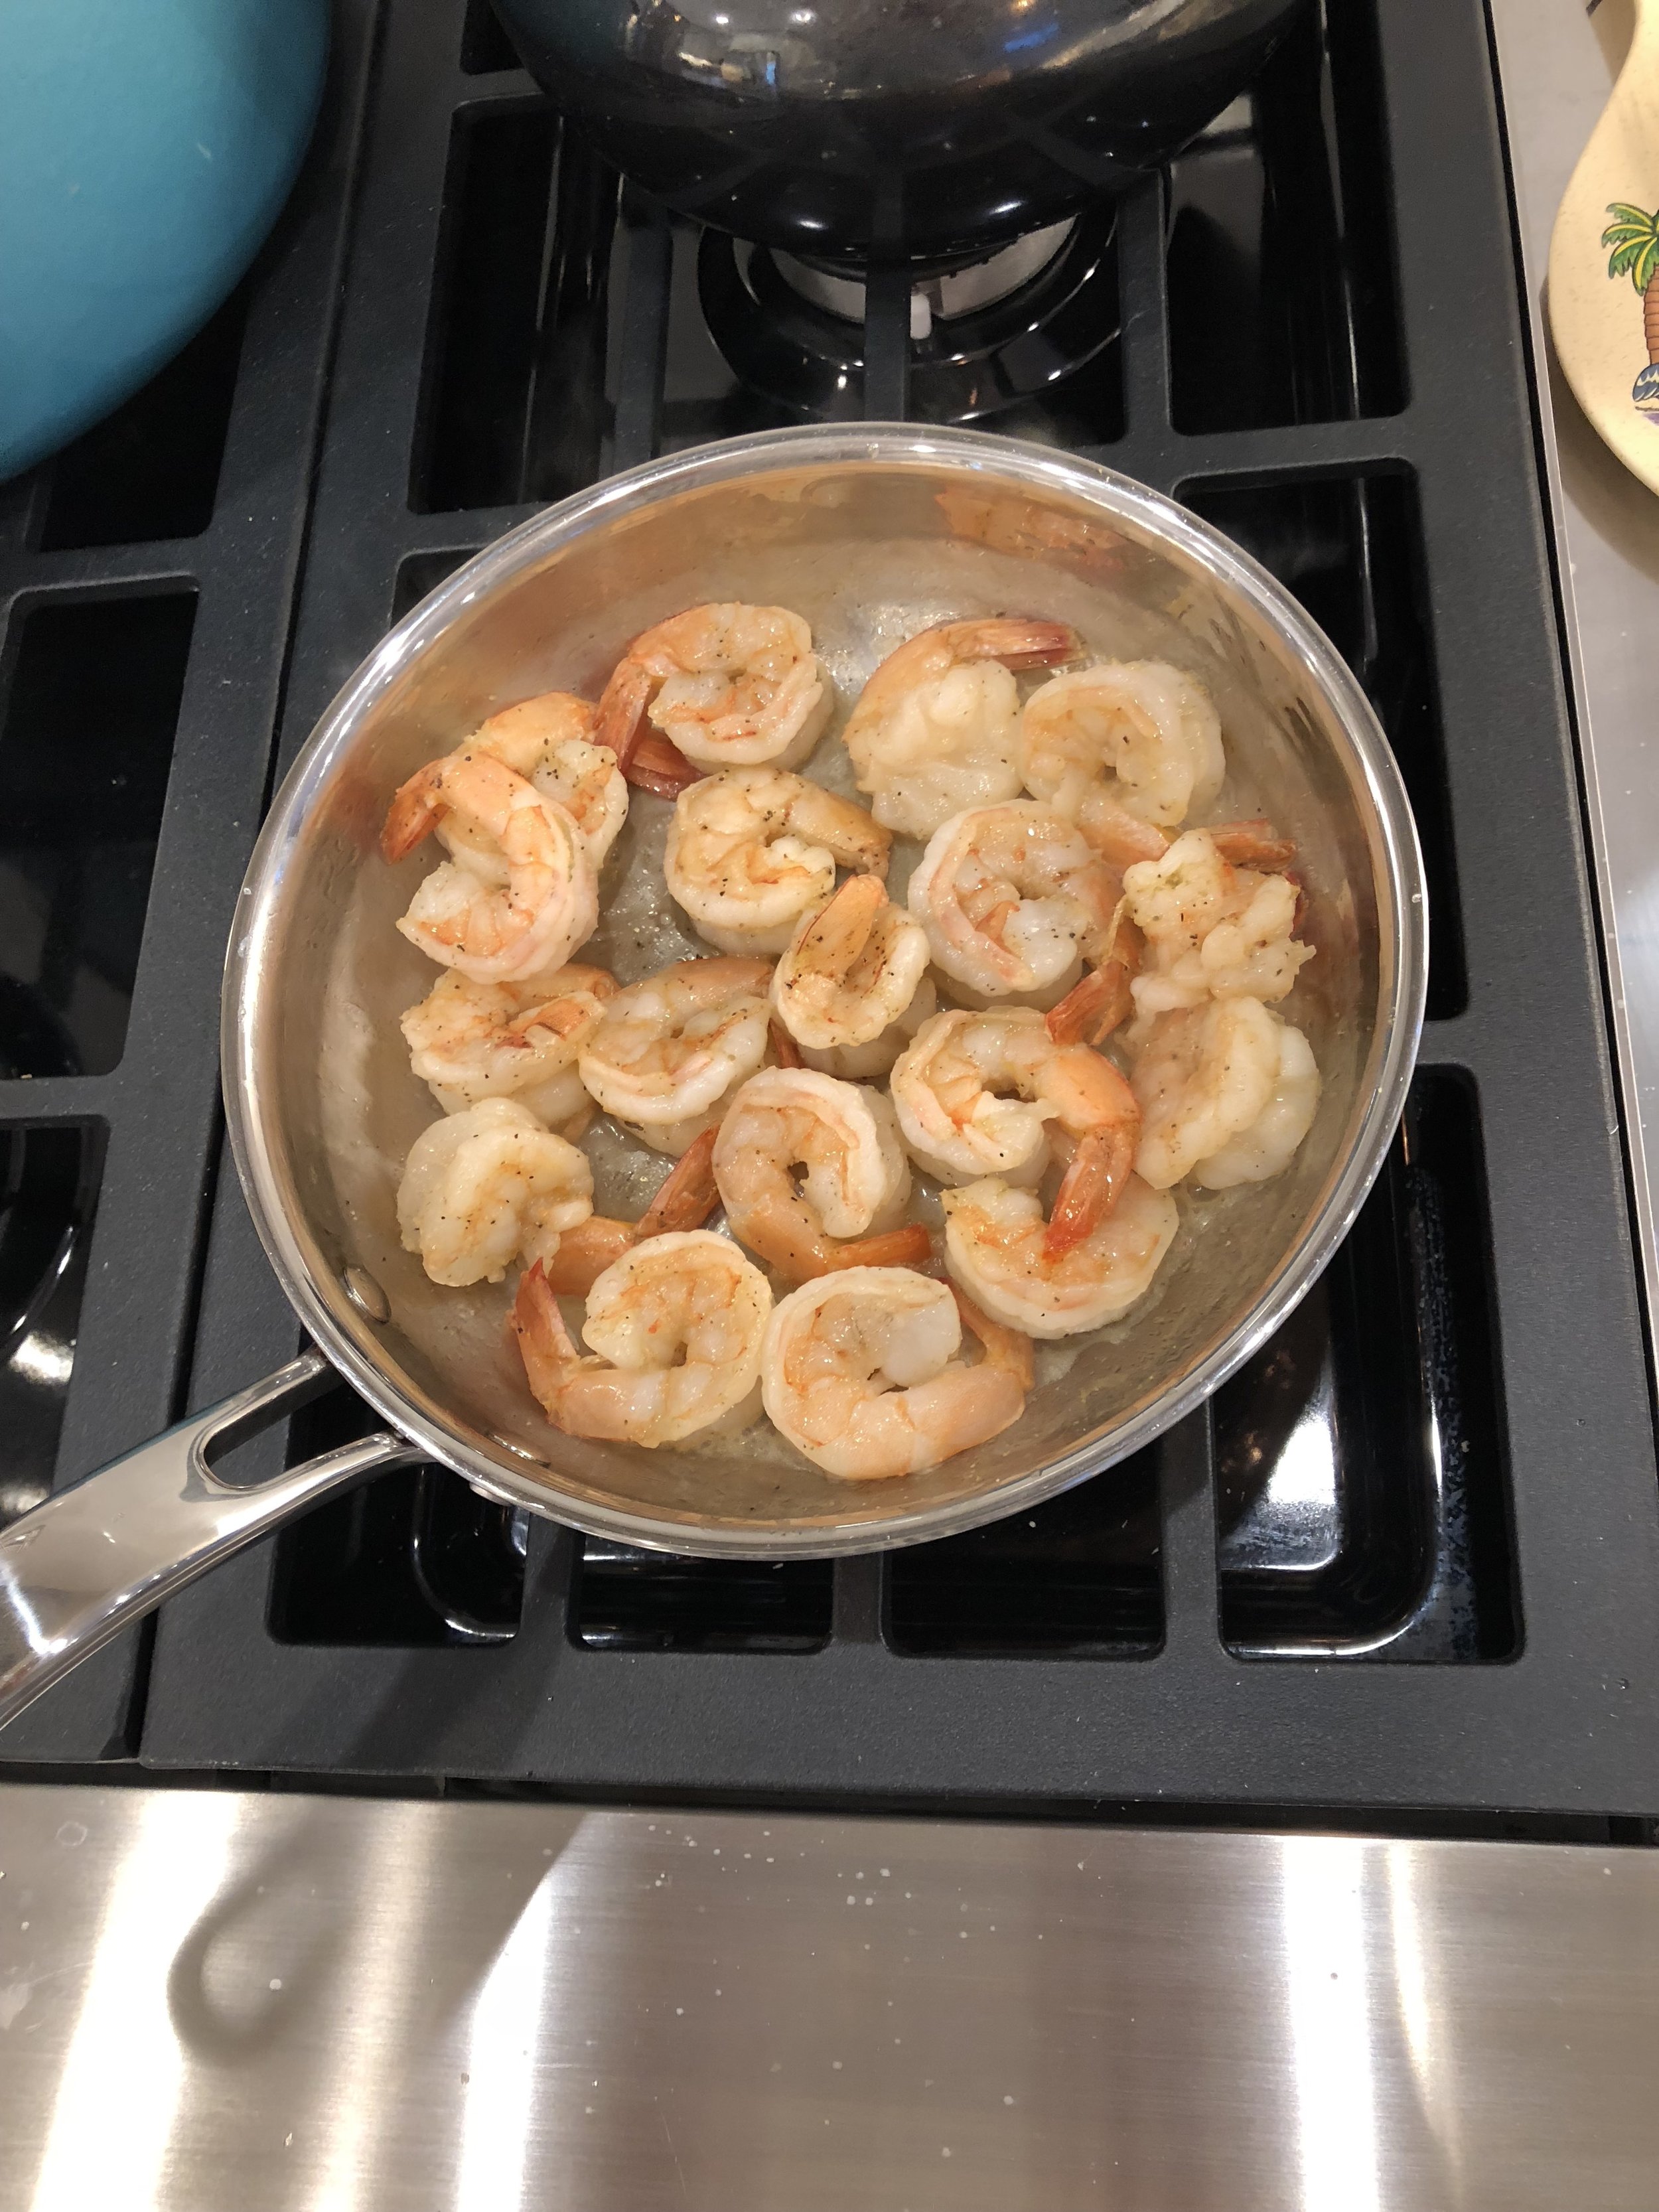
Begin by drizzling a large skillet with EVOO and heating over medium heat. Add shrimp and dust with salt and pepper (and garlic powder) if desired. Cook shrimp thoroughly until pink. Set aside on plate. (Note: I tried to use a smaller skillet and it was a PAIN later on in the process, so definitely go with a larger option).
Next, use the same skillet you cooked the shrimp in and place the 2 tablespoons of butter (or EVOO) in the skillet and add the minced garlic. Saute over medium heat until garlic begins to brown...you'll need to watch it, it can go from not cooked to too cooked pretty quickly and burnt garlic can overwhelm your dish.
Once the garlic is sautéed, add corn starch to the pan and turn heat down to low, whisk/stir until you get a thick paste-like substance. If you don't have corn starch, flour is always a good alternative but you may need a little extra!
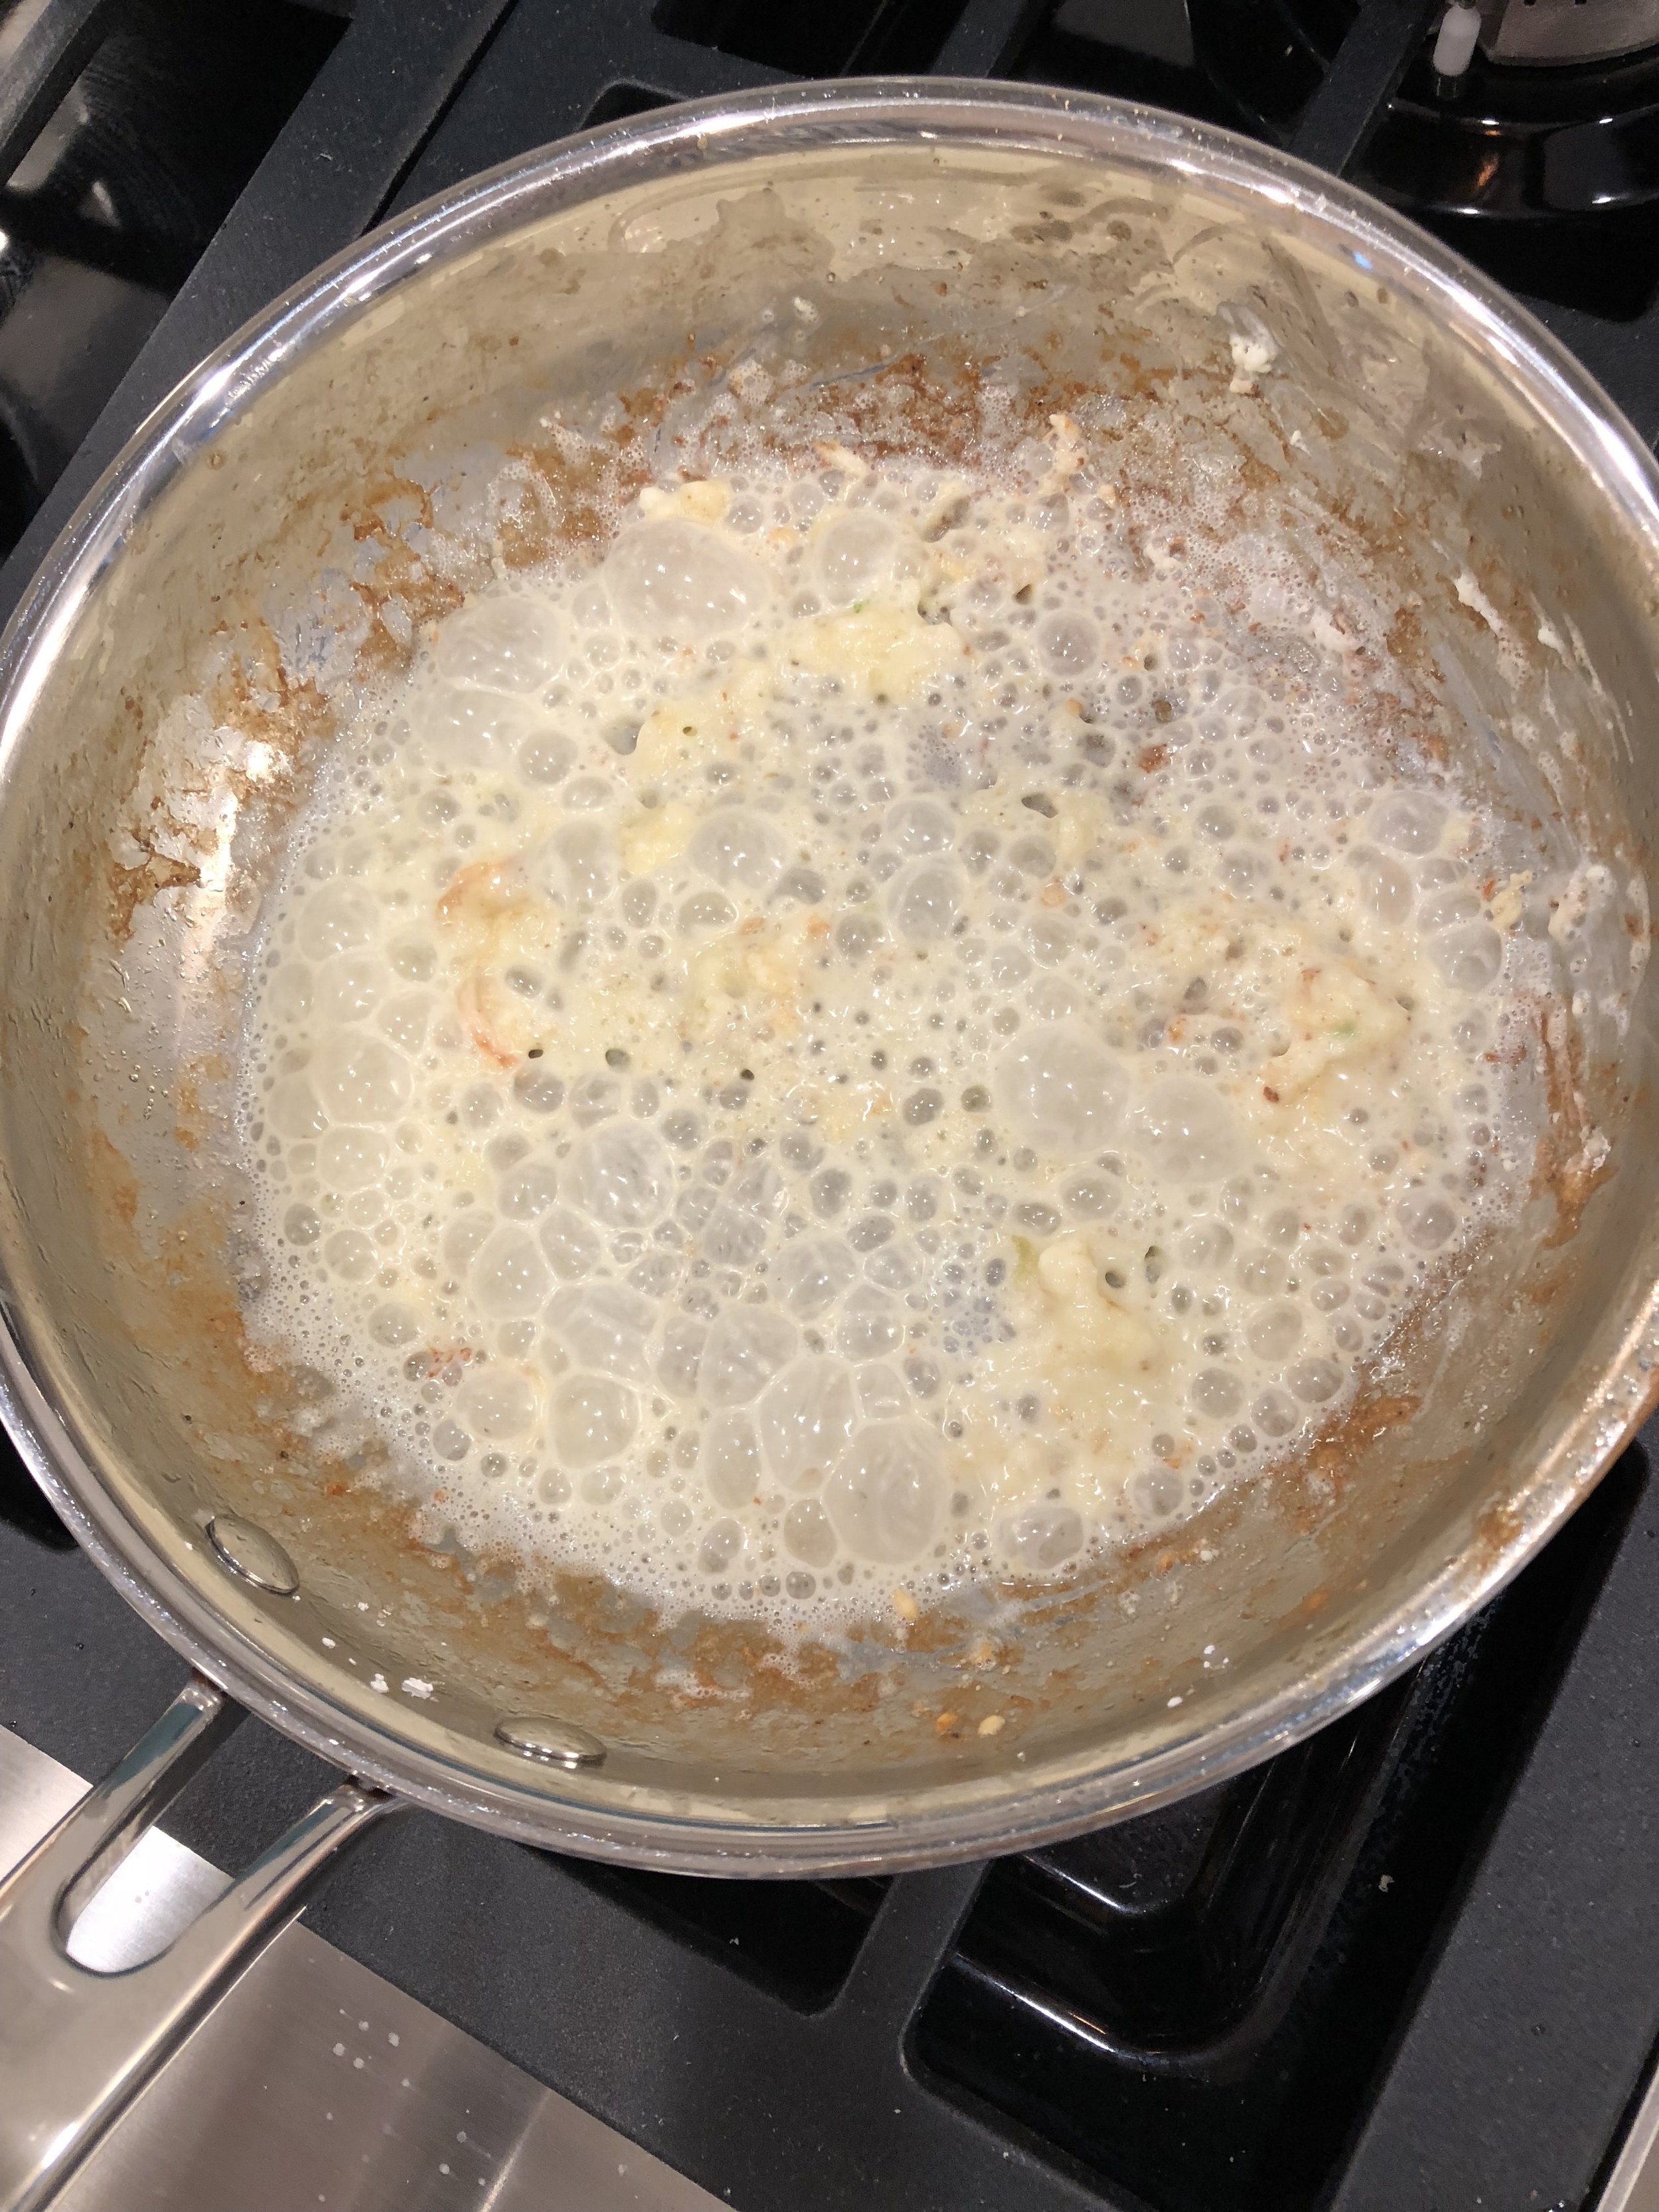
Begin adding your milk and chicken broth to the pan. Add each gradually over a five minute period, alternating back and forth between the two and stirring after each addition. The idea is that as you continue to add the liquid, the mixture will continue to thicken and you should have a creamy sauce by the end.

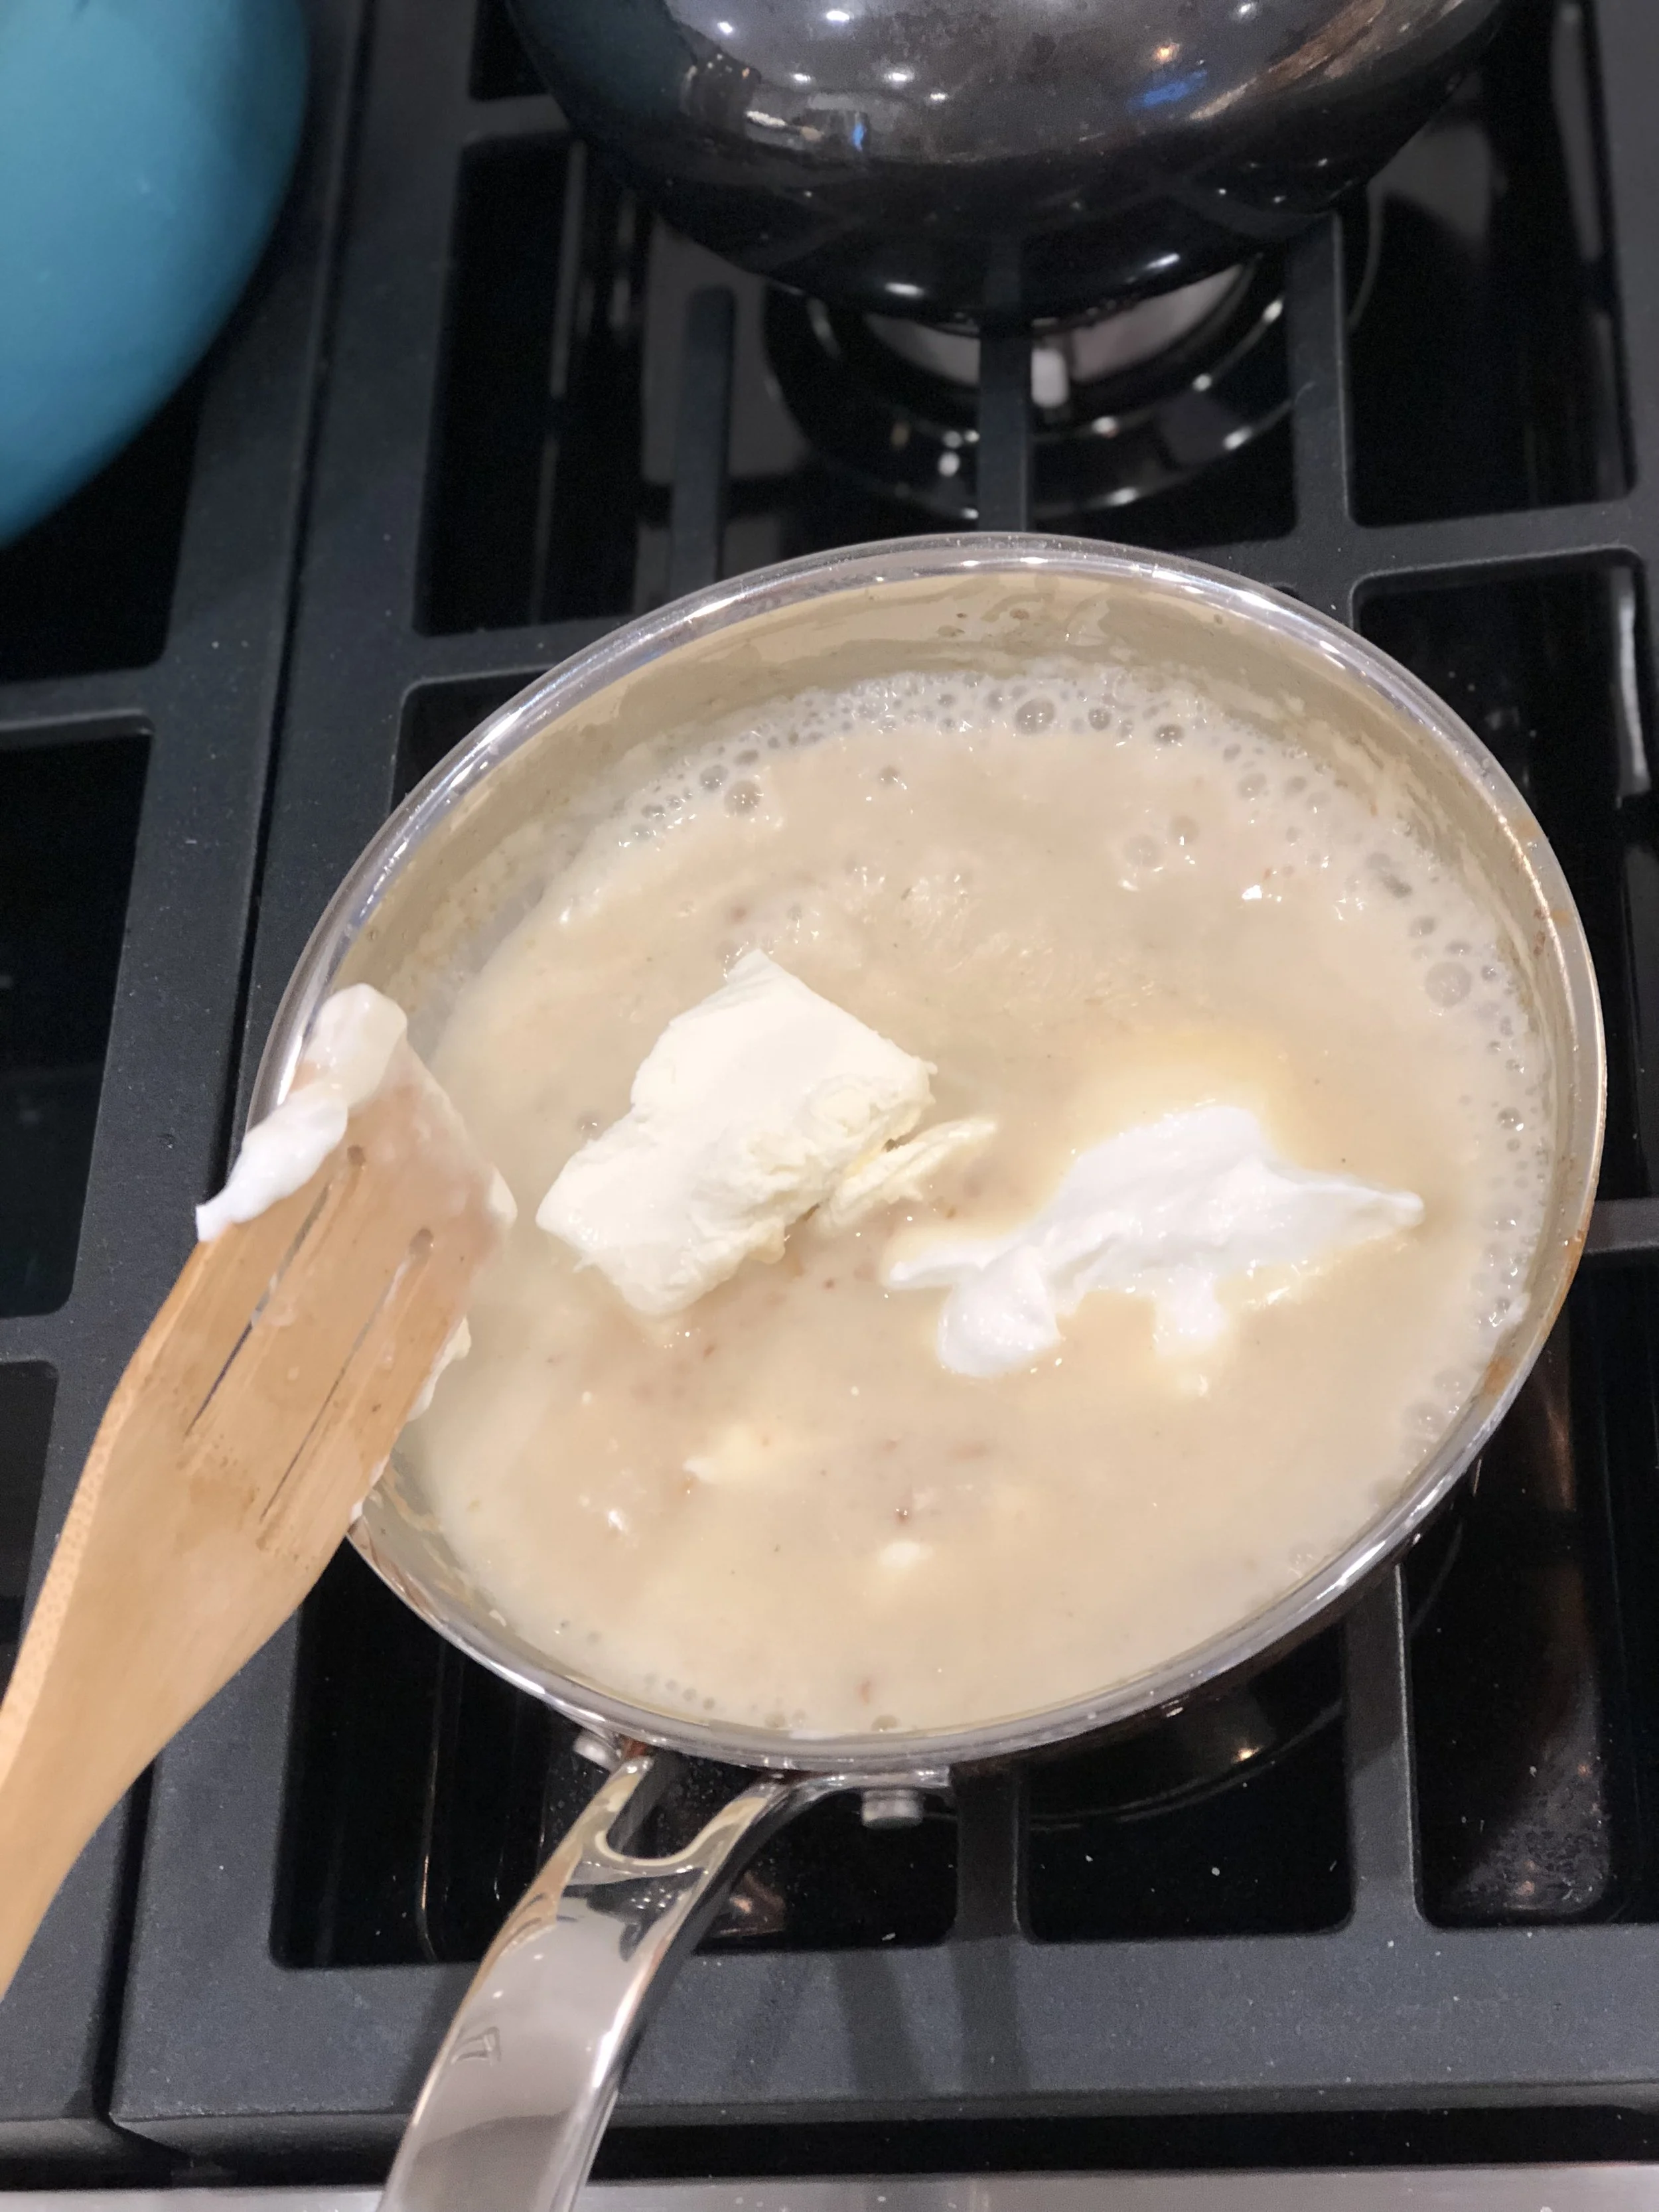
Next, add the cream cheese and Greek yogurt to the mixture. Stir to allow the cream cheese to melt into the mixture. If you have a few lumps still it is fine, just try to smooth it out as much as possible over about 3-5 minutes.
After your creamy sauce is made, add in the chopped artichoke hearts and the spinach. I like to add the spinach in gradually as it will cook down a bit as it heats and your pan will have more room. That way you can prevent an unwanted spill-over onto your stove (speaking from experience here...)
If your sauce seems really runny, feel free to add a little more corn starch and stir vigorously for a few minutes to help thicken it back up. Sometimes if your spinach has a lot of water or your artichokes weren't well drained, it can cause for a runnier sauce than you'd like.

Finally, remember those shrimp sitting to the side? It's time to add those back into the pan and stir into the spinach artichoke mixture. Heat for about 3-5 more minutes on medium heat stirring constantly.....you don't want your shrimp to get too tough from overcooking. This is also a good time to give your sauce a taste to see if it needs any salt/pepper and add those accordingly.
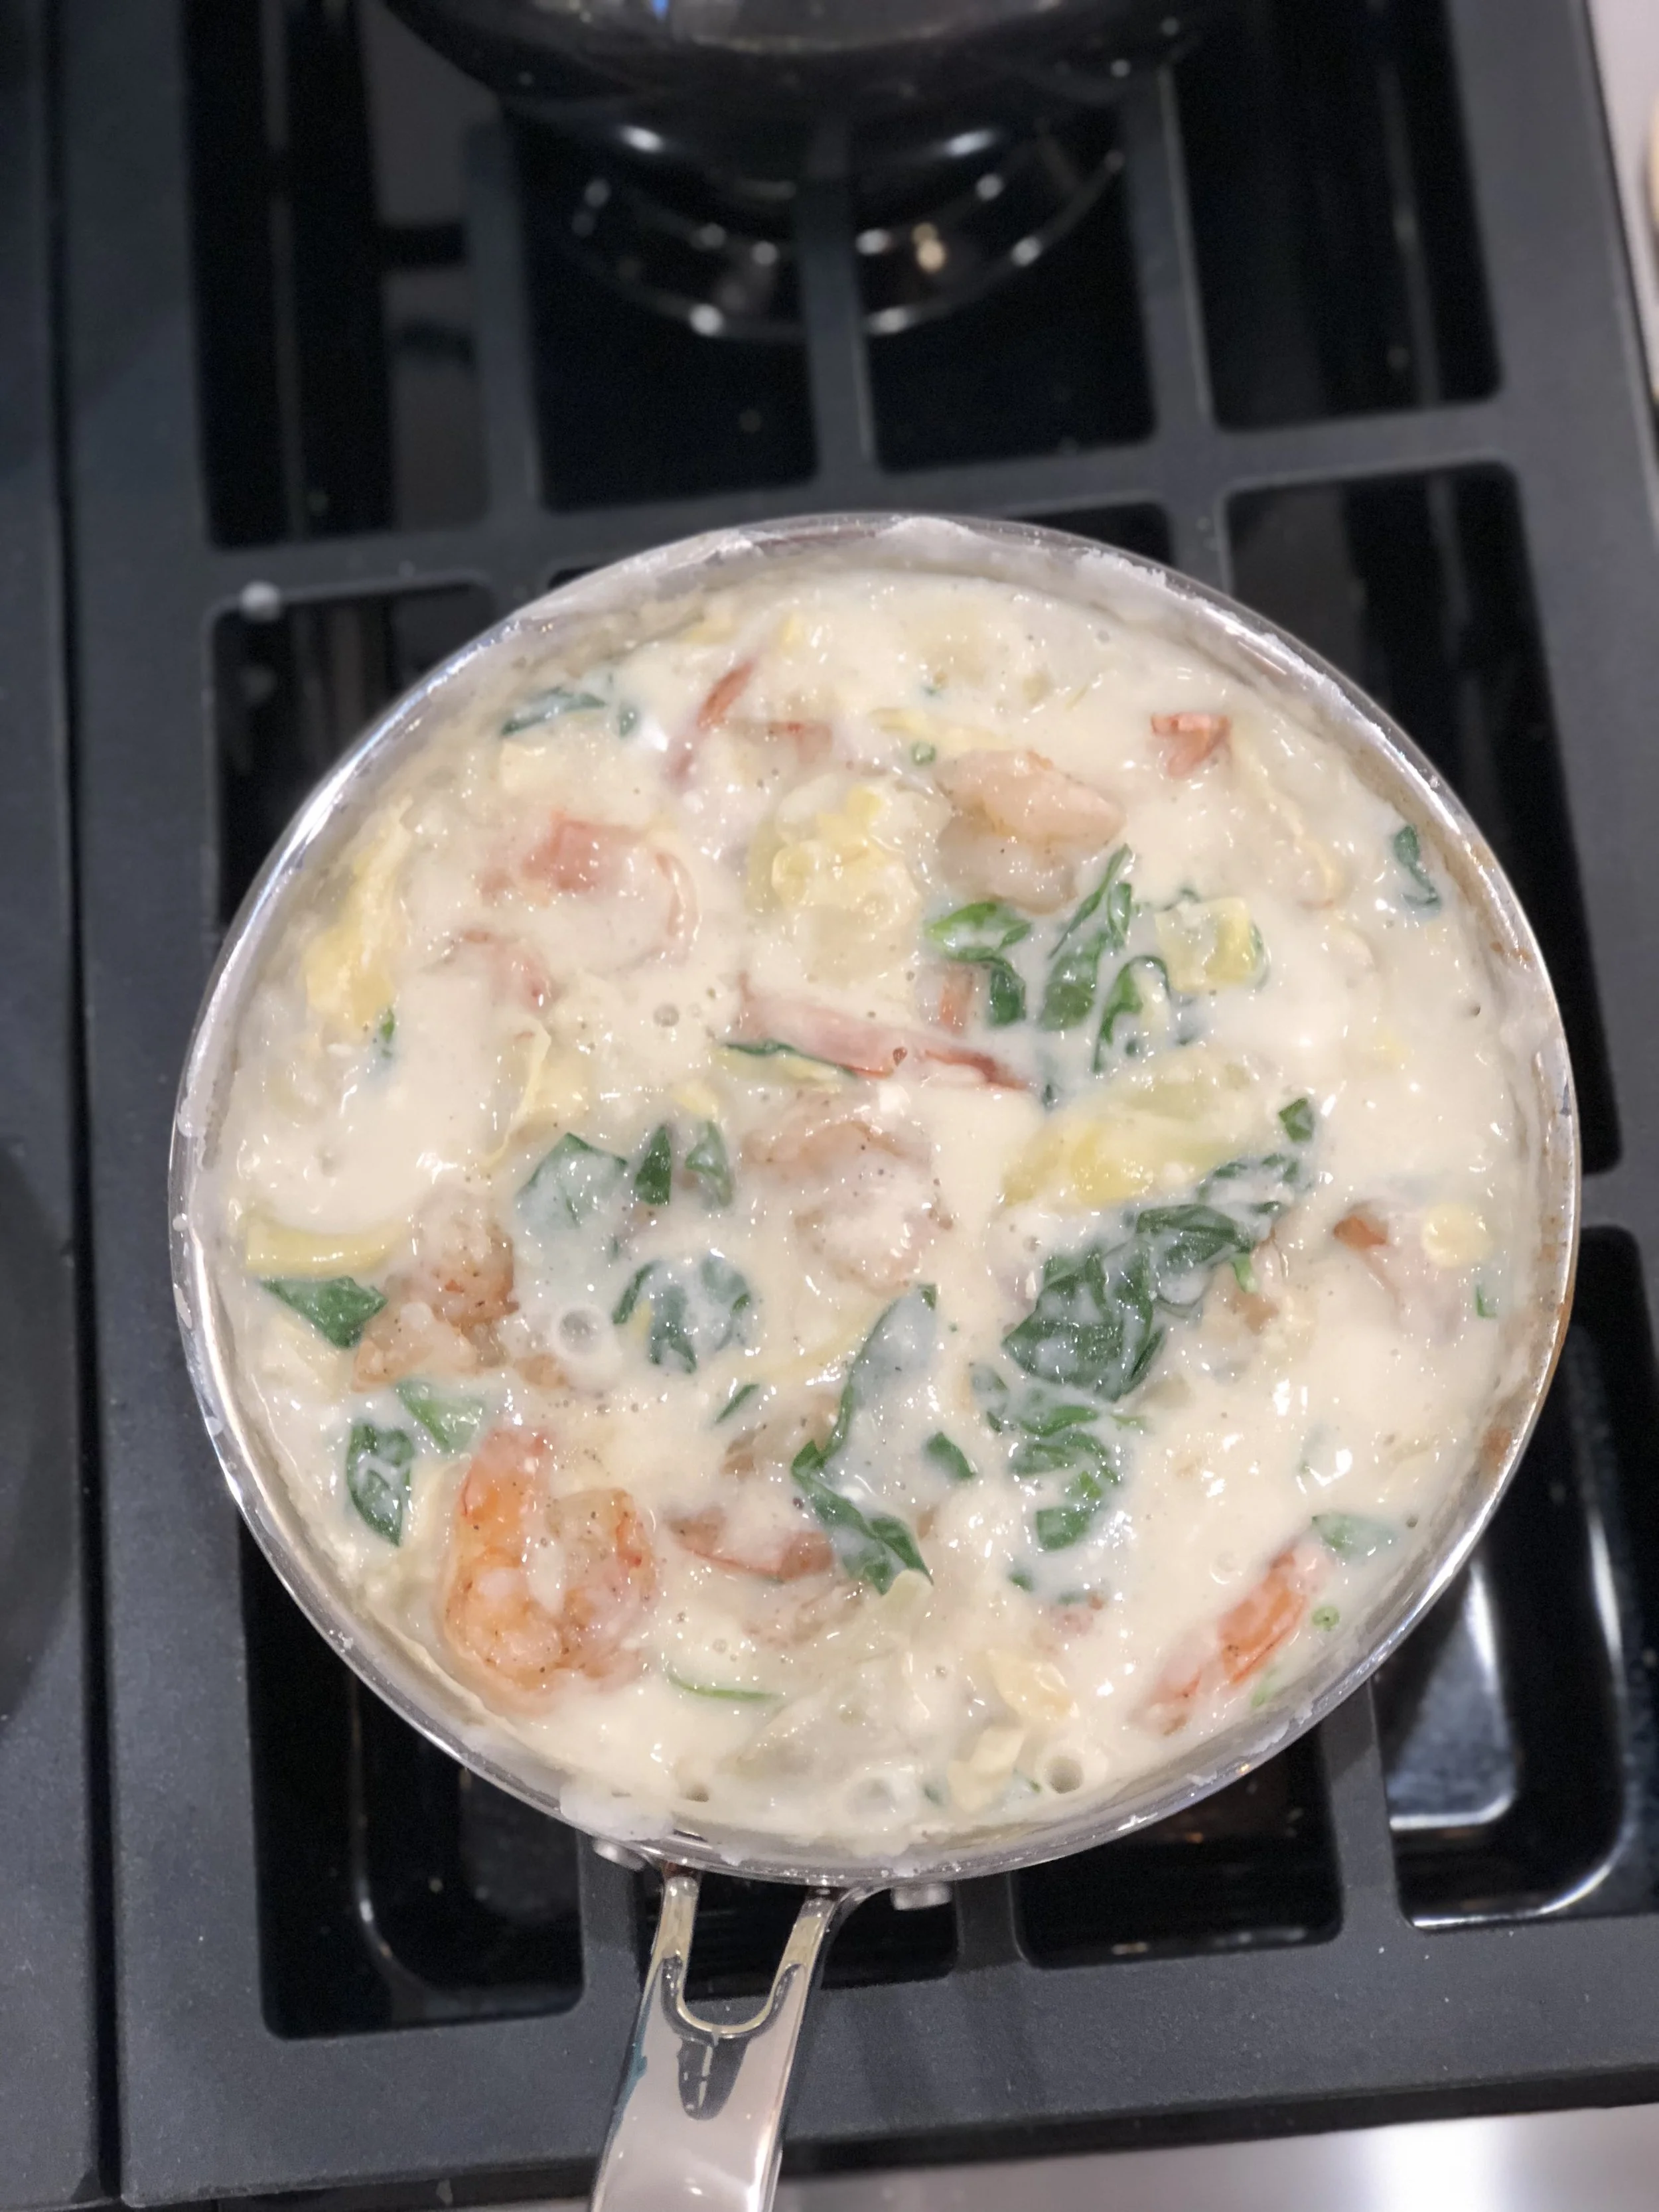
OMG....this looks SO GOOD I want to make it again just writing this.
Step 5: Assemble the Squash
Now comes the time to assemble everything! Your squash should be done so take that out of the oven and "spaghetti" it with a fork. If its not done, see the directions at the beginning of this post and just pop a lid on your sauce mixture to keep it hot.
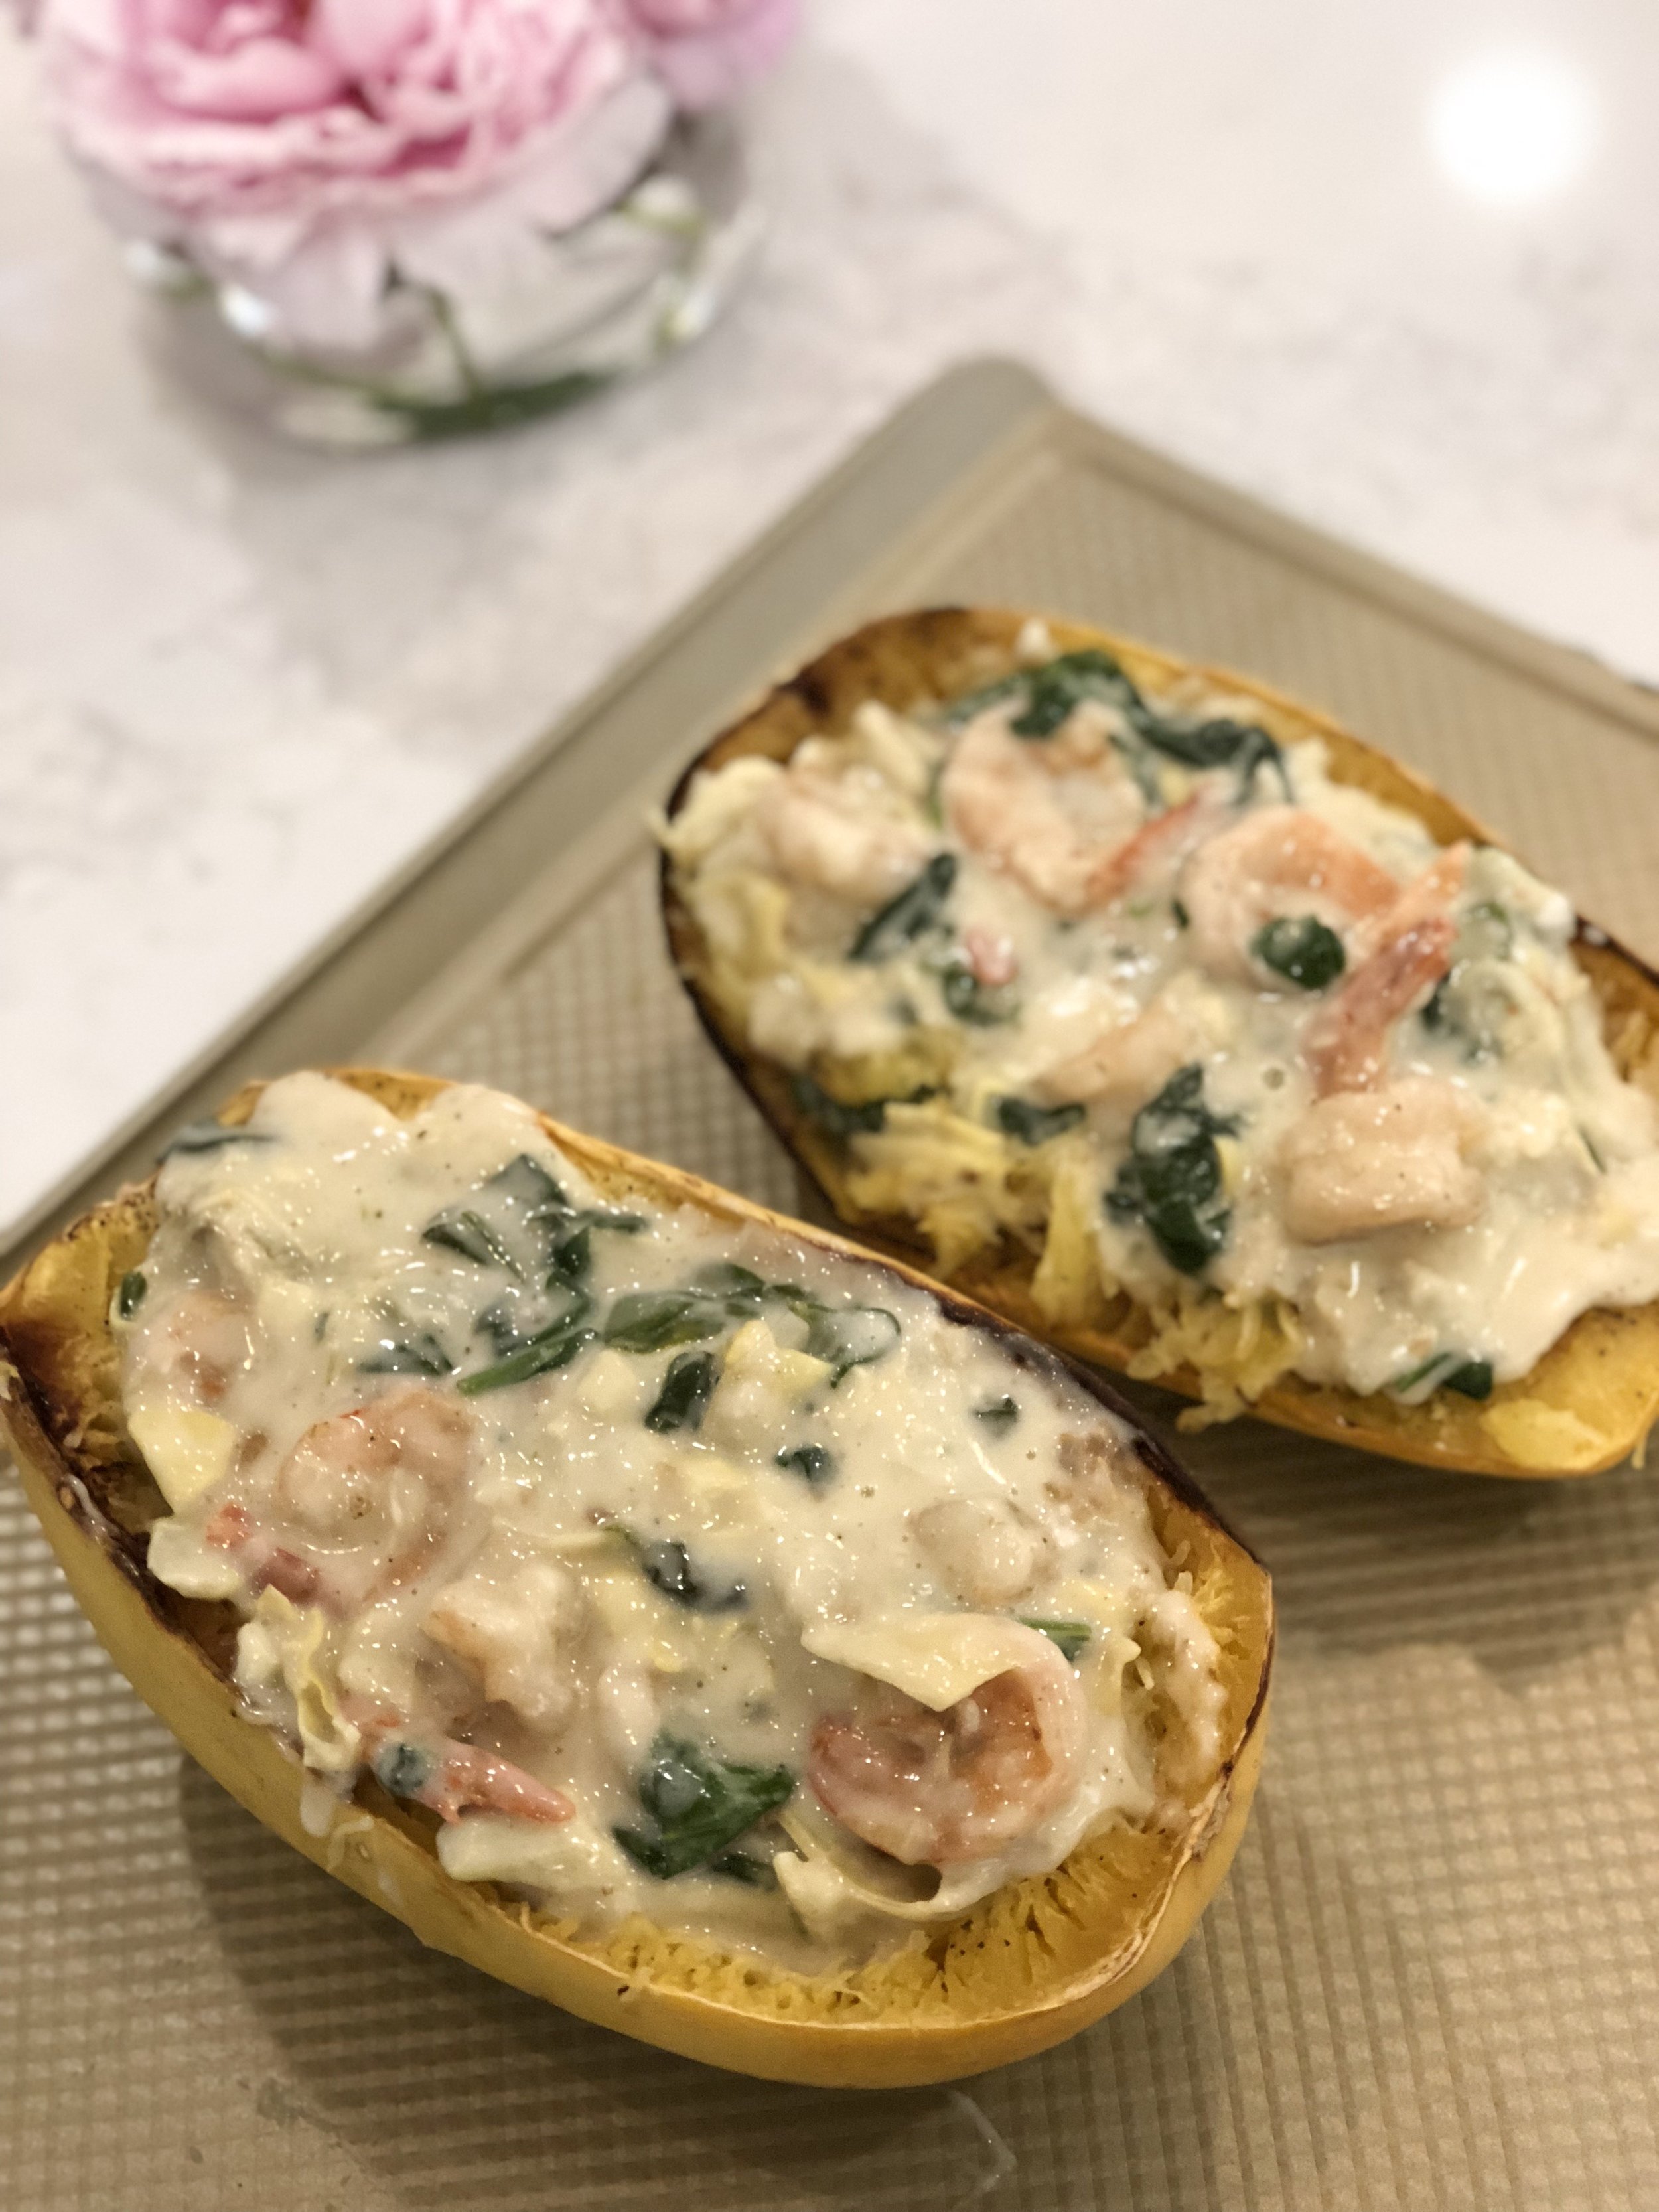
Next, gradually spoon in the mixture to the squash stirring after each addition so you incorporate the "spaghetti" with the spinach artichoke mixture. Make sure you divvy up your shrimp evenly here so nobody gets a squash just full of the spinach/artichoke mixture or vice versa.
Step 6: Top it Off!
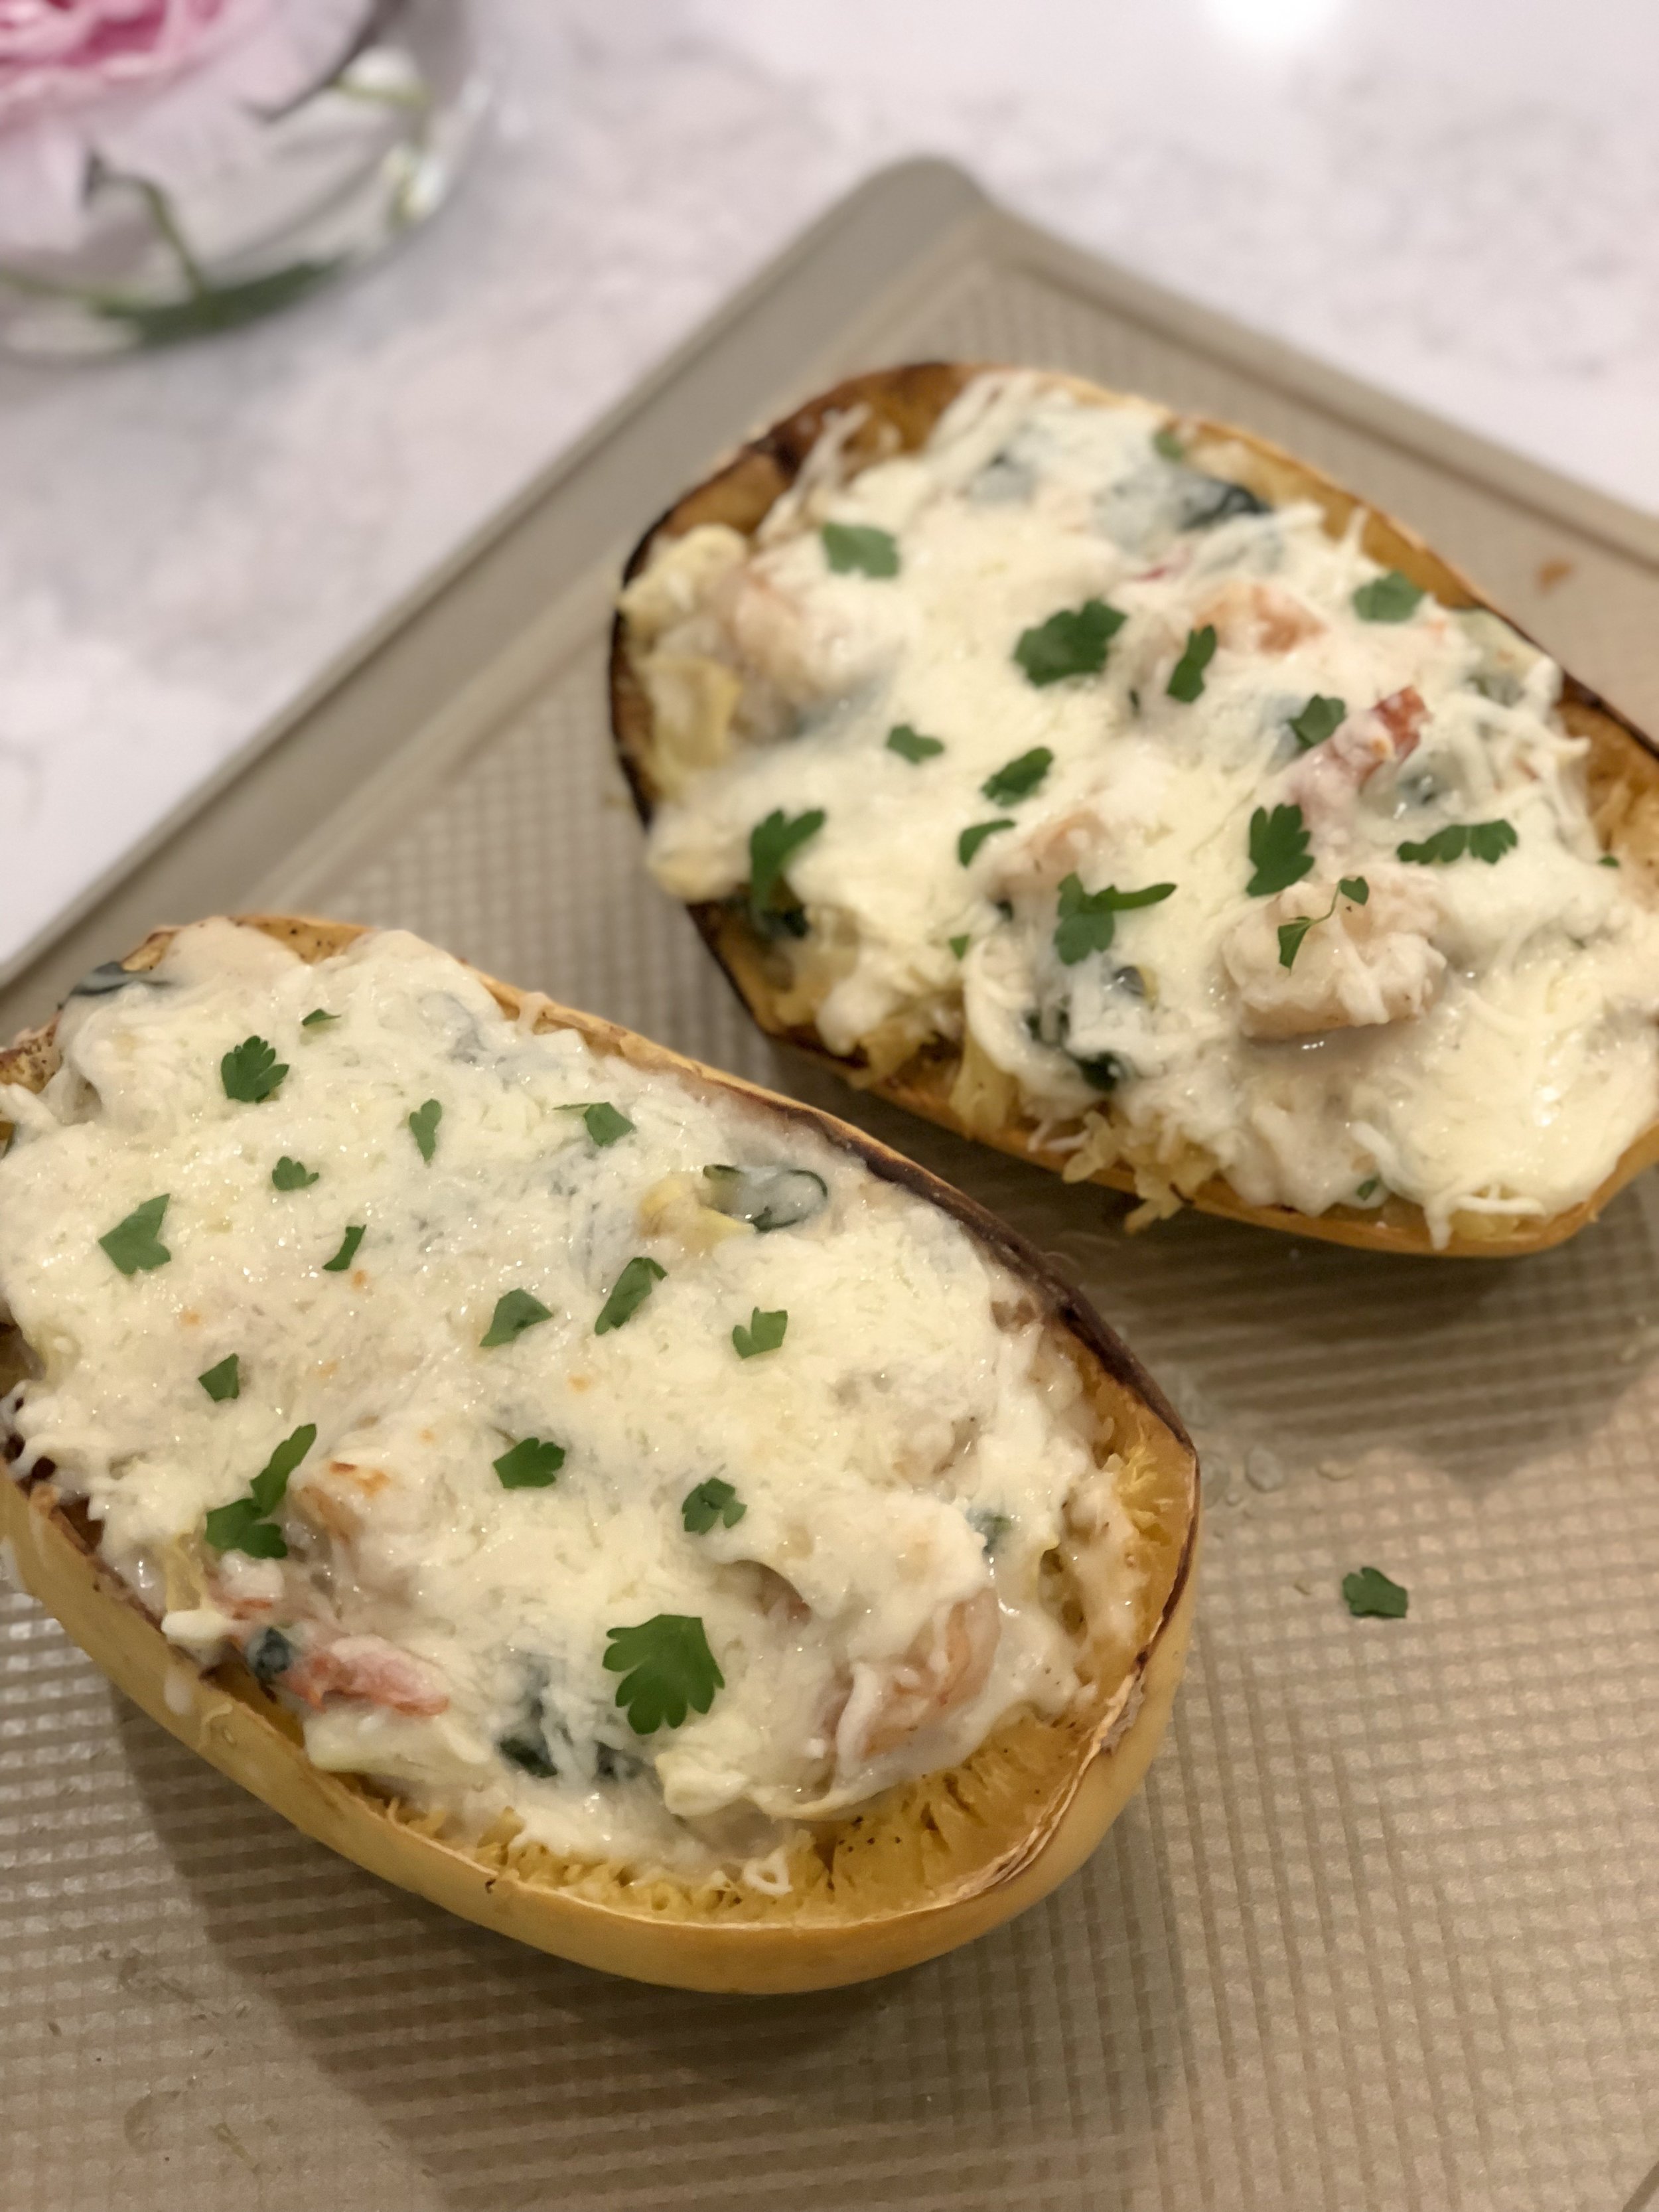
Set your oven to broil. Then, take that mozzarella we set aside in the beginning and sprinkle it on the top of the filled spaghetti squash boats. You can use as much or as little cheese as you want here...obviously, I opted for a lot because I love cheese.
Stick your cheese topped squash back into the oven for about 5 minutes or until the cheese begins to bubble. Depending on your oven, it will likely be less than 5 minutes. Watch that it doesn't burn...broilers can make something go from good to bad pretty quickly.
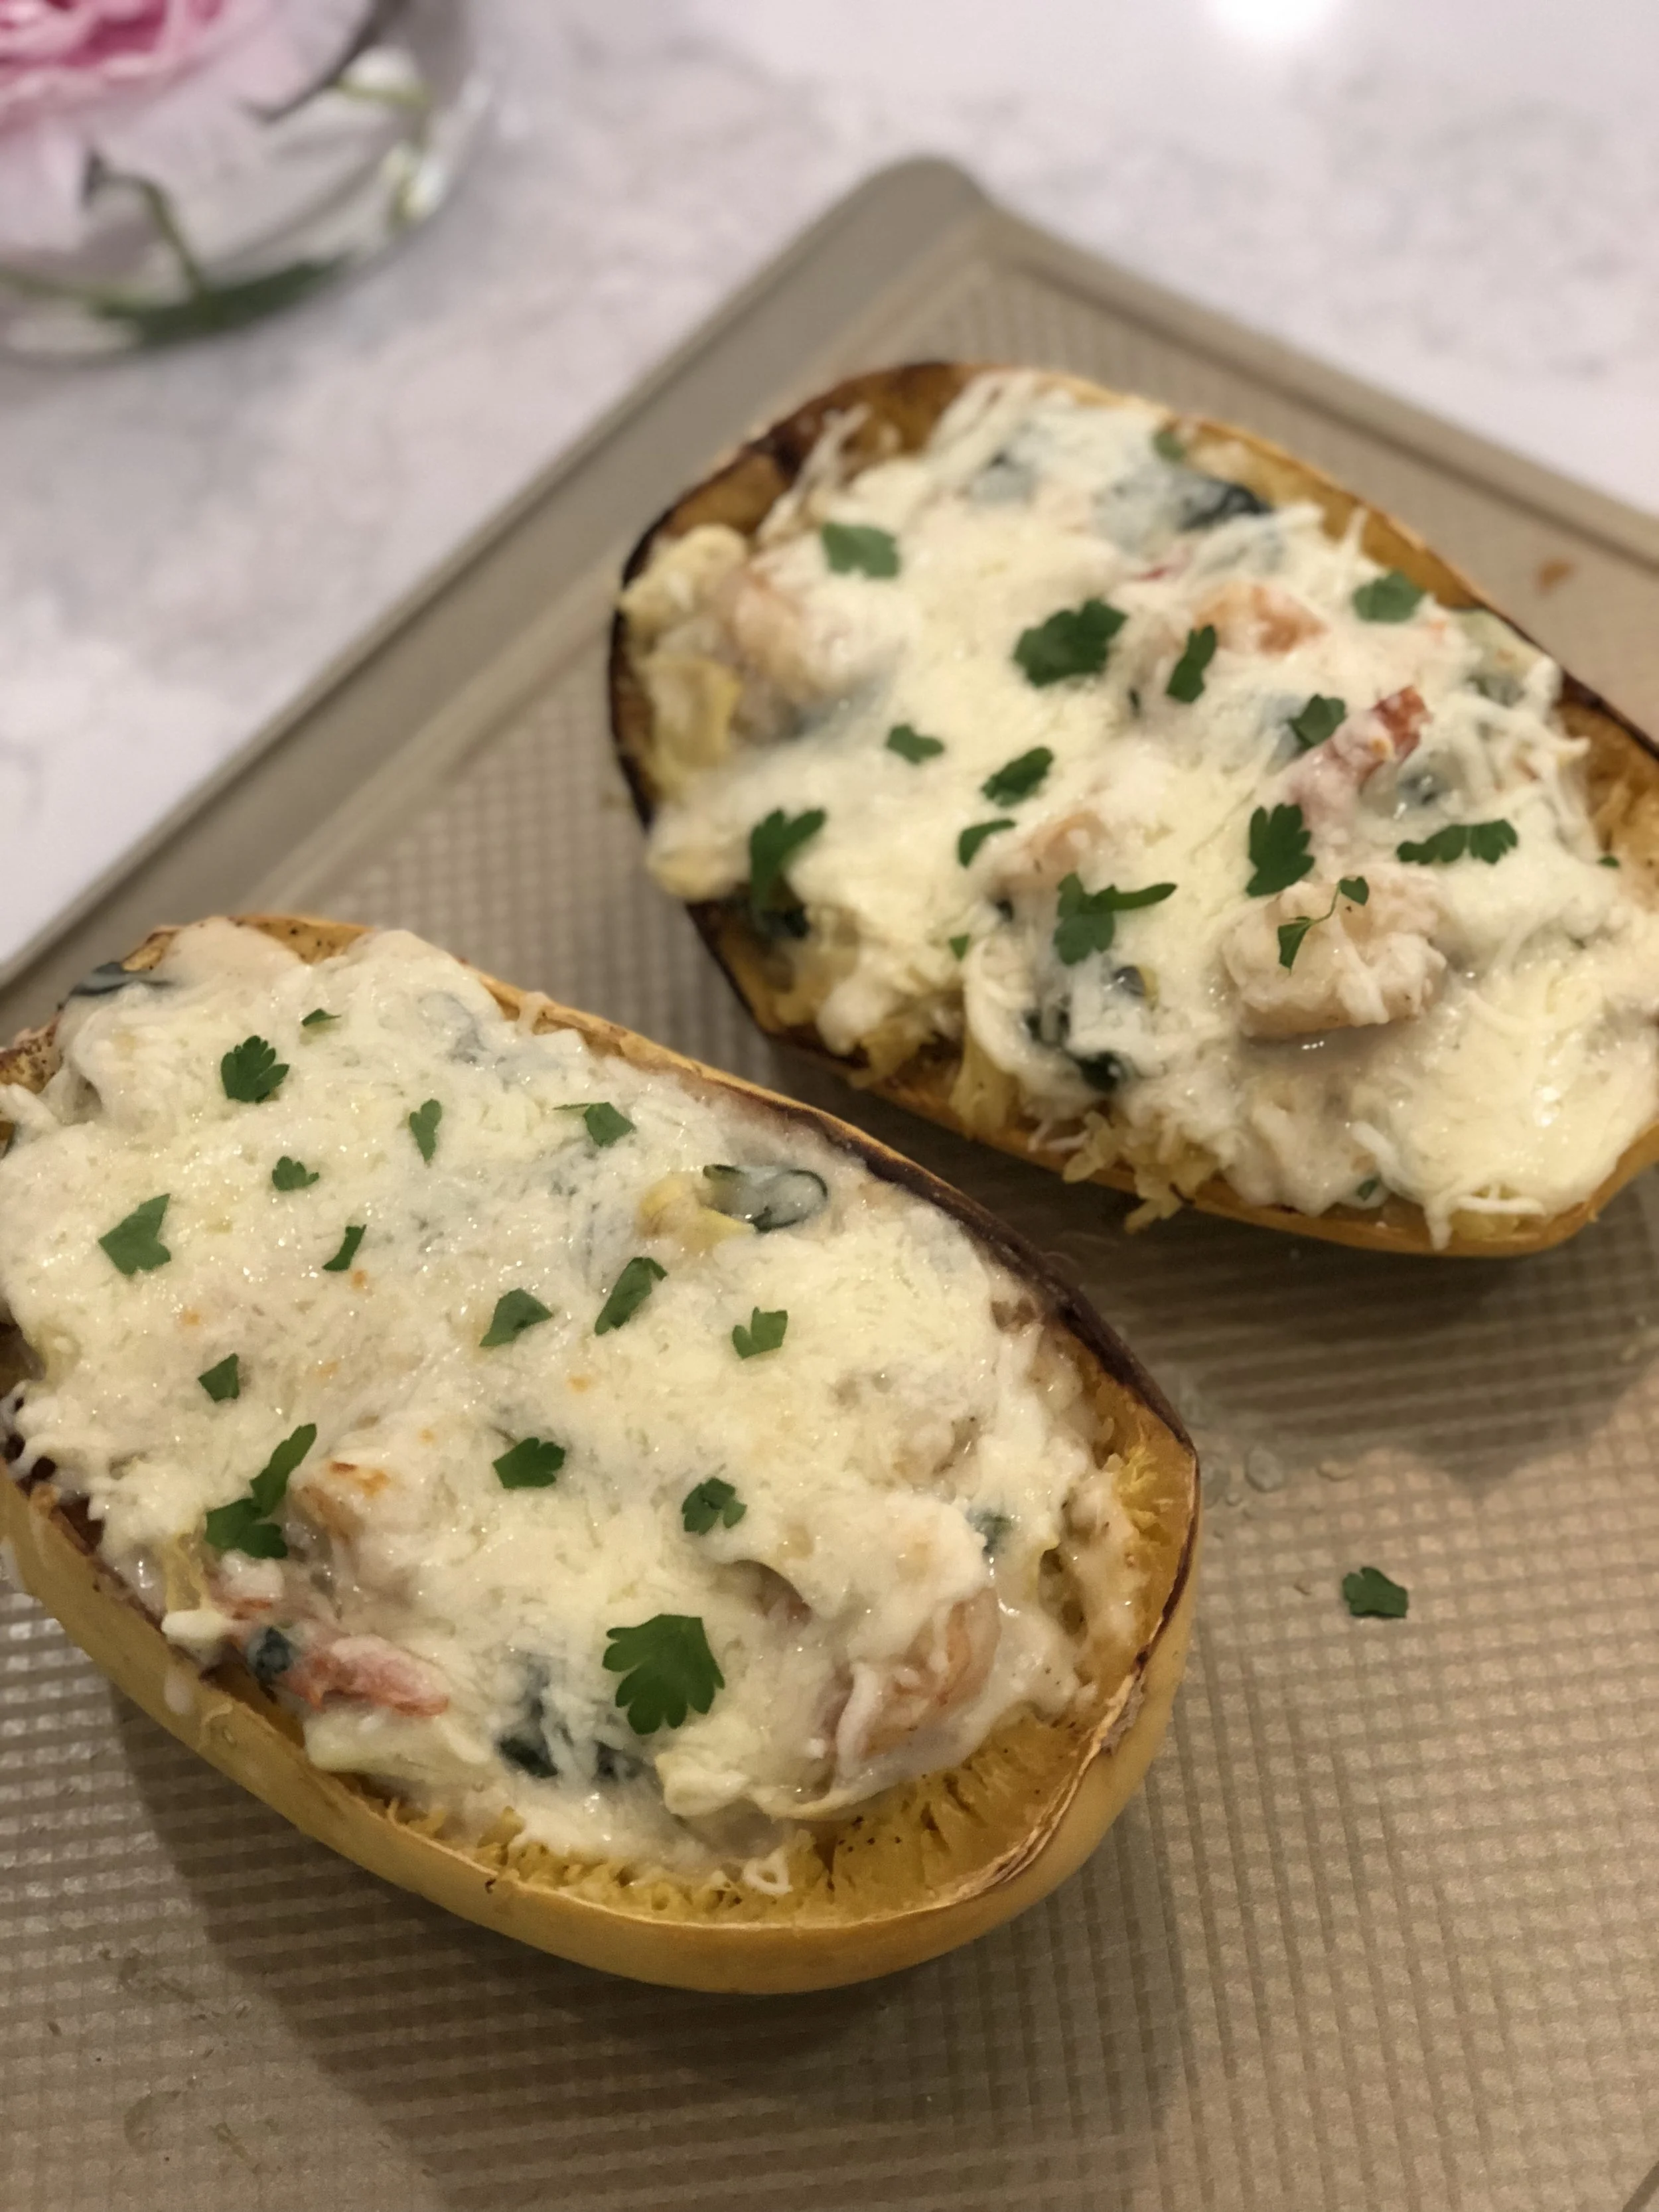
When you remove the squash from the oven, top it with fresh parsley and grated parmesan if you want (I skipped this step because I was out of it...a sin, I know).

FINAL STEP: Plate it!
Okay now all that is left to do is plate this deliciousness and serve it to someone you love! If you used a pretty big squash, don't be surprised if you can't finish the entire thing in one sitting, but that is totally fine because this dish is SO good as a leftover!
Also, this can totally be adapted to meet any dietary restrictions. If you are dairy free, skip the butter and milk and opt for almond milk and a dairy free cream cheese and shredded mozzarella substitute. Also, if you don't like shrimp, chicken always works too!

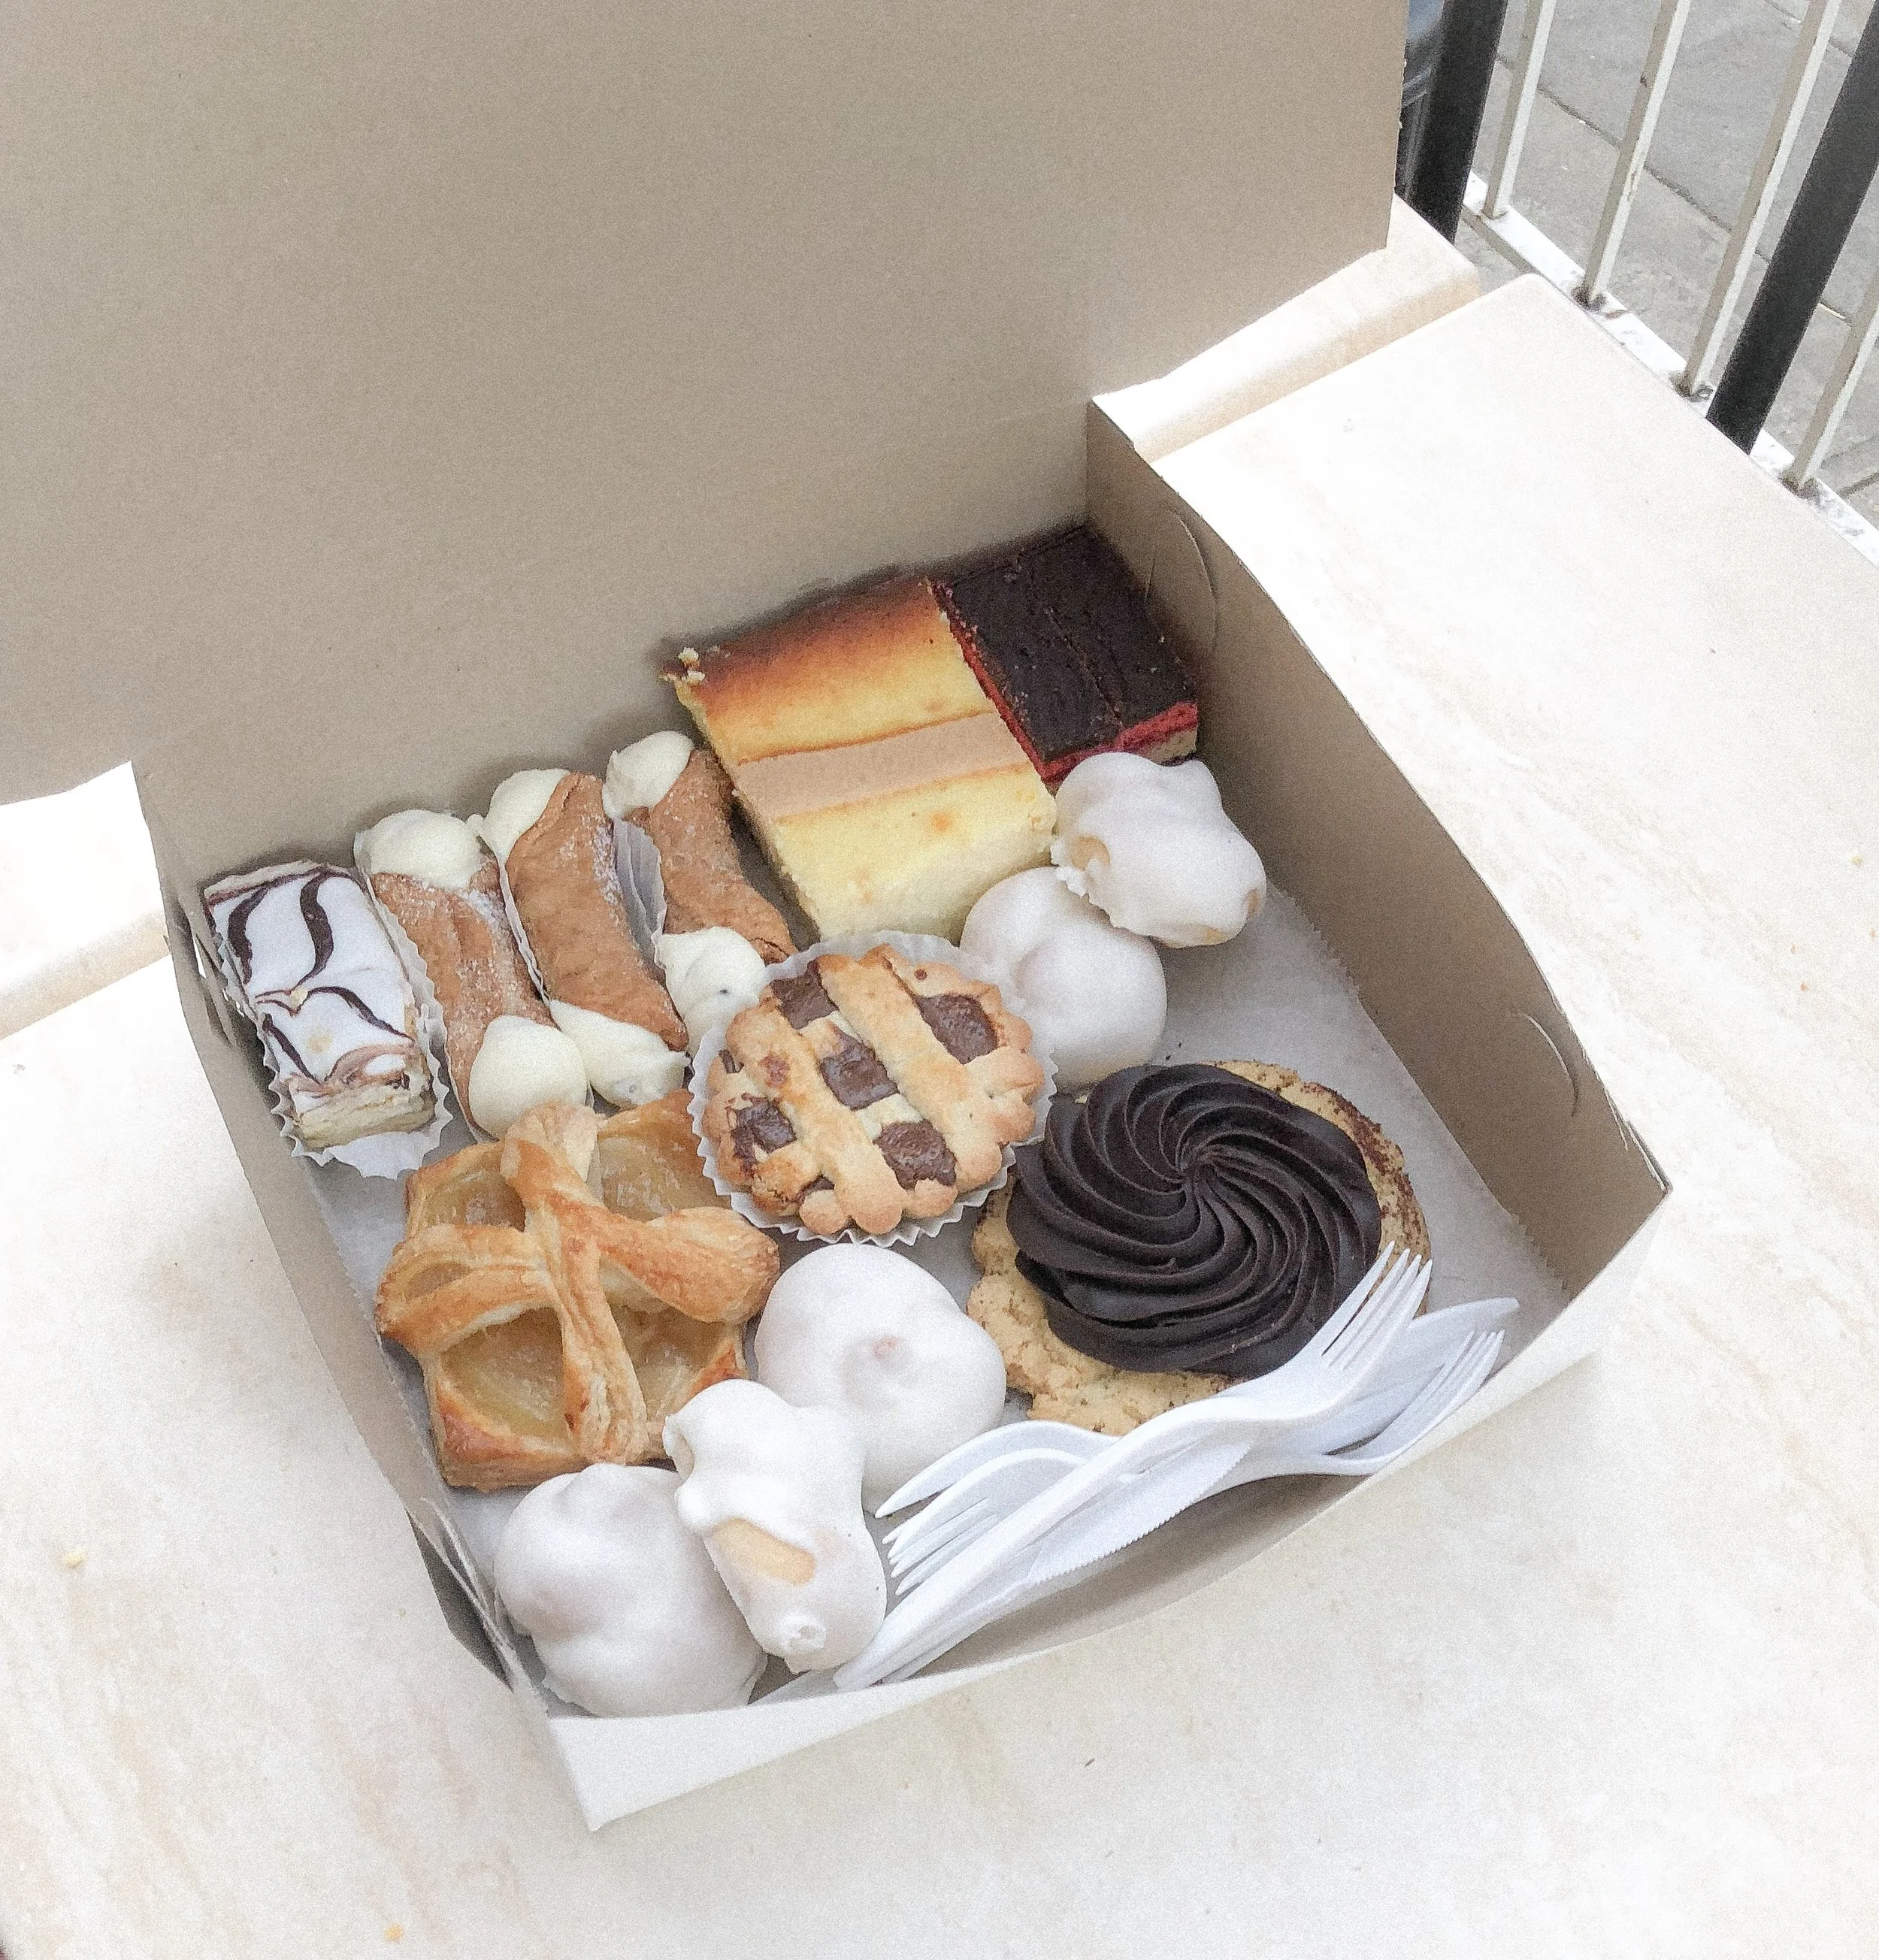
Once you've filled yourself up....there is always room for dessert right?!
We headed to our favorite Italian bakery/cafe in Westchester, Boiano Bakery for some after dinner treats. If you're in the area, you MUST check it out!
Thanks so much for stopping by! I hope you enjoy this recipe from my kitchen to yours. If you have any questions leave them in the comments below!
XoXo - Jamie